This post and photos may contain Amazon or other affiliate links. If you purchase something through any link, I may receive a small commission at no extra charge to you. Any supplies used may be given to me free of charge, however, all projects and opinions are my own.
Are you ready for the ultimate hat press comparison? Today I’m going to teach you how to make hats using three different types of hat presses. Whether you’re making a hat every once in a while or multiple hats every day, we’ll find the right hat press for you. After all, having the right heat press can make all of the difference in the world!
Looking for more information on using HTV? Check out my beginner’s guide here.
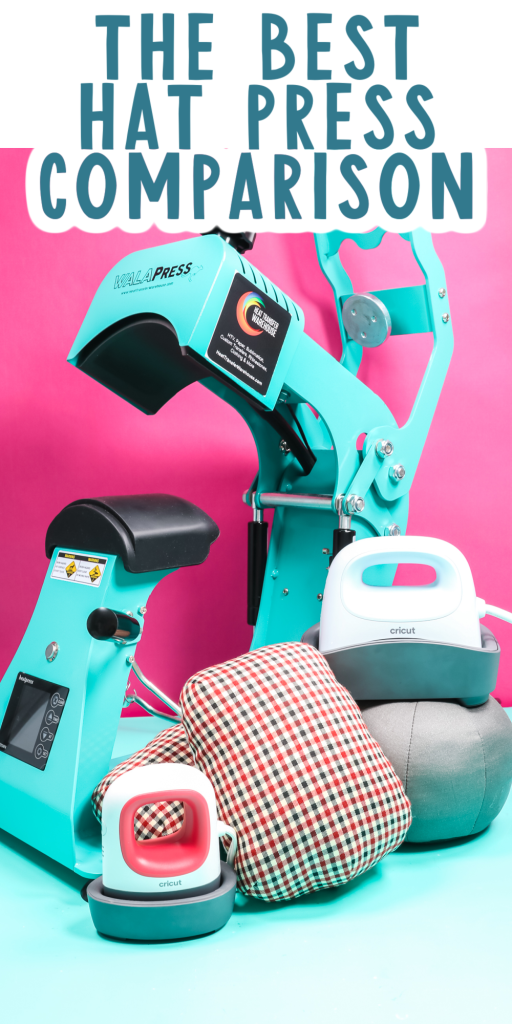
Hat Press Comparison
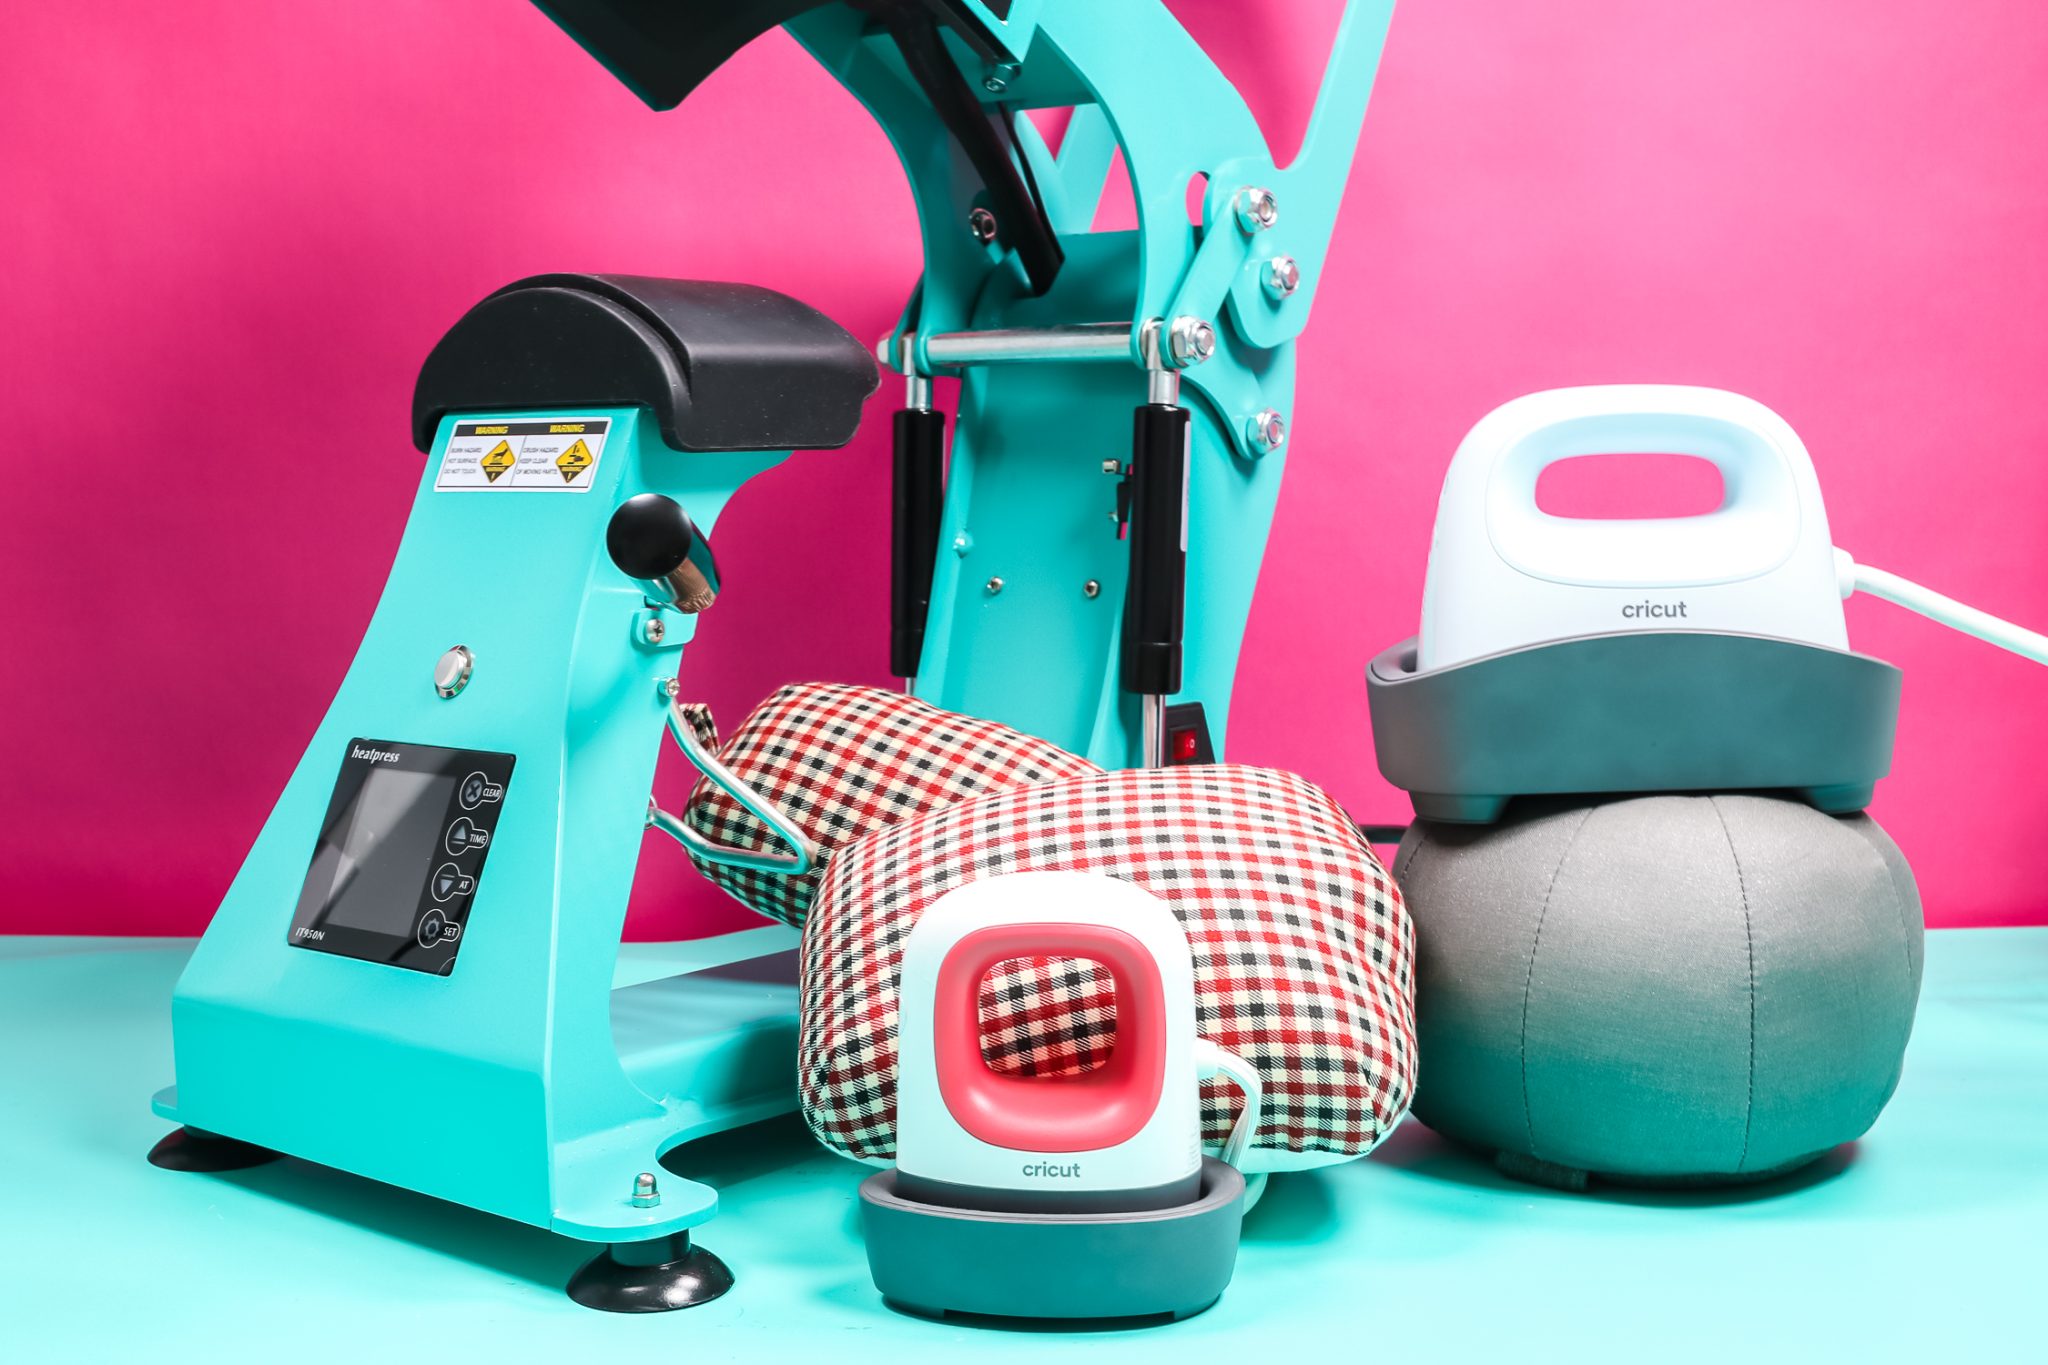
My goal is to help you figure out which hat press might be right for your needs. For this hat press comparison, I’m going to compare a standard hat press to the Cricut Hat Press and the Easy Press Mini.
I’ve personally made hats with each of these presses in the past. I’ll be using the same type of hat and the same HTV design for all three methods. This way I can really tell you the pros and cons of each one.
You can actually watch me do this hat press comparison. Just click play on the video below:
Comparing Hat Presses
There’s nothing wrong with any of these methods of making hats. I think it really comes down to a few different things:
- How many hats do you plan on making?
- What is your budget?
- How professional do you want your finished hat to look?
- How much room do you have in your craft space?
Keep those questions in mind as we walk through each press!
Supplies Used
Sublimation vs. HTV
Today I am using an image cut from HTV for my hats. However, all three of the presses I’m using today work with sublimation. Even the EasyPress Mini gets hot enough to do sublimation. You’re more likely to have mixed results with the EasyPress Mini but you can do it.
How to Make a Hat with HTV
For all of my hats, I used the same design cut out of HTV. I used my Cricut machine to cut the design out of HTV and then used my weeding tool to weed out all the excess material.
When Cricut released the Hat Press they also released a Strong Heat Resistant Tape. I always use this heat tape when customizing hats, regardless of which hat press I’m using.
Customizing a Hat Using EasyPress Mini
Let’s start our heat press comparison with the EasyPress Mini. It’s the smallest and least expensive press option.

Using the EasyPress Mini is a little bit harder than the other two options but it’s not impossible. The HTV setting on the Mini is the second setting. The third setting is for sublimation and Infusible Ink. When using the EasyPress Mini, I recommend getting a set of pressing hams. My hams came in a set of two different sizes. They work pretty well together inside the hat.
How to Insert Pressing Hams
The first thing you need to do is remove anything from inside the hat and flip the inside bill portion out. When inserting the pressing hams, the goal is to have a smooth surface across the front of the hat. I actually put both hams inside the hat getting it as filled out as possible then tighten the back.
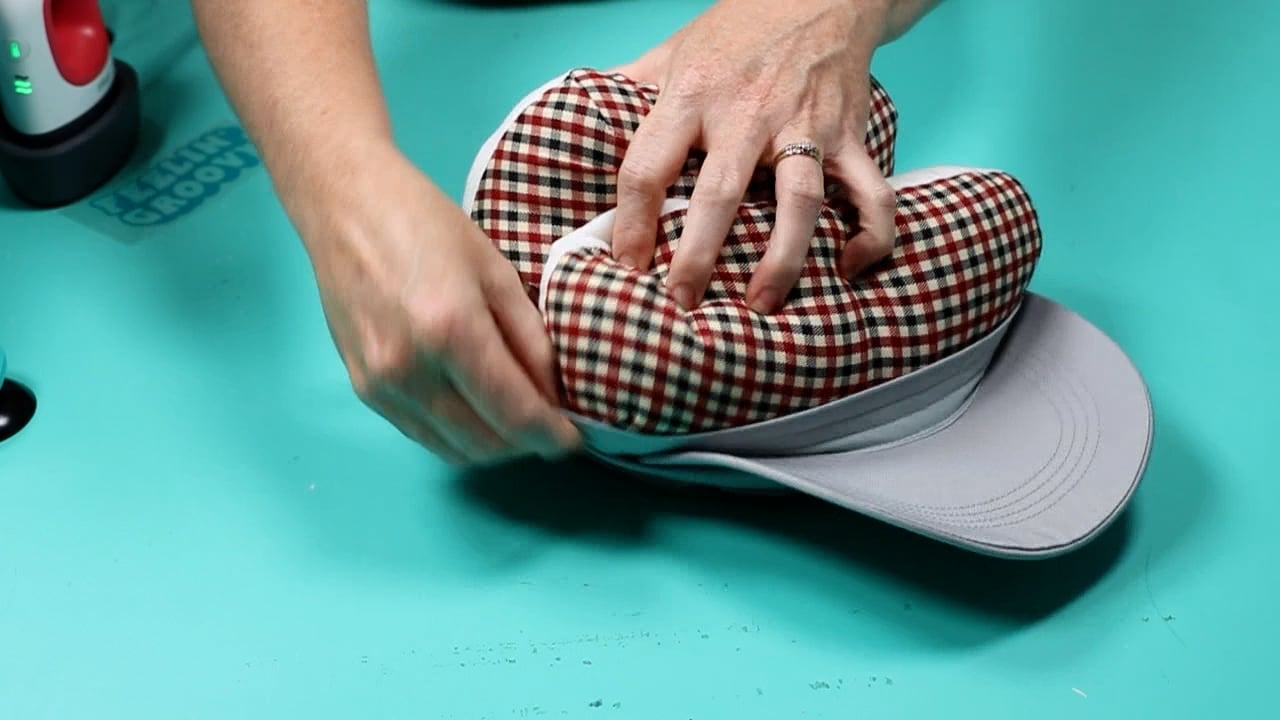
Look at the front, and make sure everything is smooth. If you still have wrinkles, keep working the hams around to make sure you have all the creases and wrinkles smoothed out before trying to apply any HTV.
Applying HTV to Hats with EasyPress Mini
Before applying HTV, just like with other projects you want to make sure and preheat your surface to remove any moisture from the fabric. After preheating, locate your design onto the hat. Get things positioned right where you want them and then use a few pieces of Strong Heat Resistant Tape to hold the design in place.
Personally, I’ve found that the carrier sheet of HTV isn’t quite sticky enough to hold the design in place when applying the different heat presses. I really like the Strong Heat Tape and use it any time I’m adding designs to hats.
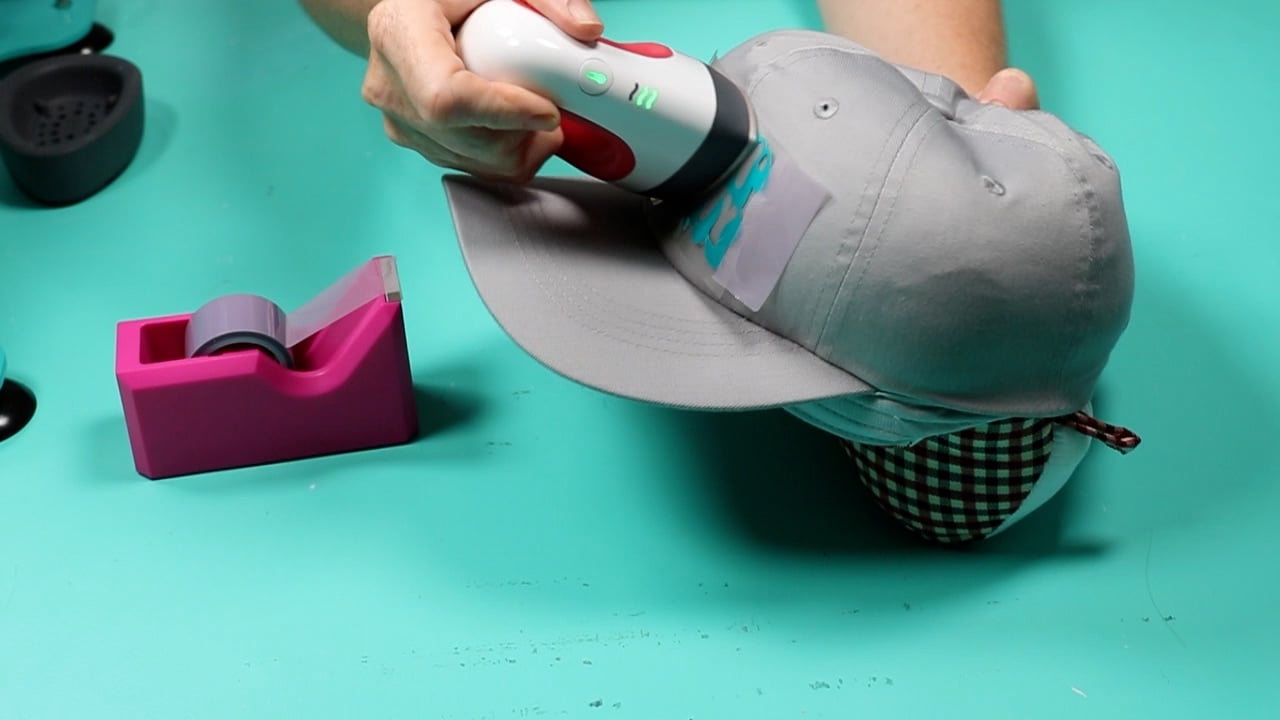
Because the heat plate of the EasyPress Mini is so small, you’re going to have to press down and then move it multiple times until your design is completely stuck down. Depending on the size of your design this can take a while. I feel like the pressing hams do help. They give you something to press against which is helpful. You may still find it can be frustrating to get the material to stick to the hat adequately.
I do think knowing this ahead of time can help you be prepared for the time and process. Keep pressing and checking the HTV to see if it’s stuck. You can definitely end up with a successful product using the EasyPress Mini, it just takes more time.
Once you think your HTV is stuck down remove the heat and allow the adhesive to cool a little. Start removing the carrier sheet slowly at a corner making sure your HTV isn’t lifting. Remove the pressing hams and you have a finished customized hat ready to wear.
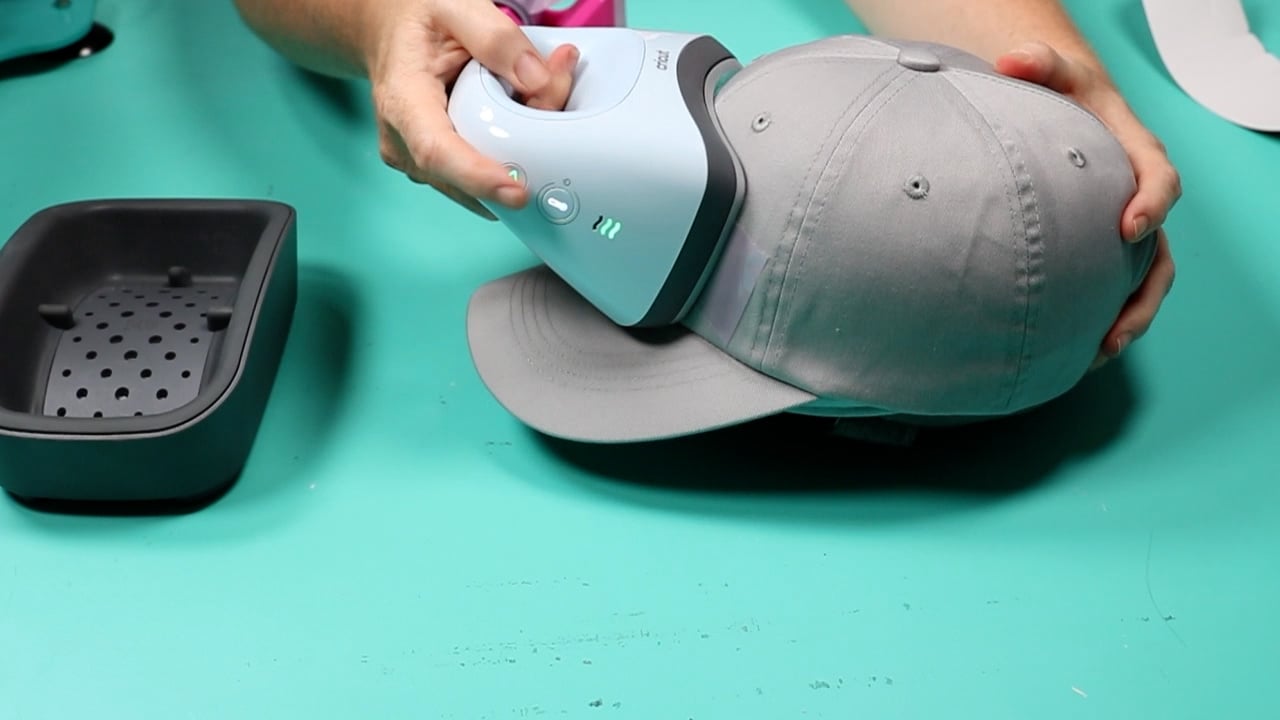
Customizing a Hat Using Cricut Hat Press
The next project in our hat press comparison is a customized hat using the Cricut Hat Press. We’re using the same hat and design we used with the EasyPress Mini.
The key difference between the Cricut Hat Press and the EasyPress Mini is the size and shape of the Hat Press. The Hat Press plate is curved and more than twice the size of the Mini. This will allow you to go around the hat easier and faster.
The Cricut Hat Press also comes with its own hat form. You are going to love how much easier it makes pressing hats.
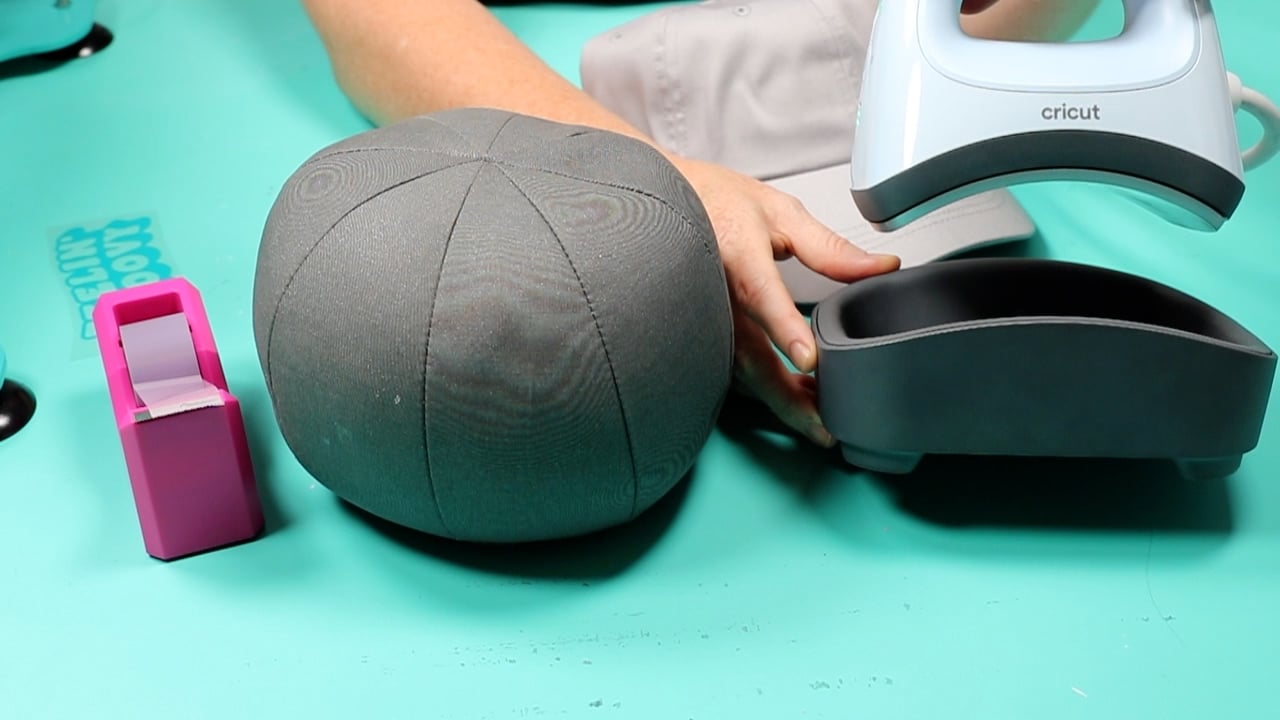
How to Insert the Cricut Hat Form
The Cricut Hat Form is rounded and fits perfectly inside the hats. To insert the hat form remove everything from inside the hat and flip the interior bill piece out. Loosen the back of the hat and insert the hat form with the handle on the bottom. Check the front to make sure it’s nice and smooth and then tighten the back of the hat to keep everything in place.
Applying HTV to Hats with Cricut Hat Press
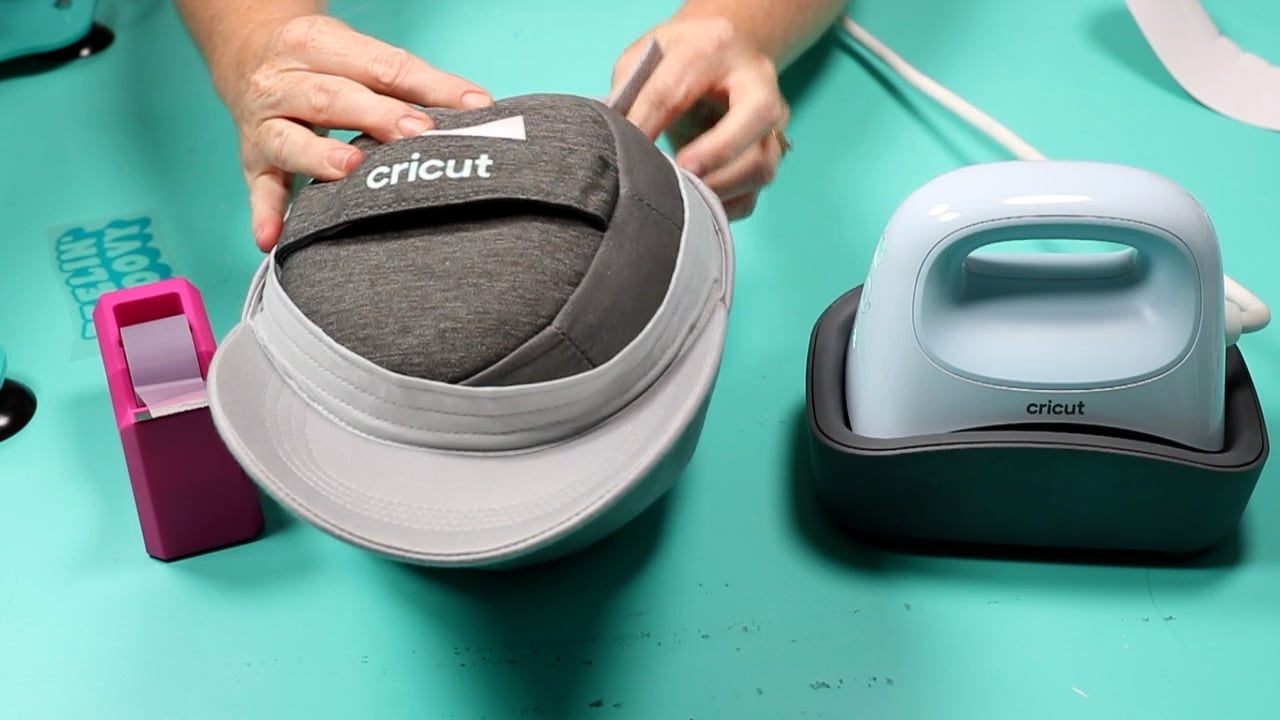
Prepping the HTV image on the hat is the same as it was with the EasyPress Mini. Preheat your hat to remove any moisture and locate your design.
Preheat the hat press either manually or by using the Cricut Heat App. The second setting on the hat press is fine for HTV but you can get very specific with time and temp using the Heat App. If you’re using a specialty HTV or sublimation, being able to specify the time is really helpful.
Use strong heat tape to hold the image in place. Apply the hat press and then press the button to start the time. Move the hat press back and forth slightly while pressing. When the timer goes off, your project should be ready.
There is less guessing with the Hat Press compared to the Mini and you don’t have to press multiple times as long as you keep your design within the size restrictions. Check your HTV settings to see if your HTV is a cool or warm peel. Remove the carrier sheet carefully making sure the HTV is stuck to the surface of the hat.
When it’s all stuck down, remove the hat form and you have a complete hat that is ready to wear. The Cricut Hat Press made customizing hats a little easier than the EasyPress Mini and the hats look so professional!
Customizing a Hat Using WalaPress Hat Press
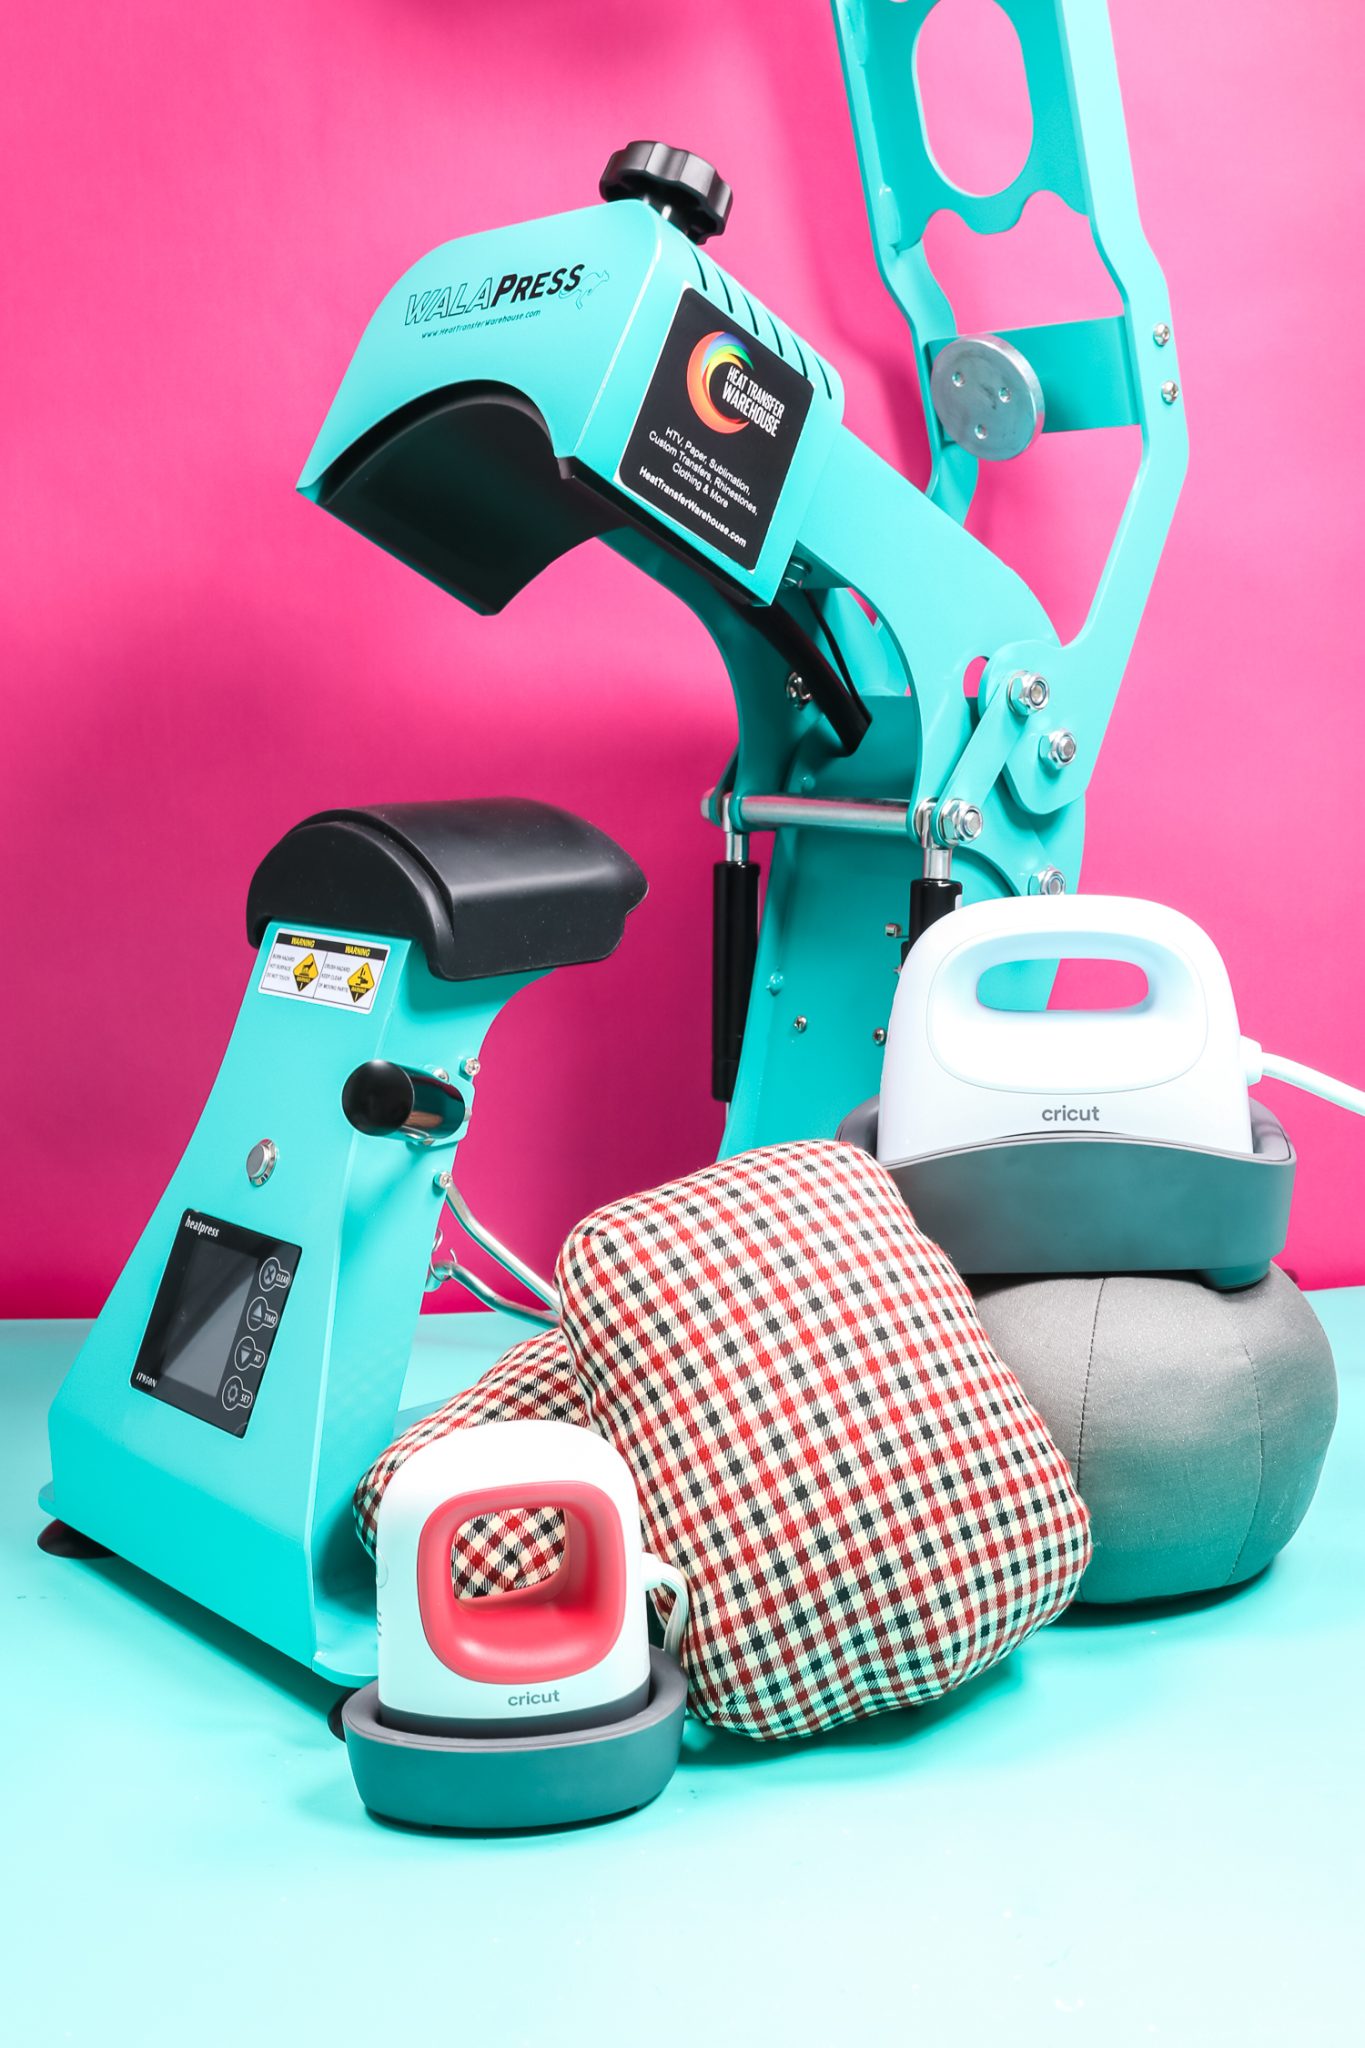
Our final hat press comparison press is the WalaPress Hat Press. The WalaPress Hat Press is from Heat Transfer Warehouse.
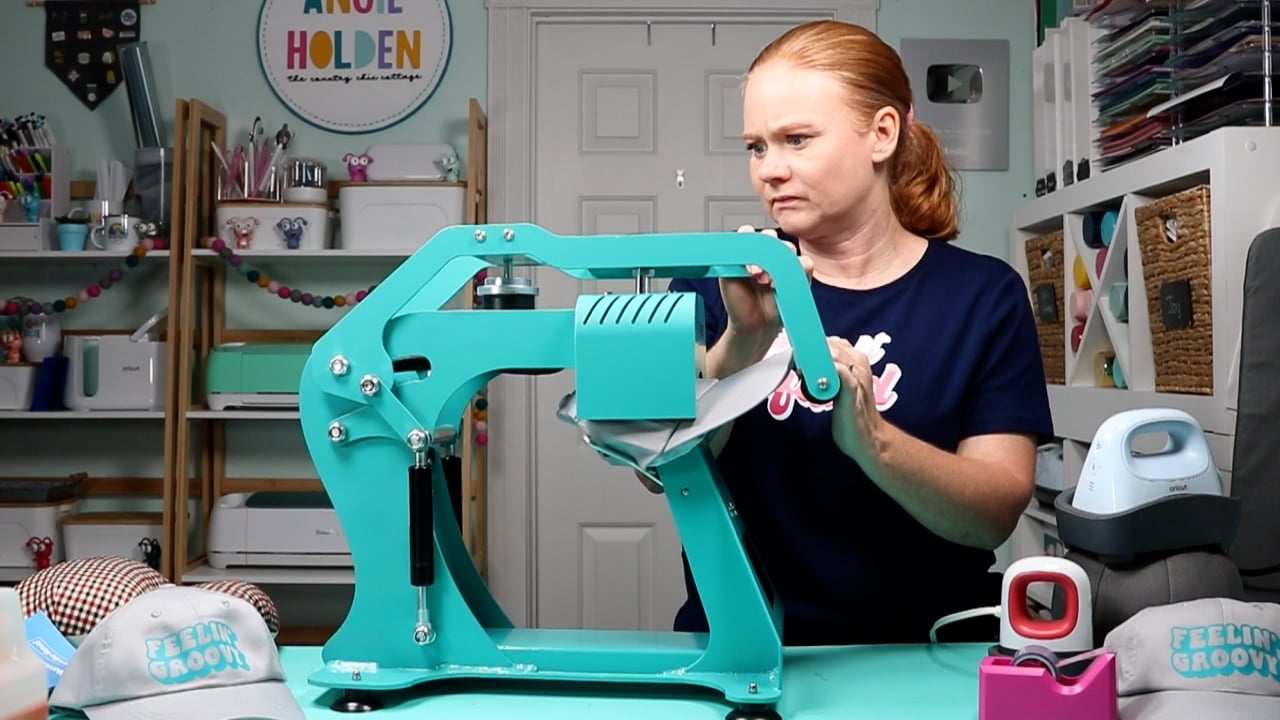
How is the WalaPress Different than the Cricut Hat Press?
This is a professional hat press, it is larger than the Cricut Hat Press and has a variety of different features that I’ll cover below. The WalaPress has a control panel on the front where you set the time and temperature. The power button is on the side. It also has a pressure adjustment knob. You can turn it up or down to adjust the pressure. You can test the pressure before turning the press on to make sure you have the right amount of pressure for what your HTV calls for.
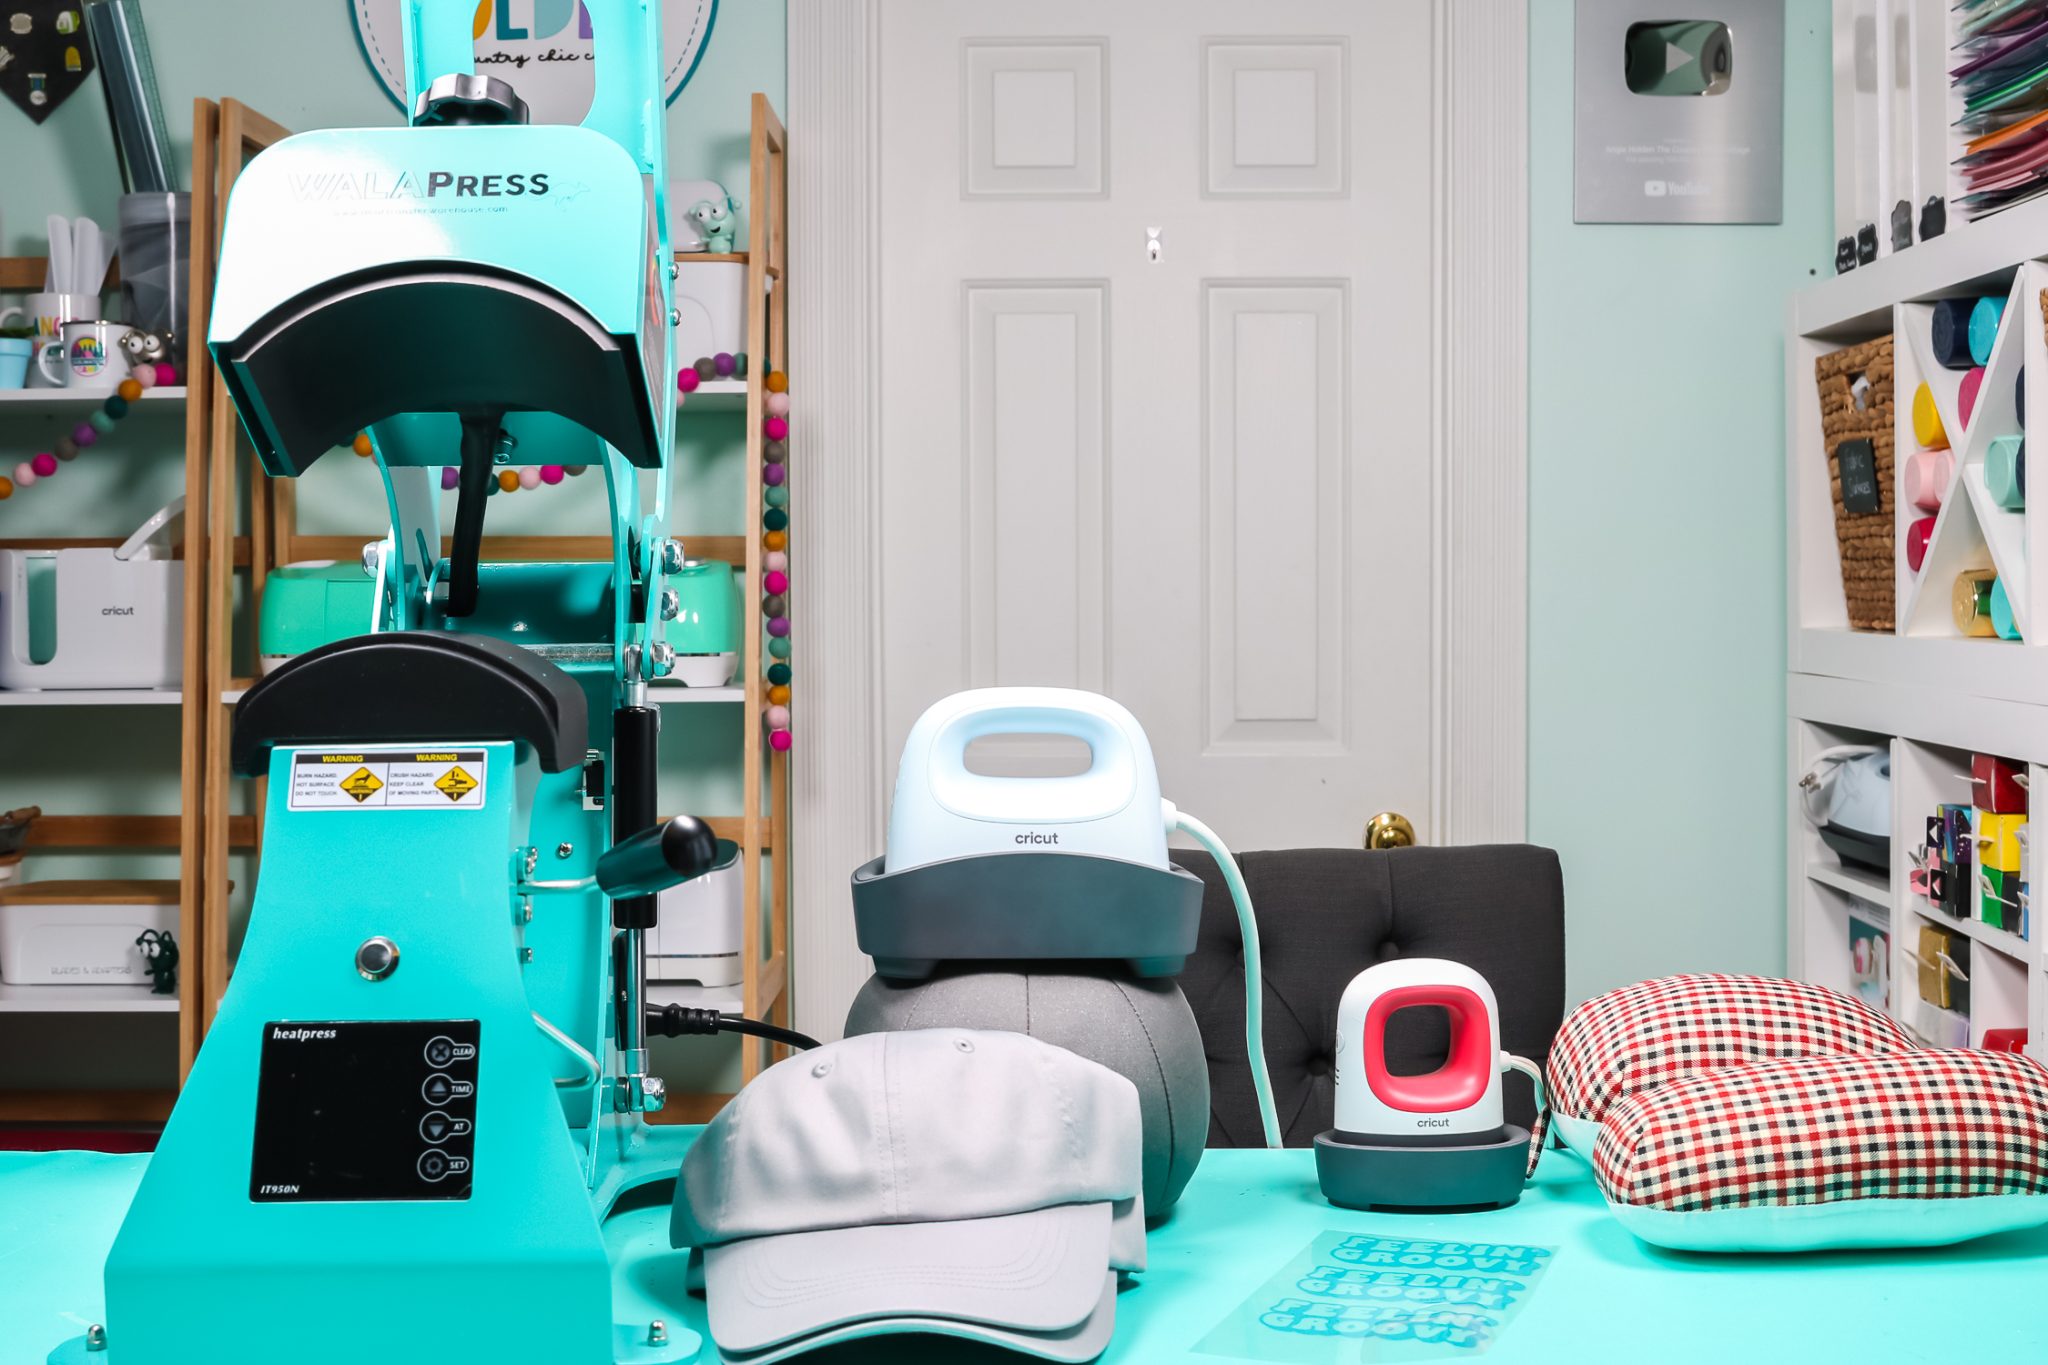
How to Add a Hat to the WalaPress
The WalaPress has its own form piece that you place the hat onto. You don’t have to add any additional inserts inside the hat. You do need to remove everything from the inside and flip out the inside bill. This will help make sure the front of your hat is nice and smooth for the HTV.
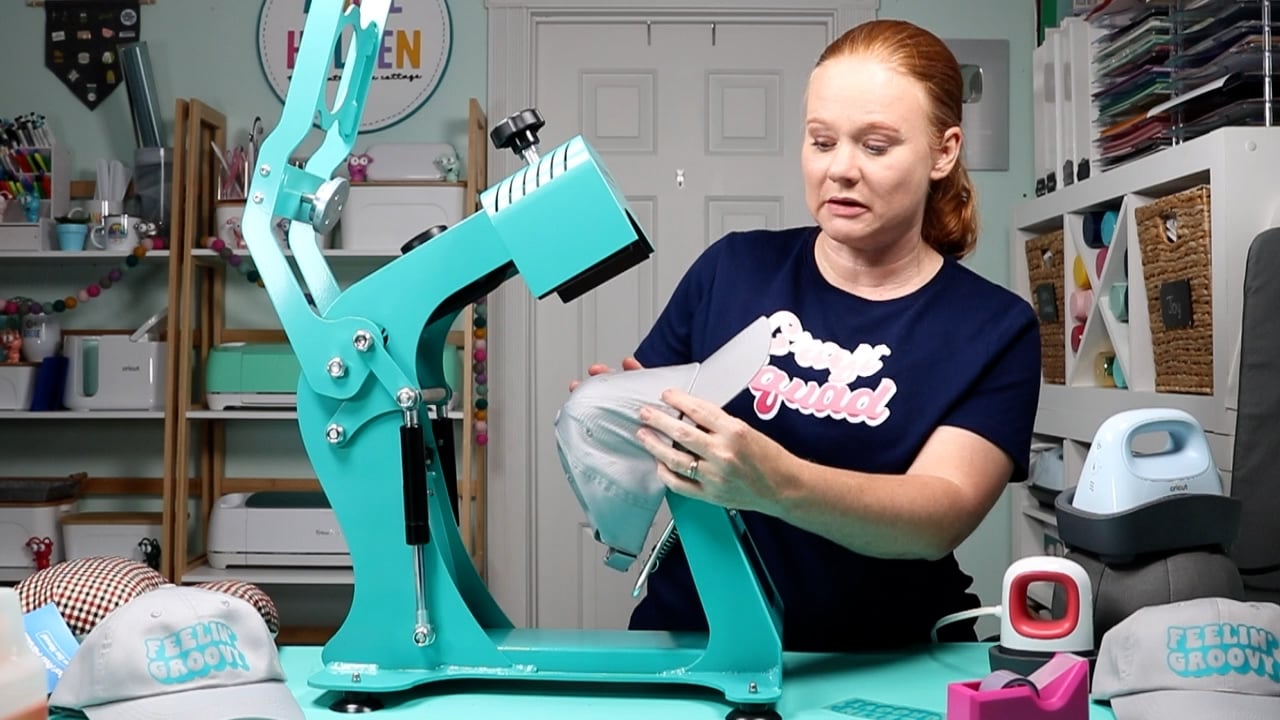
Both the bottom surface as well as the top are curved. Add the hat to the bottom and put it nice and tight. There is a lever behind it that you can use to hold the hat into place
Preheat to remove any moisture. This will also allow you to make sure the hat is in the right location. I found once I used the press a few times I really got to know the right location for the hat on the press. Be prepared to make some adjustments the first few times you use it.
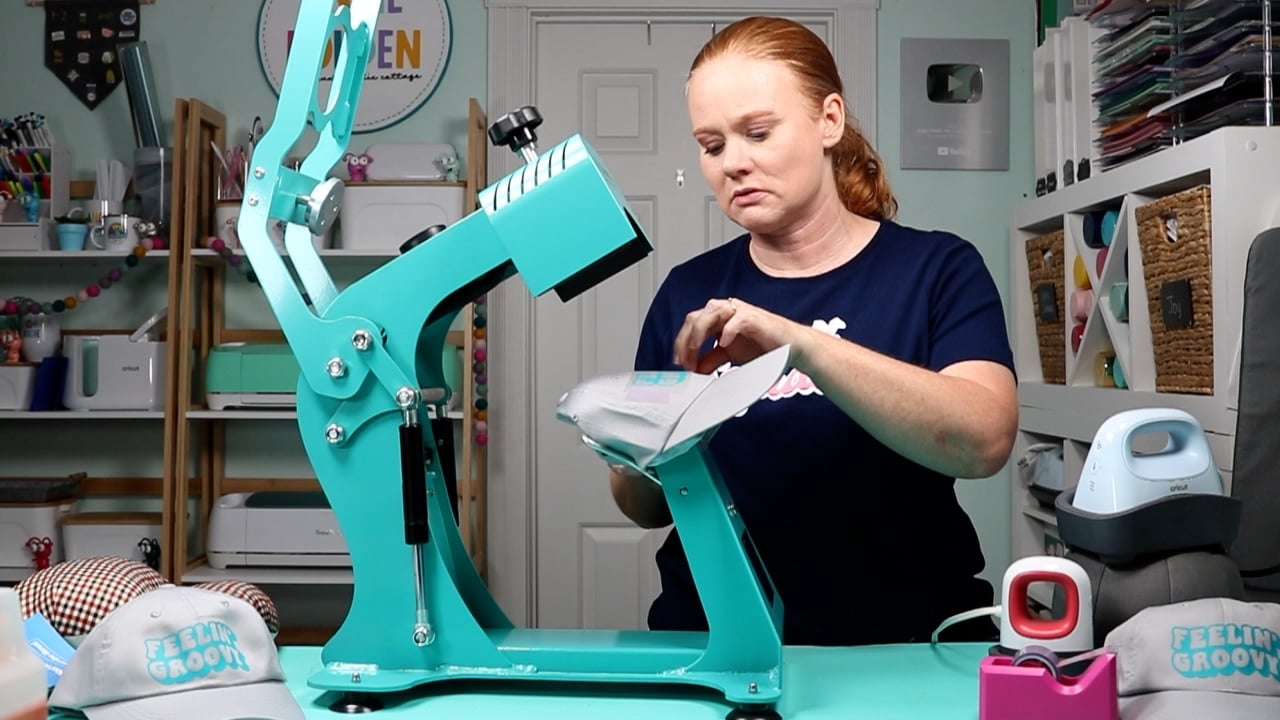
Applying HTV to Hats with WalaPress Hat Press
Once you have your hat loaded onto the hat press follow the same steps we did before to apply the HTV. Locate the design and add some heat tape to hold it into place.
One of the things I like about a stand-alone hat press is that it’s easy to get inside and see exactly where the design is gonna sit and add that heat tape. When you’re using a form it can be a little tricky to make sure the design is exactly where you want it but it’s really easy on this hat press.
Once the HTV is in place bring down the top of the hat press and make sure everything is covered and lock into place.
This press has a magnet that will hold the pressure for the entire time. As soon as the time is up the magnet is going to release and open up. This is an auto-open press and I love that feature. If you’re making a lot of hats this feature allows you to do something else while applying HTV or even sublimation with no worry that the pressing will be messed up.
When the press pops open your project should be done. Double-check if your HTV is a cool peel, and then remove the carrier sheet to reveal your beautiful hat! Remove the hat from the hat press and your hat is ready to wear, sell, gift, or whatever you want to do with it.
Final Thoughts on the Hat Press Comparison
Now that we’ve made a hat with each different press let’s talk about which hat press is best. This answer may be different depending on your needs. Looking at the finished hats I don’t think you’d be able to guess which press made which hat. I feel like they all make hats equally well, some just take more work than others.
EasyPress Mini
If you’re making a lot of hats, you may get frustrated with the EasyPress Mini. It might not always work exactly right and it definitely takes more time than the other options. I would probably not recommend the EasyPress Mini for sublimation on hats. Maybe if you’re doing a very small design it would work but I do think you may have spots that will sublimate well and spots that won’t.
Cricut Hat Press
For the hat press comparison, I made baseball caps with all of them. Using the Cricut Hat Press I’ve made a wide variety of other hats including ones with designs all the way around them. You can see more of those here. I think some of those would be difficult to do with the EasyPress Mini.
The curved surface of the Cricut Hat Press as well as the hat form makes making hats a lot easier. It can still be a lengthy process though. Adding the hat to the form, moving the hat press back and forth, pressing down, etc. You have to be at the hat press the entire time. With HTV you’re looking at 30 seconds or so. If you’re doing sublimation or layering HTV, that will be even more time at the Hat Press. If you’re going to do a lot of hats, the Cricut Hat Press might not be the solution for you.
WalaPress Hat Press
The WalaPress Hat Press is great. I think it’s a great option if you’re making a lot of hats. It’s really easy to get the hat loaded onto and with the auto-open feature, you have the opportunity to prep another hat while one is pressing or even work on designs or packaging.
It does take up more space than the other options and is more expensive. I don’t think it’s a craft room necessity unless you’re making a lot of hats or if maybe you have any restrictions where holding the press for an extended time might be hard.
The WalaPress is just one example of a hat press. They also make like eight and one machines where there’s a heat press and there are accessories where you can change it over to a hat press.
I did have one of those at one time. I will say that changing from a heat press over to a hat press is fairly difficult. If you’re going to do it repeatedly and often you might get frustrated with those changeable heat presses. Now, if you’re just gonna change over to hats every once in a while, that might also be a solution for you.
I hope this hat press comparison helps you in your decision about which press to buy. If you have any questions, leave them in the comments below and I’ll be happy to answer them for you. All that is left is to start making those hats!