This post and photos may contain Amazon or other affiliate links. If you purchase something through any link, I may receive a small commission at no extra charge to you. Any supplies used may be given to me free of charge, however, all projects and opinions are my own.
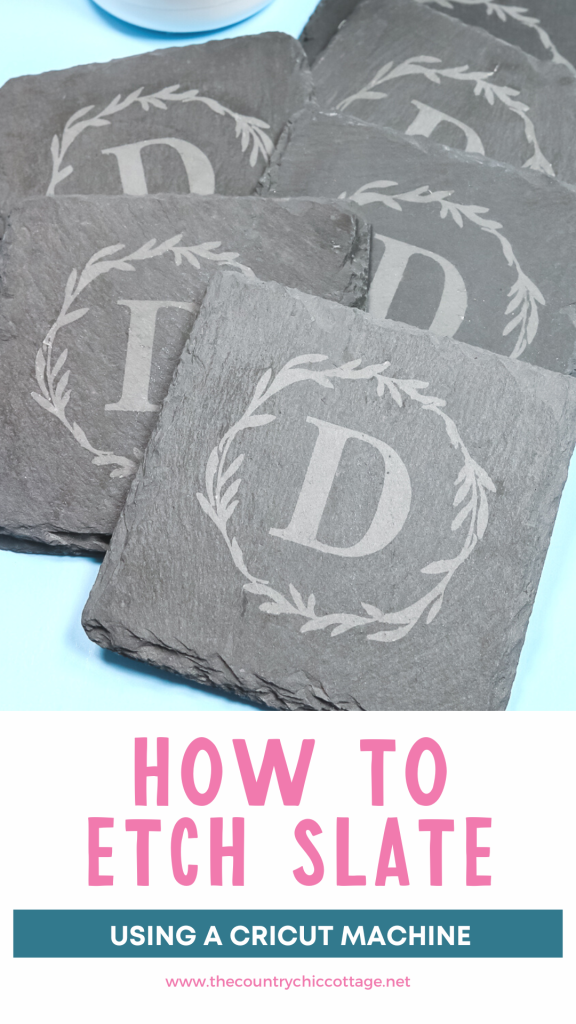
Are you ready to try a new Cricut project? Did you know you can etch slate with a Cricut machine? By using the same etching cream you’ve used to etch glass, you can etch slate! Keep reading to learn how to create etched slate projects.
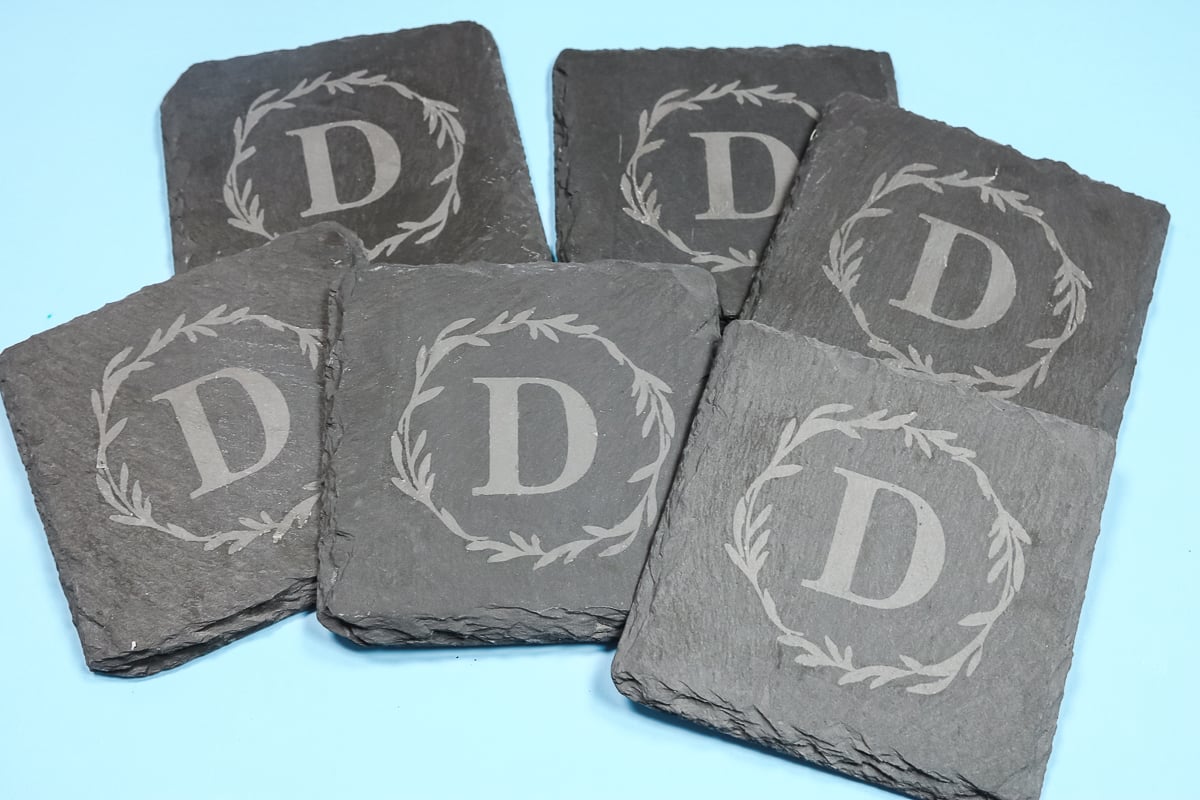
I am making slate coasters for today’s project. You can use this same process with any slate. These are just plain slate coasters, they’re nothing specific. You could do something like a slate cheese tray as another option with this process.
You can watch me make these etched slate coasters from start to finish by pressing play on the video below:
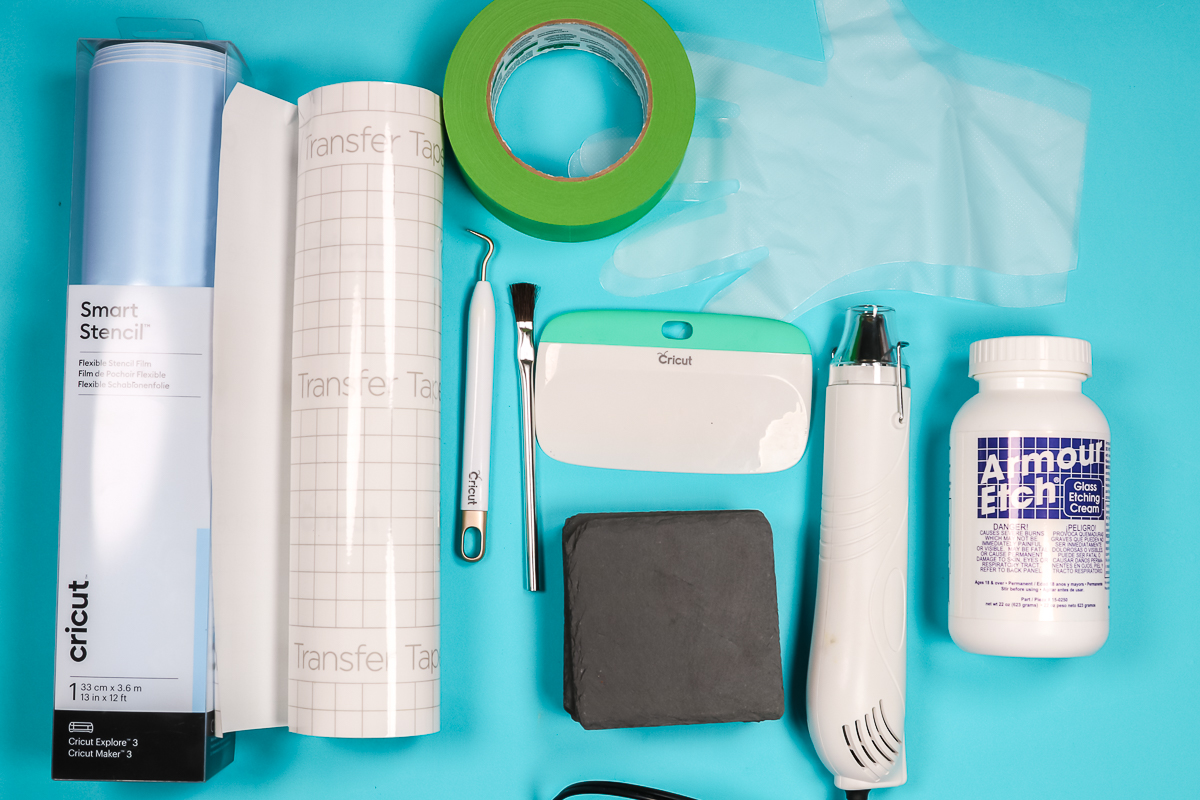
Supplies Needed to Etch Slate with a Cricut Machine
Note on Supplies:
You may want to get a few different supplies than those I have listed above. Here are a few notes for doing that:
- I am using slate coasters purchased off Amazon. Anything else that you can find that is slate would work too.
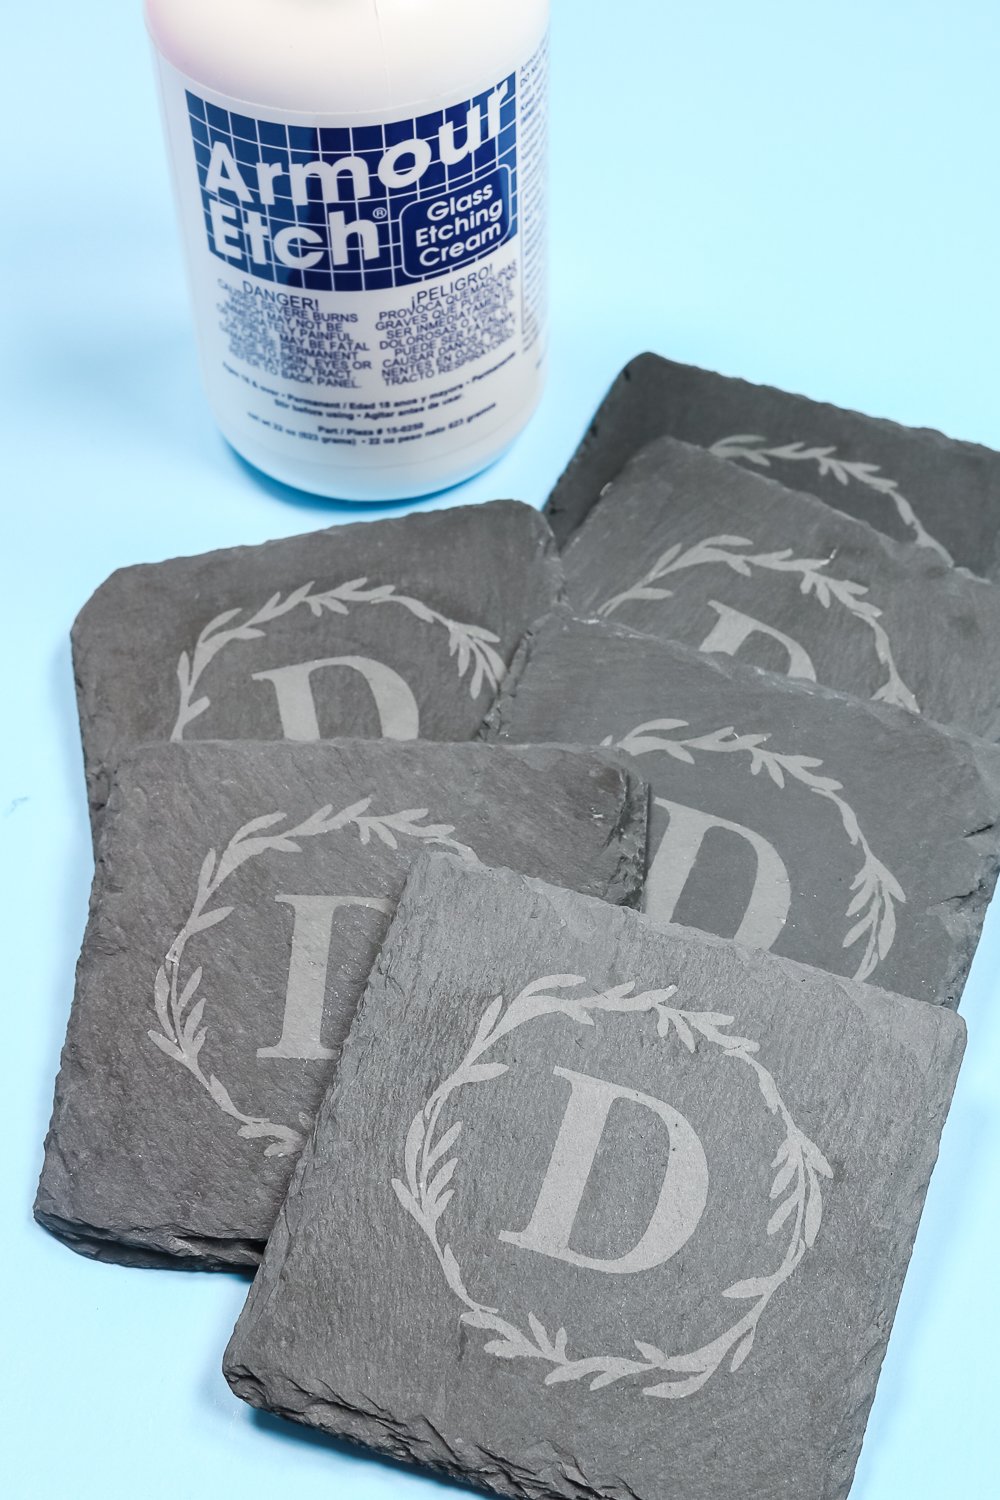
- Armour Etch etching cream is my favorite. If you have a different etching cream you like, you can use that instead.
- Cricut Stencil Vinyl is easy to use for this because of how flexible it is. You can use either Smart Stencil or the regular version that goes on the mat. You could also use any permanent vinyl or even removable vinyl for this project.
- I also like to use an inexpensive disposable paintbrush so I can just throw it away after applying the etching cream. Any paintbrush would work, however.
Etch Slate with a Cricut Machine
The great news about this project is that you can use any Cricut machine to etch slate. Because we’re just cutting a vinyl material as our stencil you can even use the Cricut Joy.
Choosing a Design in Design Space
I used the Cricut Monogram Maker to create my design for my slate coaster. If you’re new to Design Space, you can learn all about the Monogram Maker here. If you have any questions about using the Monogram Maker, check out that post.
I cut six copies of my design because I have six coasters. I cut my designs close together to save material. If you’re not worried about saving material, you can move the designs further apart before you cut.
NOTE: Design Space is going to automatically lay out your design on the mat to save material. I’m going to cut mine out the way Design Space lays them out.
How to Weed Stencil Vinyl
When your machine is done cutting It’s time to weed the material. Remember we’re creating a stencil so we want to weed out the design we want to be etched onto the coaster. We’ll use a weeding tool just like we would with regular vinyl.
Don’t take away the outside and make sure you leave in the center of the letters.
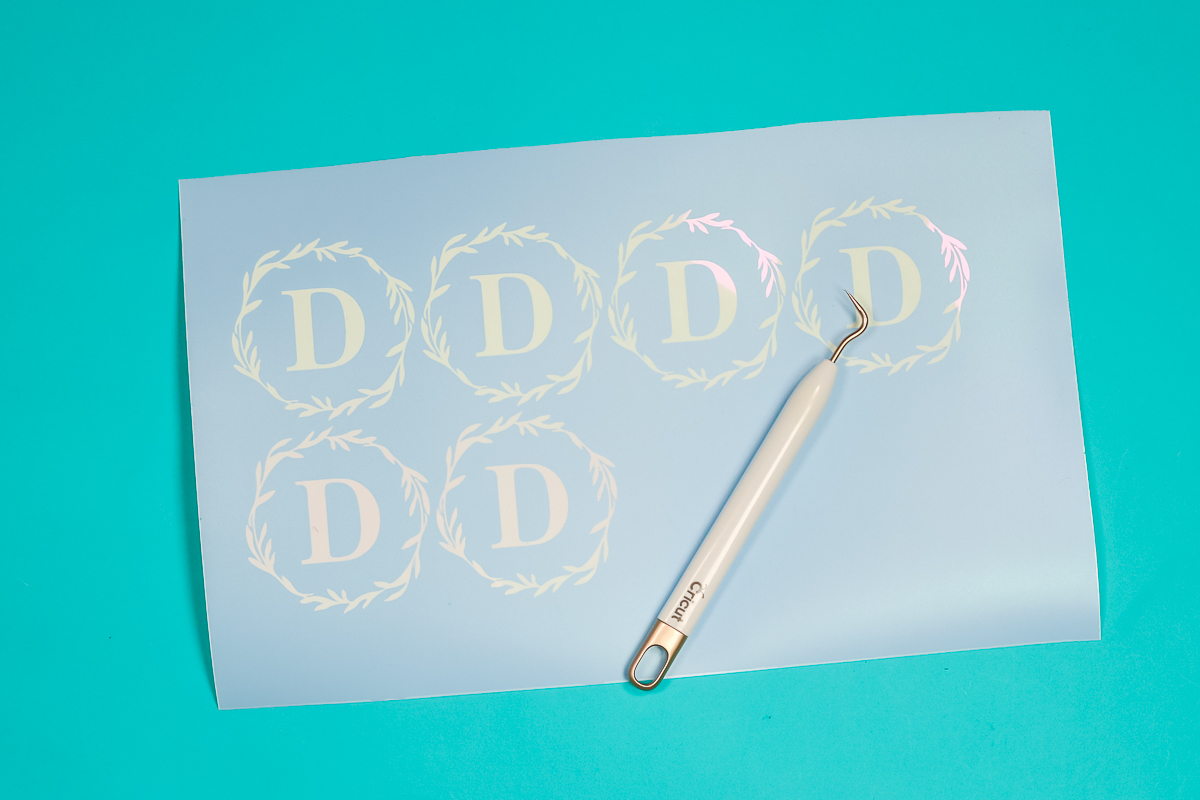
You can see in the image above that my designs are close together. I’m going to cut the designs apart to separate them.
How to Use Transfer Tape with Stencil Vinyl
To apply our stencil to the slate coaster we’re going to use transfer tape. Trim the transfer tape so it covers the entire image.
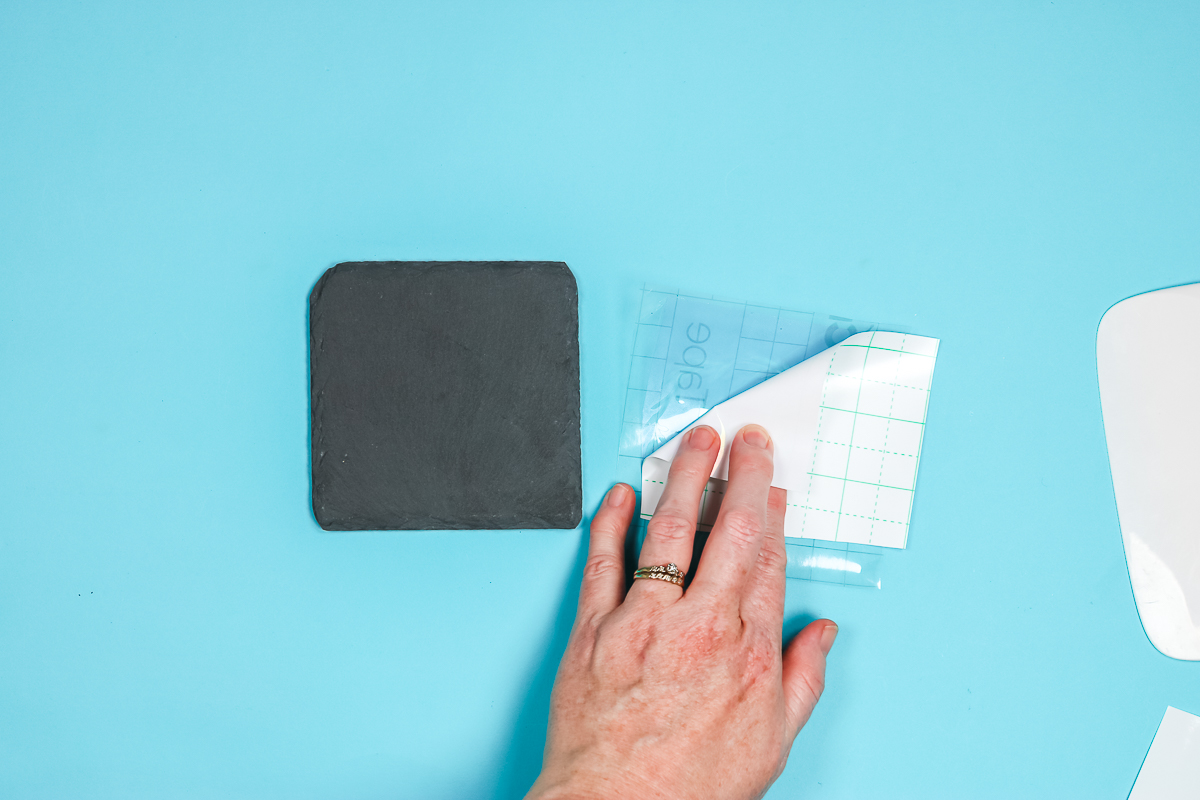
Peel the carrier sheet away from the transfer tape and place it on top of the design. Burnish really well on both the front and the back and remove the backing from the stencil vinyl. Make sure your entire design adheres to the transfer tape.
Use a lint-free cloth to clean the surface of your slate really well. Center the design on your slate coaster and use your scraper to burnish it down. Peel back the transfer tape and make sure the entire design stays stuck down to the surface.
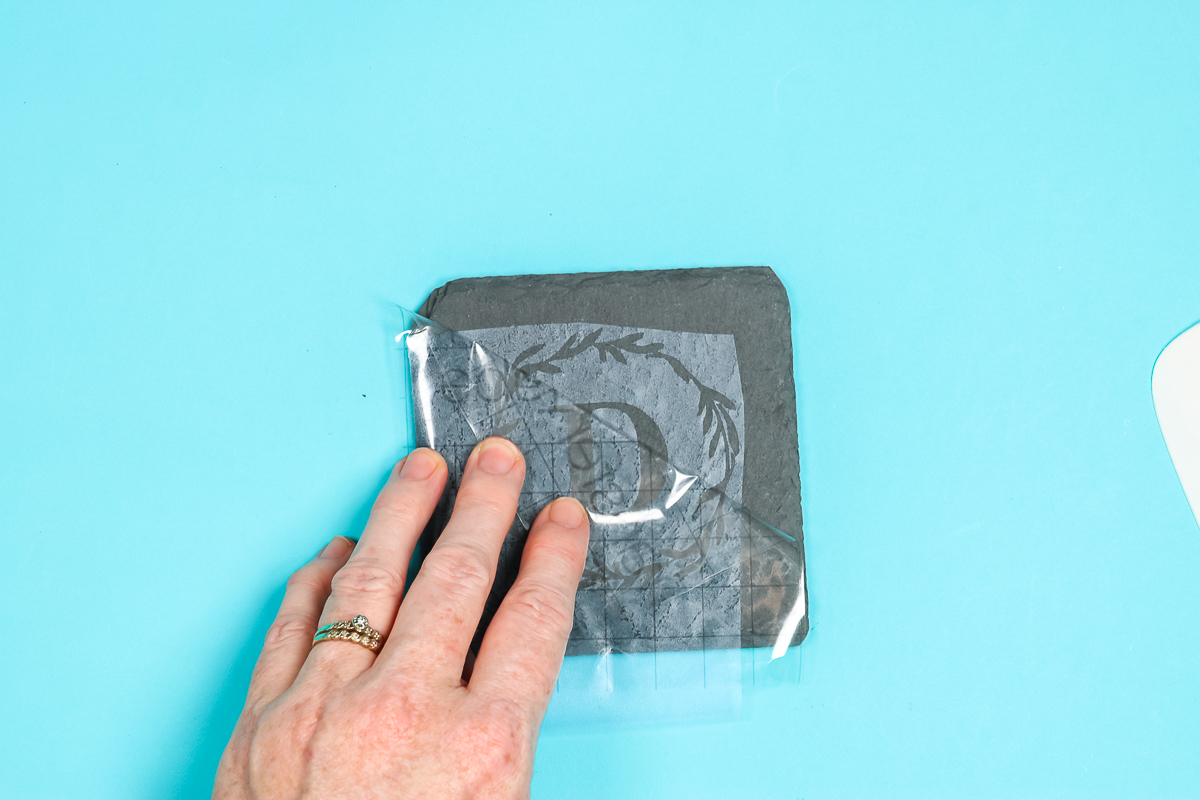
We want to leave the vinyl on the slate. If it’s not releasing from the transfer tape, burnish it more. Once you have the vinyl on the slate, we’re just going to burnish it once more.
Use Heat to Apply Stencil Vinyl to Slate
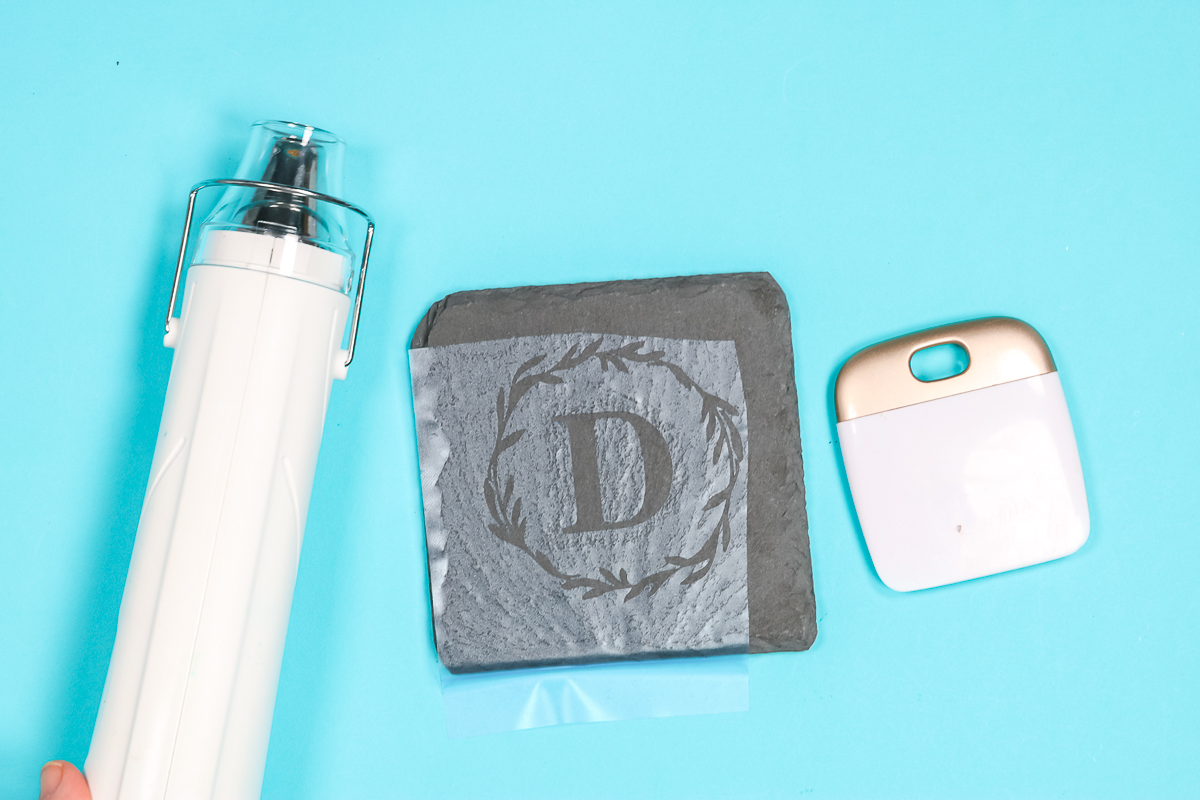
Now that we have the stencil vinyl stuck down to the slate we want to use either a hair dryer or low temp heat gun to heat up the stencil.
We want the material to become flexible and then we’ll burnish it again with the scraper. This step is critical because the slate surface is not smooth. Heating up the vinyl will help it really form to all the nooks and crannies of the slate.
Use a small scraper and go around all of the design edges as well as you can. If you need to heat the vinyl again, go ahead and do that.
NOTE: If you watch the stencil, you’ll see the color kind of changes as you burnish it down. Keep an eye on that and burnish as much as you can, this will help you get the cleanest etch lines possible.
Use Painter’s Tape to Protect Slate
This is where my space-saving tip comes in. If you allowed the Cricut machine to lay out your design, use painter’s tape to cover the area of slate that isn’t covered by the stencil material.
If you moved the design and your excess stencil vinyl covers your area, you can skip this step.
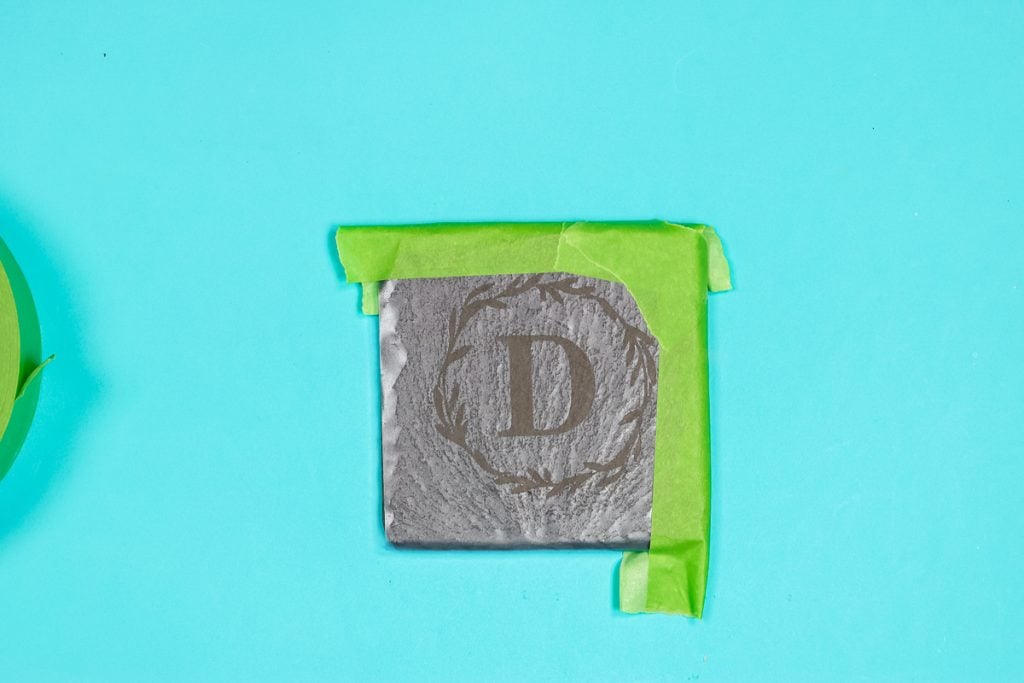
Because I used the vinyl-saving method, I had two sides of my surface that were uncovered by the stencil vinyl. I added painter’s tape to those areas then spent several minutes burnishing the whole area to make sure all the slate I wanted to be protected was covered well.
Etch Slate with a Cricut Machine
Now that my slate surface is prepped it’s ready for etching cream. You do want to wear protective gloves and I use a disposable brush to apply the etching cream.
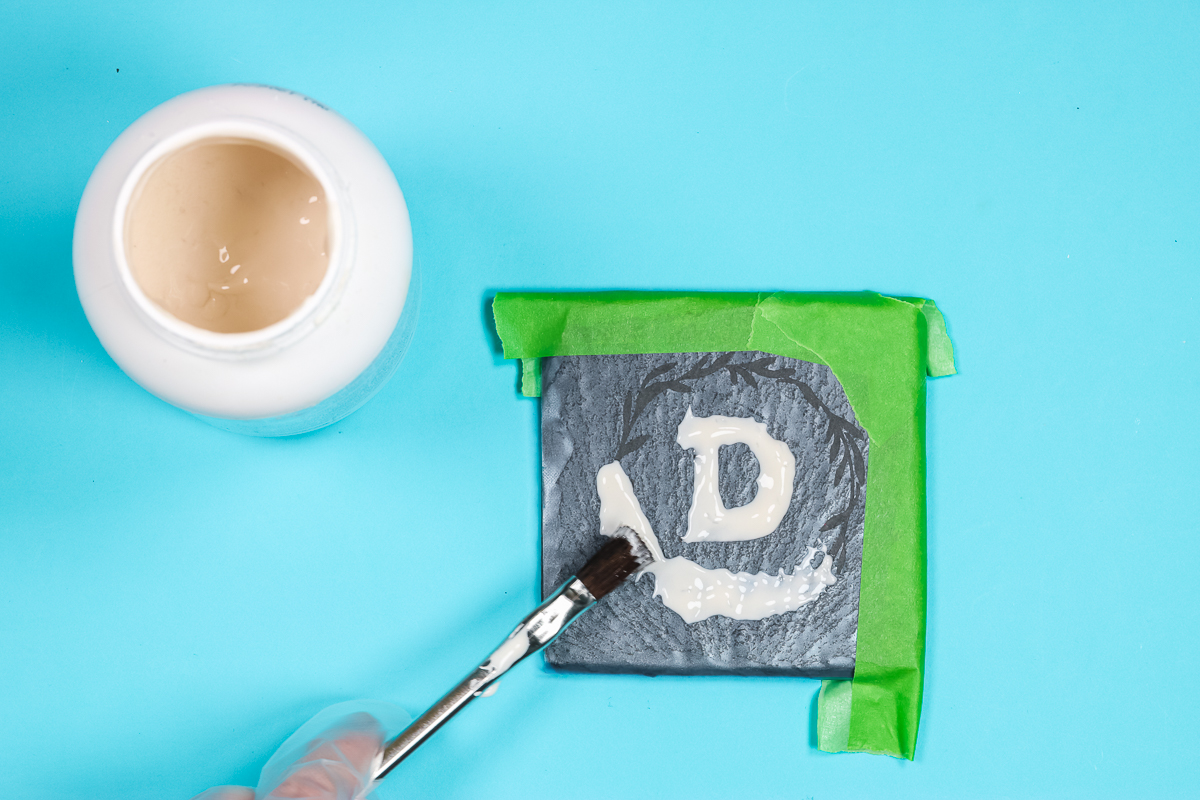
Use the paintbrush to pick up some Armour Etch and dab it onto the stencil and cover all the exposed areas. I do try to not get the etching cream on the painter’s tape at all, it’s there in case I mess up.
Cover the whole design and then let it sit for five minutes.

When the five minutes is up go through and dab over the whole surface with a paintbrush and then let it sit for five more minutes. You don’t need to apply more Armour Etch just move it around to make sure it gets everywhere on the stencil.
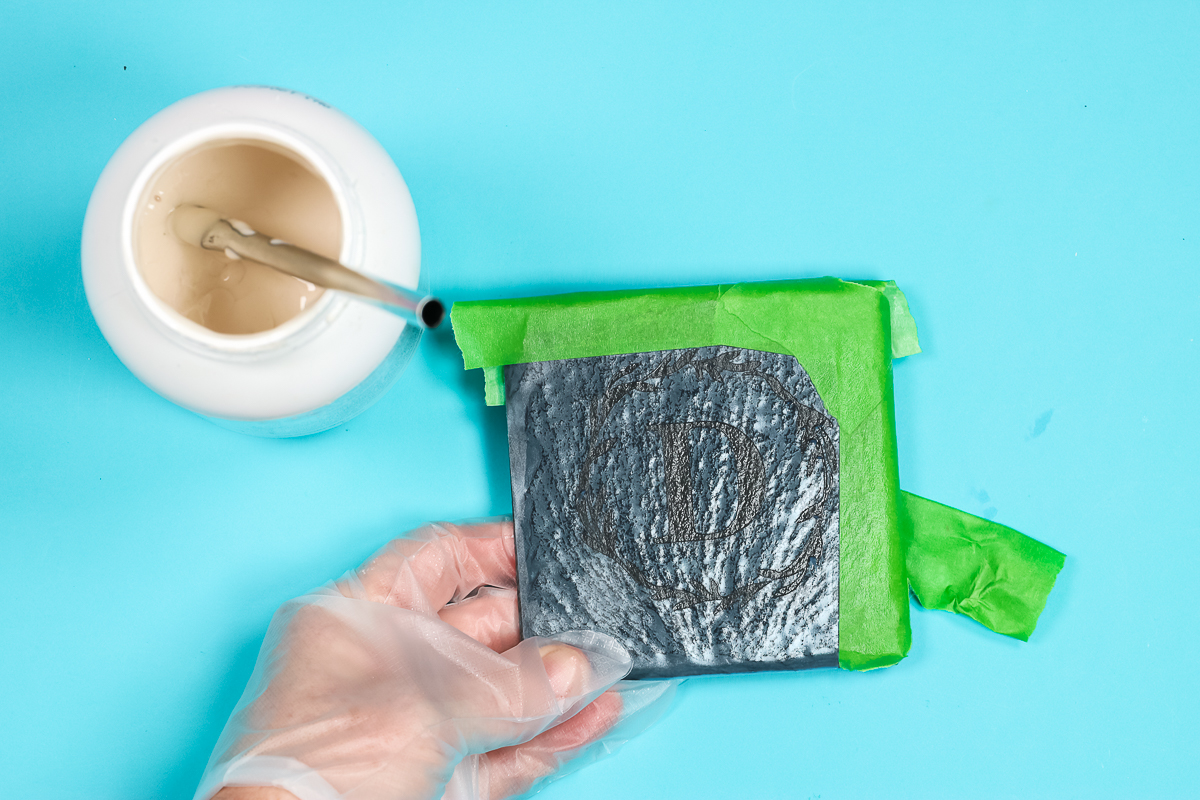
Reuse Armour Etch
Did you know you can reuse Armour Etch? You can actually scrape off as much of the etching cream as possible and put it back in your container. This is one of the reasons I love etching projects.
How to Remove Armour Etching Cream
Once you’ve removed as much of the Armour Etch as you can, take the slate to the sink and wash it off. With the etching cream washed off, it’s time to remove the stencil material.

Once the stencil material and painter’s tape are removed you want to wash the surface really well. Etched slate does become a food-safe surface but you want to wash off all the Armuor Etch as the etching cream itself is not.
While the slate is wet, you may think it didn’t etch well. Once it dries, you’ll see the beautiful etching. If you want to see the design quickly, use your heat gun or hair dryer to dry the surface.
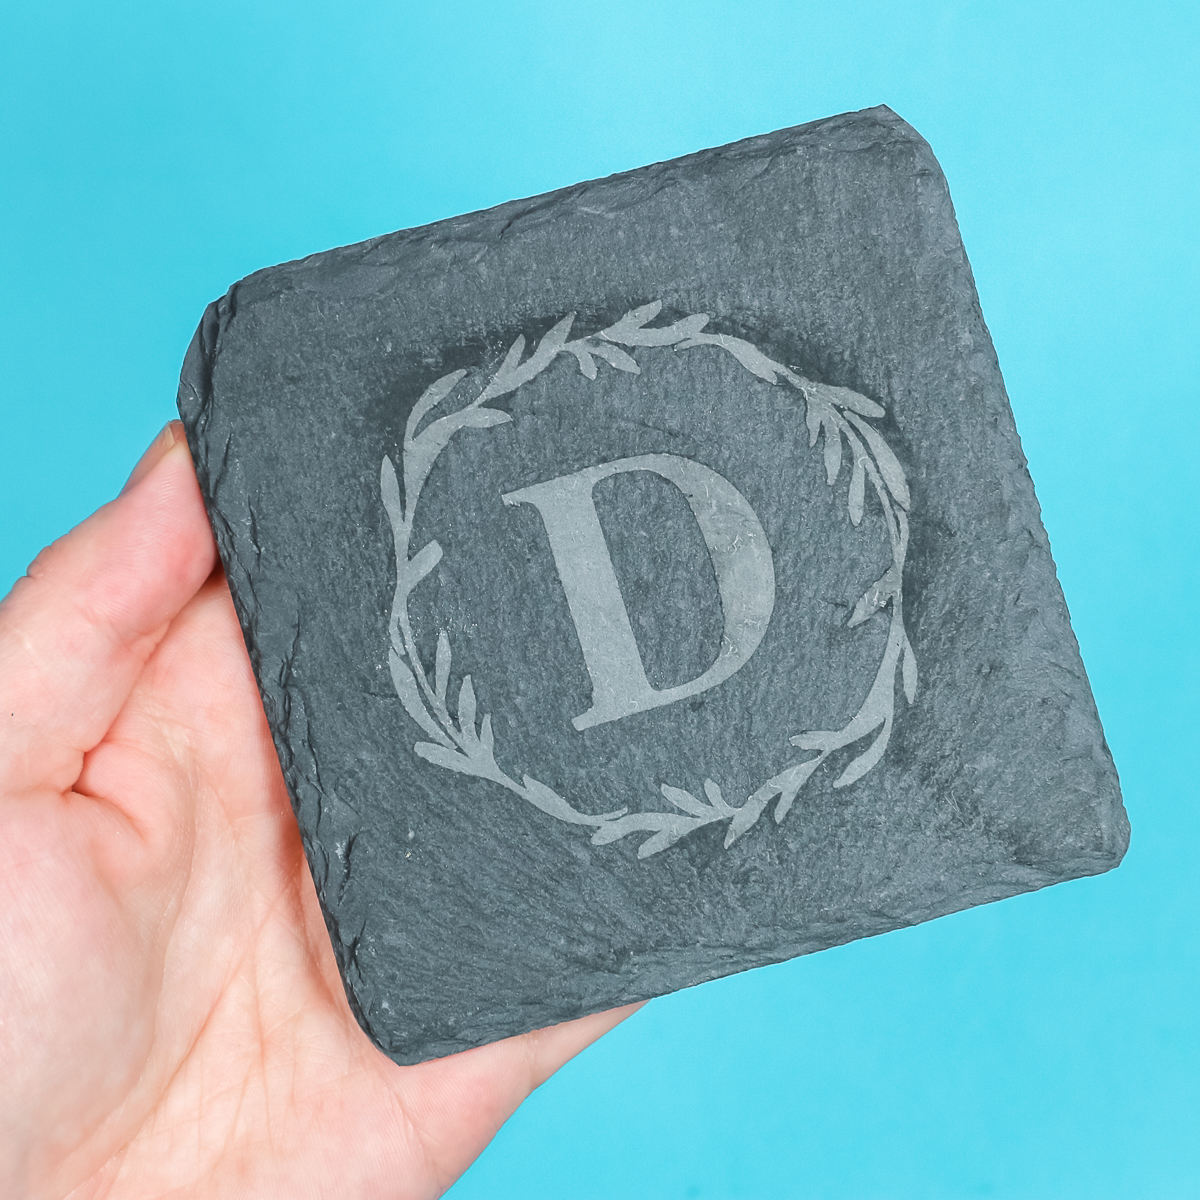
Here’s that etching up close. So you can just see the detail that I was able to get with this method. Now all that’s left to do is for you to try this project for yourself.
Final Thoughts on How to Etch Slate with a Cricut Machine
I really love how this turned out. The whole process is pretty easy and the finished product is beautiful. In case you’re worried that your design won’t show up when the slate is wet from a glass sitting on it, you don’t need to worry. Once the slate was dried the initial time, you can see the etched design even if the surface gets wet.
These etched slate coasters would make a beautiful addition to your home decor or a perfect gift. If you have any questions about how to etch slate with a Cricut machine, leave them in the comments and I’ll answer them for you.