This post and photos may contain Amazon or other affiliate links. If you purchase something through any link, I may receive a small commission at no extra charge to you. Any supplies used may be given to me free of charge, however, all projects and opinions are my own.
Did you know you can layer Cricut Infusible Ink? You can use Infusible Ink or sublimation markers to draw right onto Infusbile Ink sheets! This opens up a whole new world of crafts with Infusible Ink that you will love! If you love the hand-drawn look, you’re really going to love learning this technique.
If you’re new to Infusible Ink, learn all about what it is and how to use it here.
Learning that I could use Infusible Ink markers to draw right onto Infusible Ink sheets was a game changer in my crafting. Today I’m going to teach you how to use this technique on coasters and a mug.
You can watch me make both projects by clicking play on the video below:
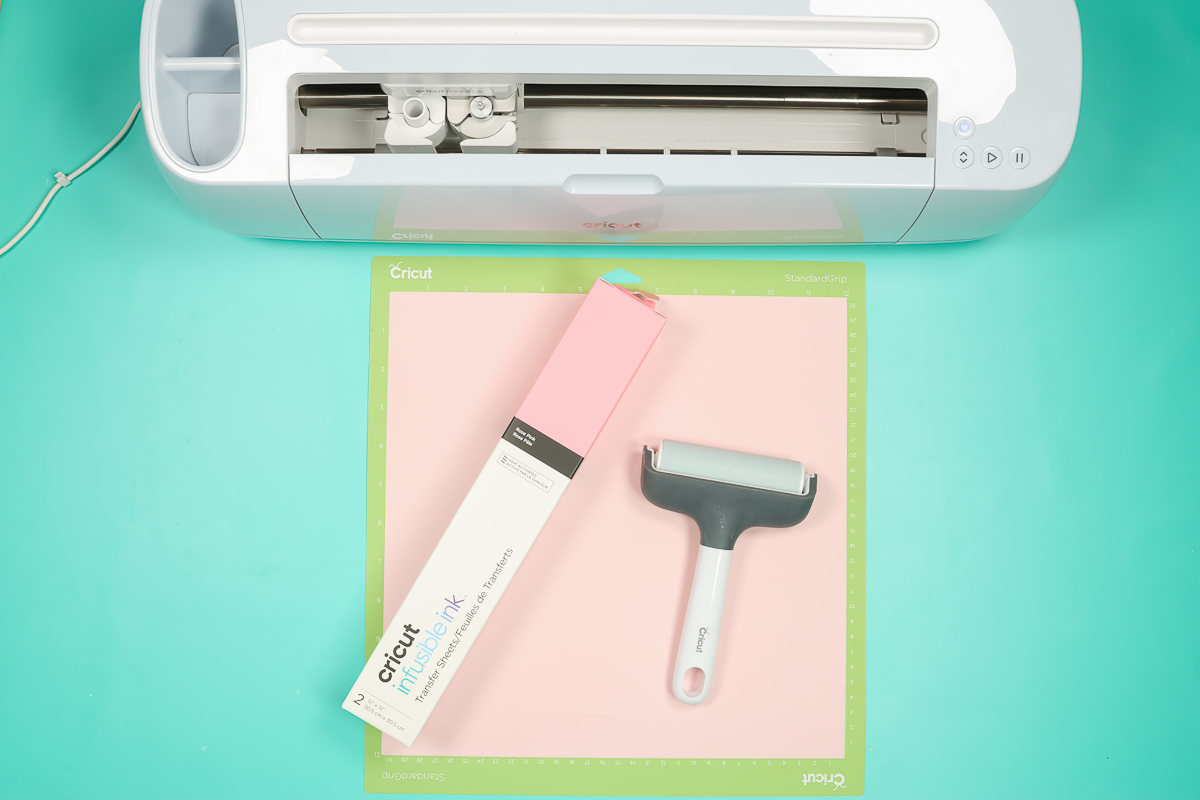
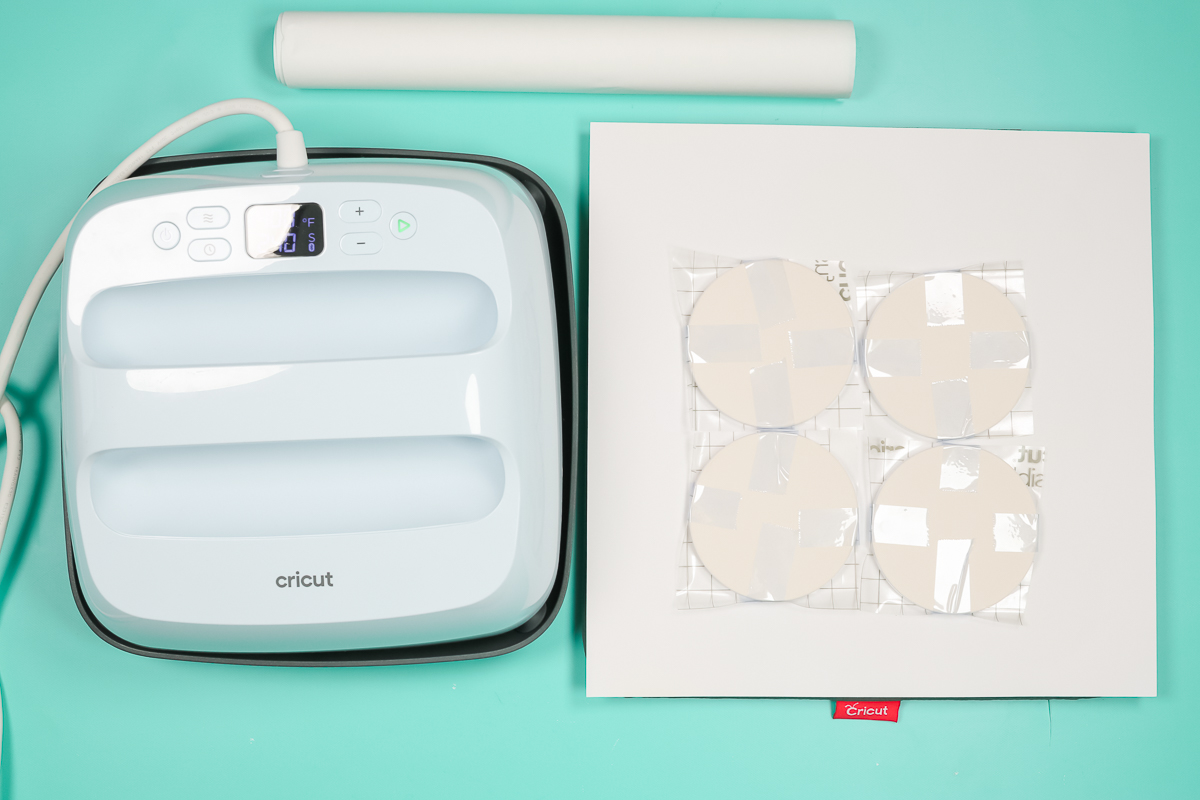
Supplies Used to Layer Cricut Infusible Ink
I’m going to make a mug and a set of coasters. You can use this same technique for other sublimation blanks as well – polyester shirts, polyester fabrics, tumblers, etc. I do recommend plain colored sheets of Infusible Ink. This will help the design stand out more. You could also use a light-colored watercolor design.
Supplies:
Materials:
I am using Cricut Infusible Ink and Cricut Pens. You can use whatever brand of pens and sheets you like best. If you’re using a different brand of pen/marker you may need to trick your machine into recognizing the pen. This post will teach you how to use different pens in your Cricut.
How to Draw on Infusible Ink
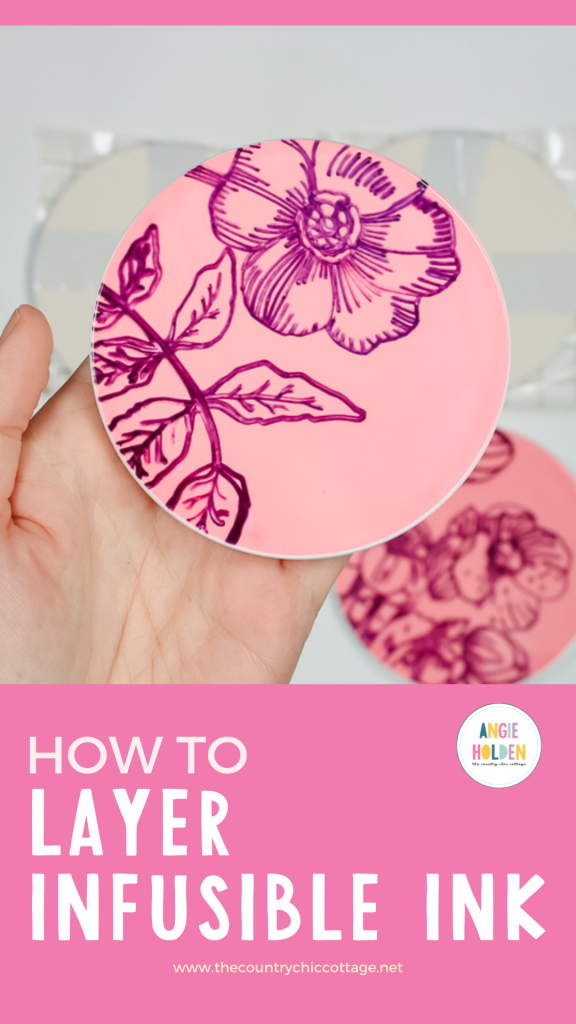
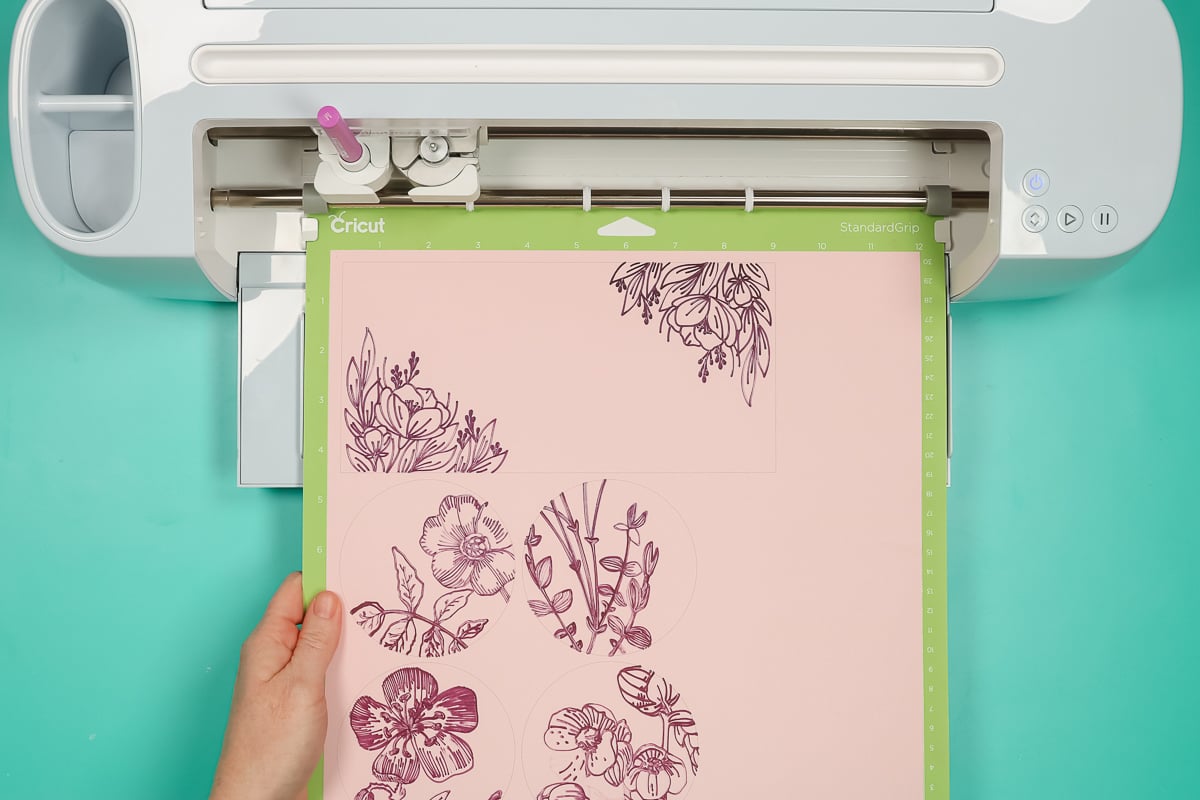
To layer Cricut Infusible Ink pens on the sheets, we need to start by choosing a design. I chose floral designs in Design Space. I recommend choosing a design that is a single-line design. If you choose a cut design, it will draw the design as an outline. You could use a pen to color in the outline manually if you wanted a thicker line. I am using a single-line design that is already in Design Space as my example.
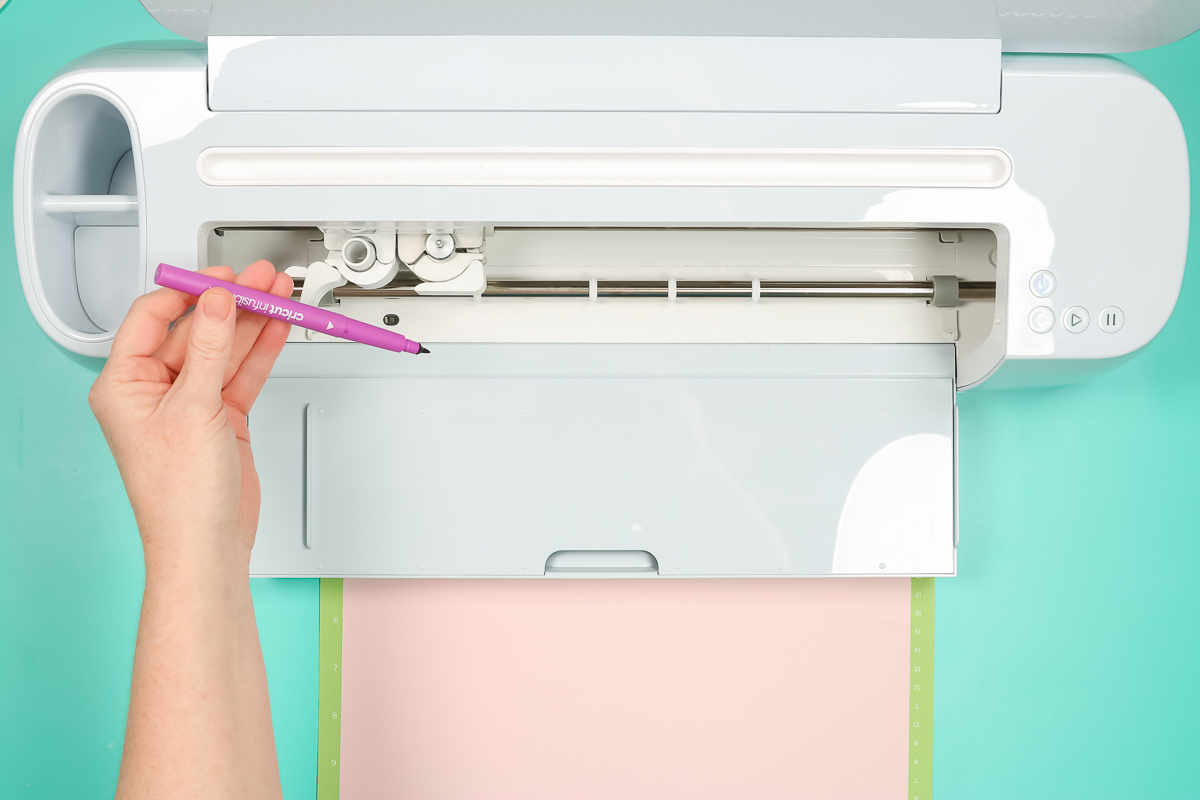
How to Load Cricut Infusible Ink Sheets
Add your Infusible Ink sheet to your mat just like you would normally. Infusible Ink is always applied carrier sheet side down on the mat. You will also always mirror your design in Cricut Design Space because you will always place the Infusible Ink face down on the surface you’re pressing on.
Any design will work with this process. My Cricut machine will both draw and cut my design.
Drawing On and Cutting Infusible Ink
Once your Infusible Ink sheet is in your Cricut machine and your marker is installed the Cricut machine does all the work for you. It will draw first and then cut the shape if you would like it to.
The main thing to know about how to layer Cricut Infusible Ink sheets and pens together is that the pen needs to show through the Infusible Ink sheet. I am using a dark purple pen and a light pink Infusible Ink sheet so the pen will show through the Infusible Ink when applied to the mug and coasters.
If for example, I used a black Infusible Ink sheet, there isn’t a marker that would show through that black. You need to choose markers that are darker than your Infusible Ink sheet.
Removing and Weeding Infusible Ink
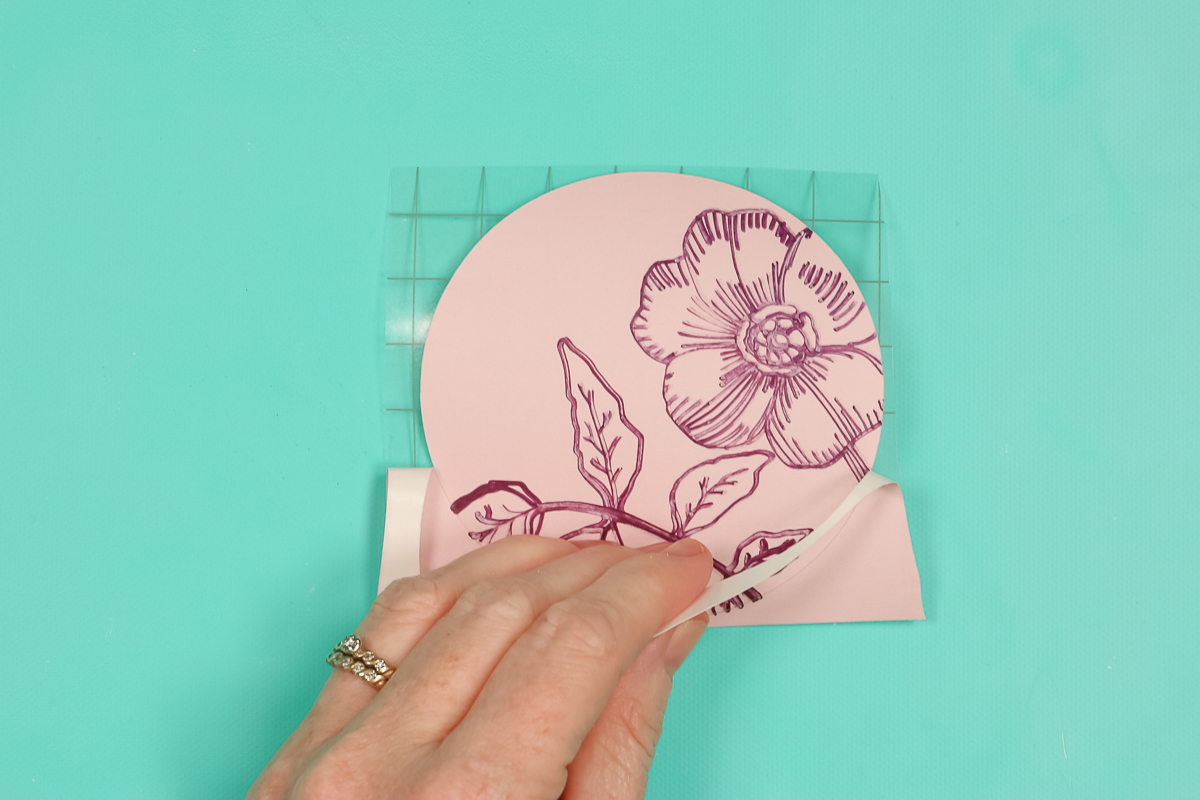
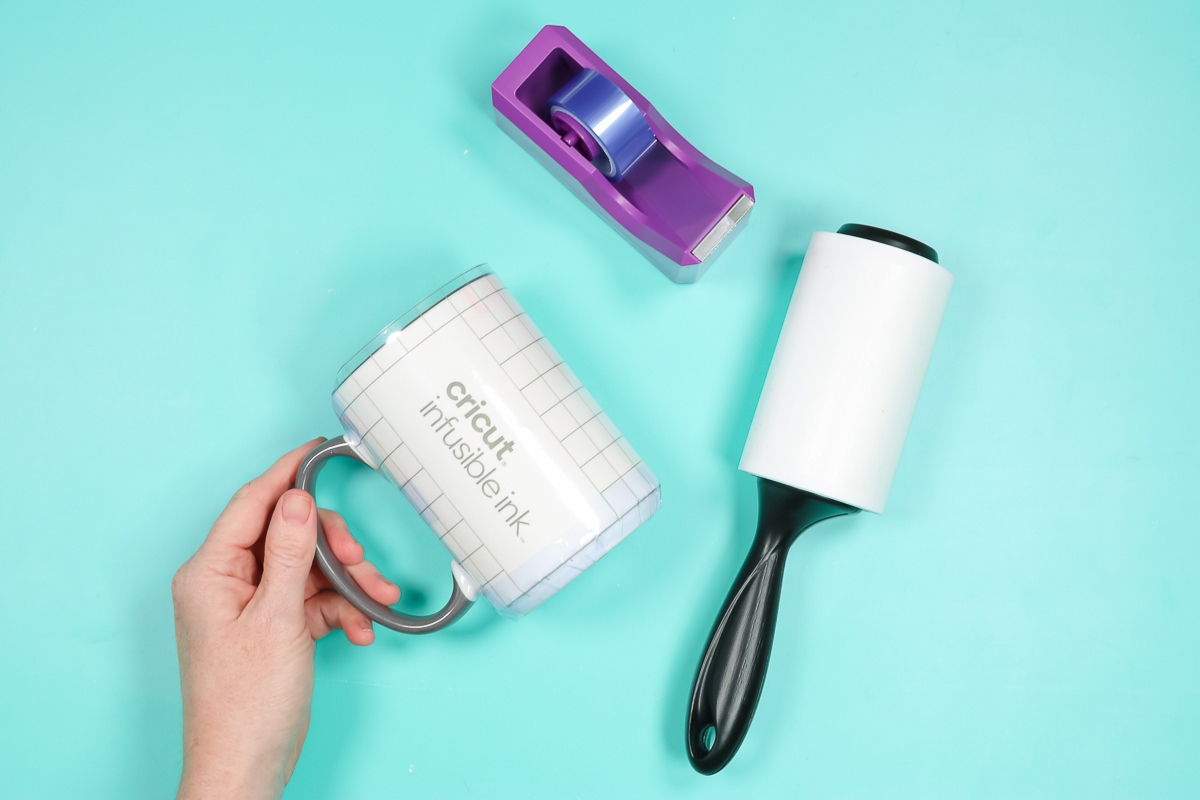
Once your machine is done drawing and cutting we’ll remove it from the mat. I recommend flipping your mat over and removing the mat from the Infusible Ink.
Weeding Infusible Ink can be a little tricky but it is possible. You want to bend the Infusible Ink sheet until you hear an audible cracking noise. It will literally crack as you bend it, that’s the sound of the cut lines releasing from themselves. Bend the sheet in both directions and then using your fingers (make sure they’re dry) peel away all the excess.
How to Press Infusible Ink Coasters
Once the Infusible Ink is cut and weeded, it’s time to press. I’m going to press the coasters first. Remember to make sure you’re using a sublimation blank. I am using an Infusible Ink compatible coaster.
Clean the surface really well with a lint roller and then apply the Infusible Ink sheet face down on the coaster. Use heat-resistant tape to hold it in place so the design doesn’t move.
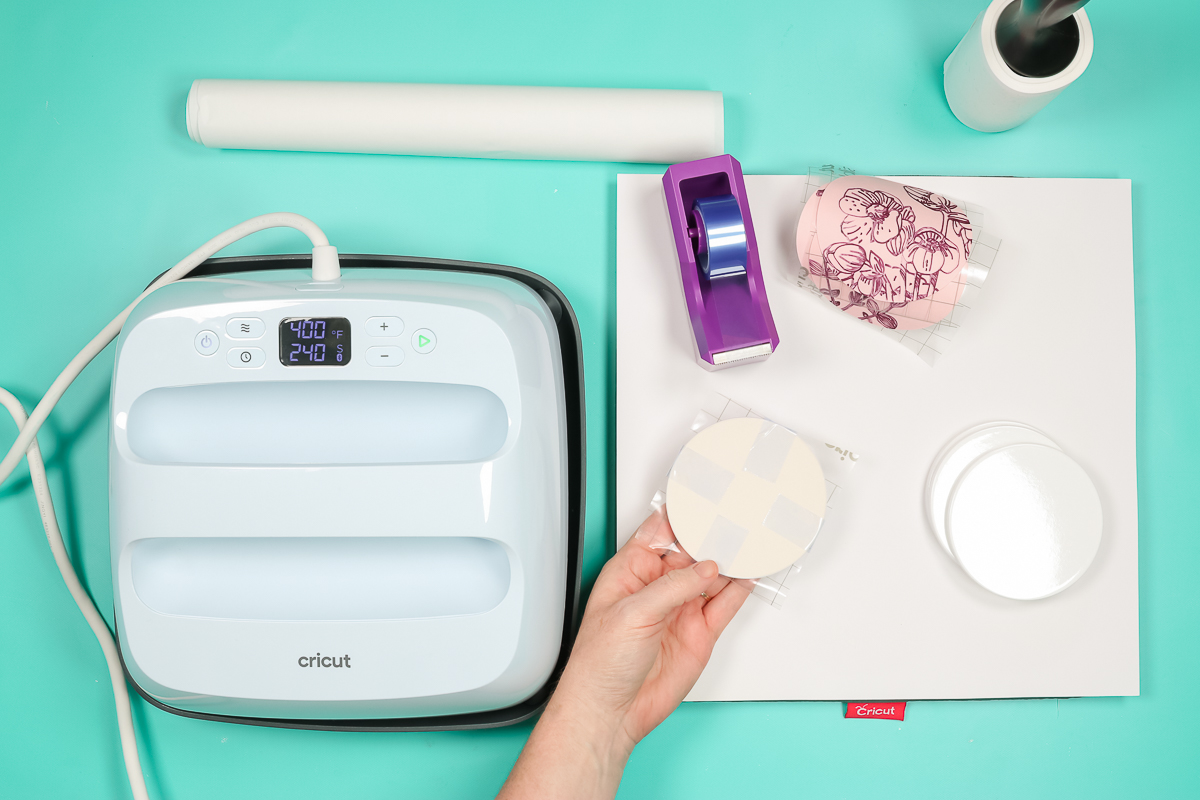
Apply a protective paper or butcher paper to the top and bottom to protect your surface and heat press. You can use any heat press for these coasters. Make sure you follow the pressing instructions for the set of coasters you’re using.
NOTE: Your instructions might be different than mine if you’re not using the Cricut Infusible Ink compatible coasters.
Removing Infusible Ink Sheets from Coasters
Once we’re done pressing, we need to remove the Infusible Ink sheet. These coasters will be extremely hot. Either allow them to cool completely before handling them or wear heat-resistant gloves. I do recommend you allow the coaster to cool at least a little bit before you peel back the sheet.
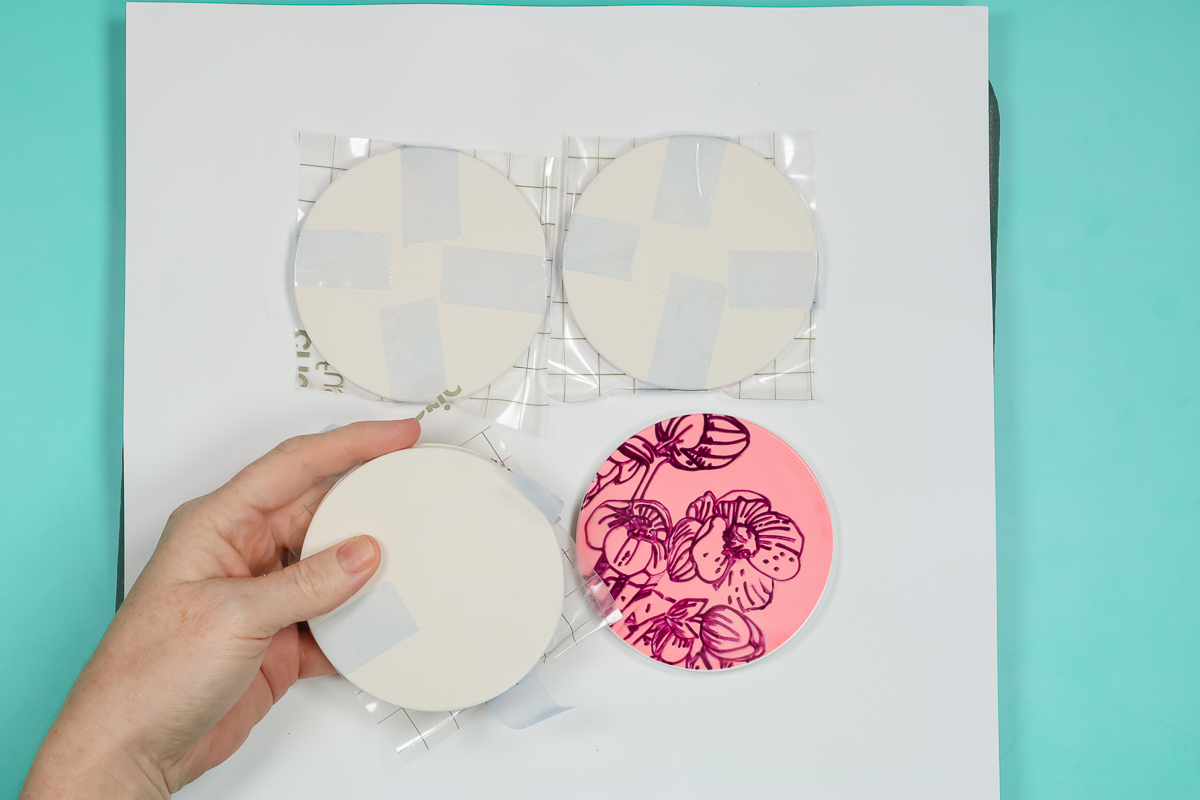
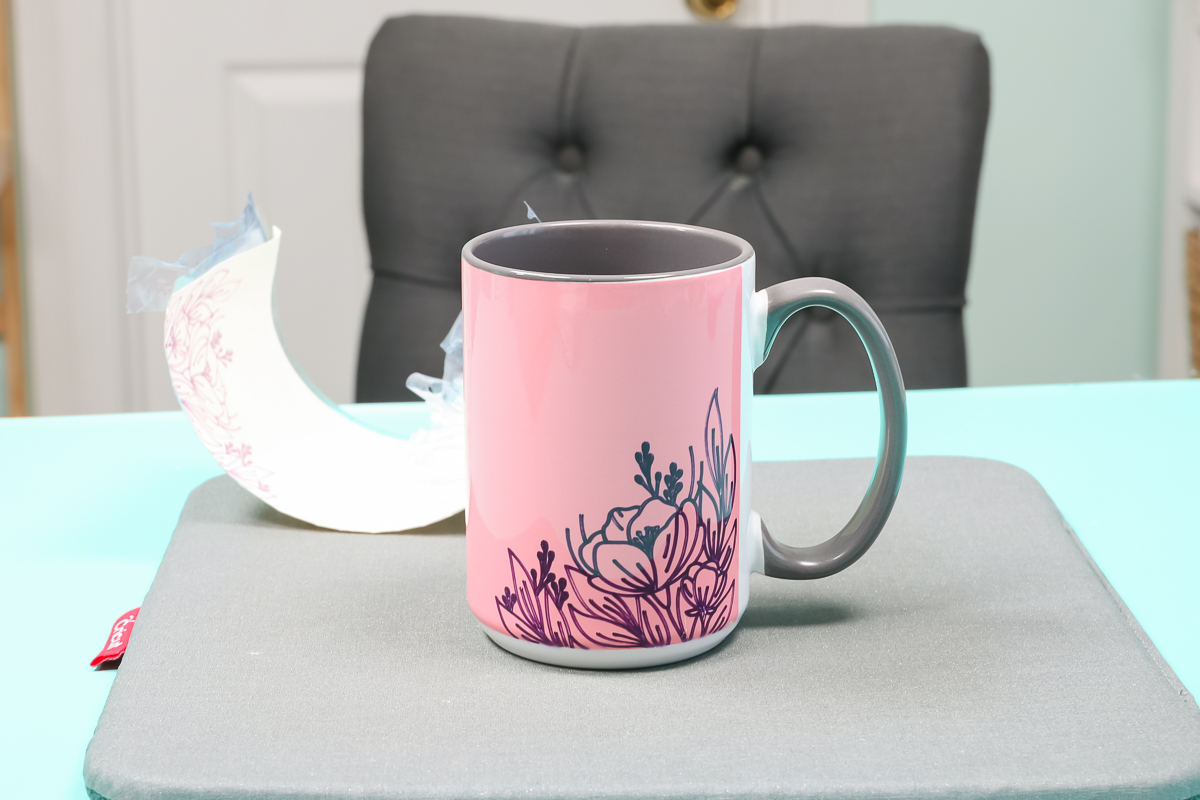
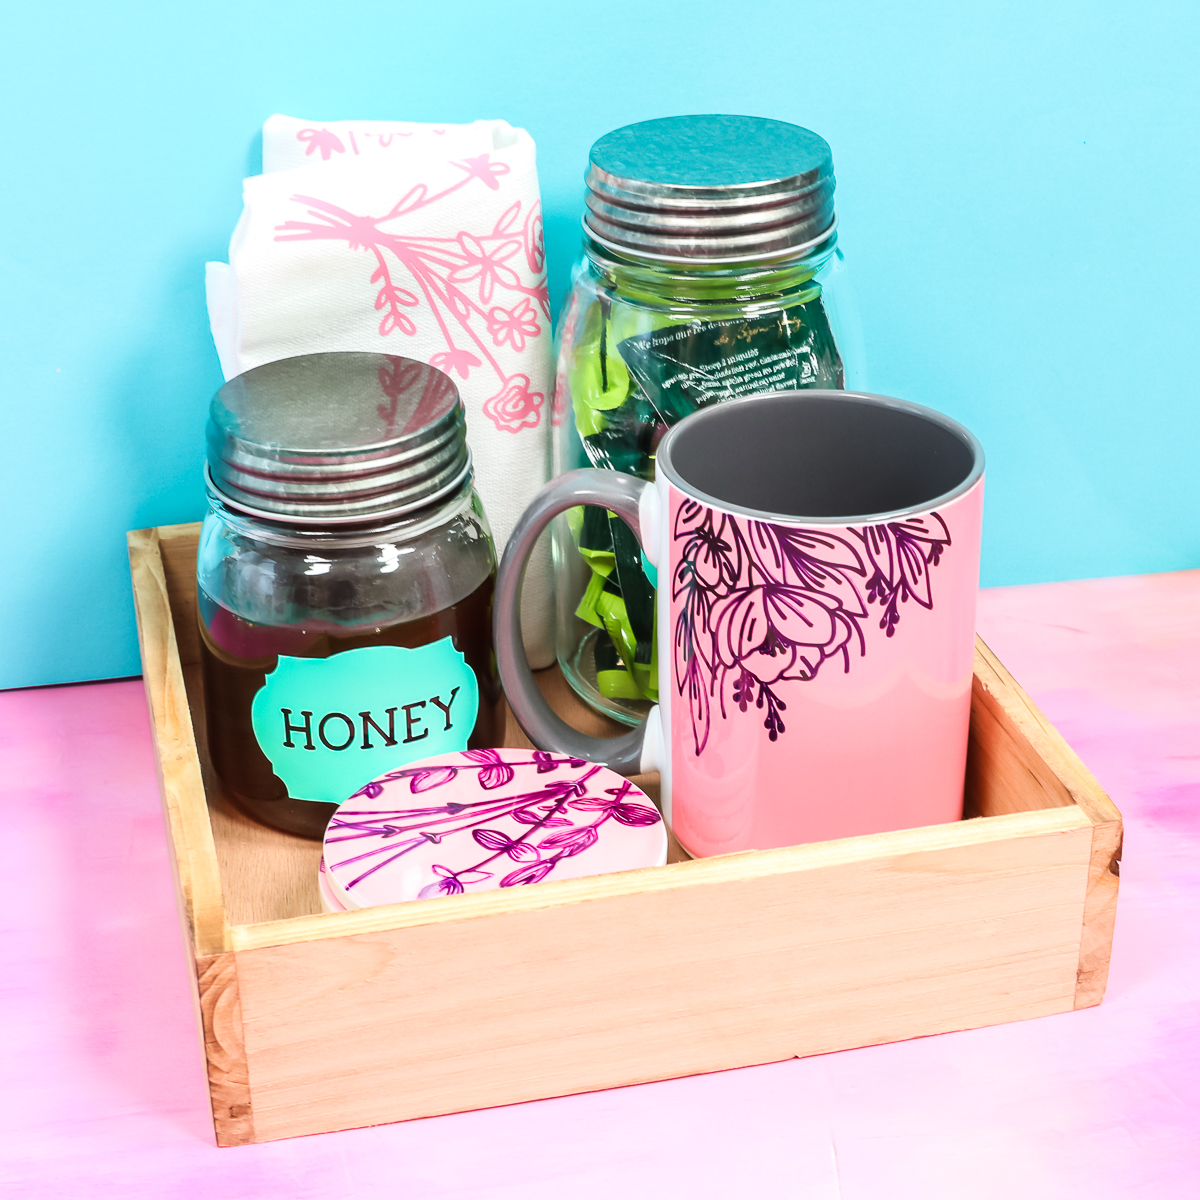
After removing the sheet, you’ll see the gorgeous design on the coaster. You can see that the purple Infusible Ink marker really pops on the pink Infusible Ink sheet.
How to Layer Cricut Infusible Ink on a Mug
The process for making a layered Infusible Ink mug is similar to making coasters. To begin, we need to clean the mug really well with a lint roller and apply the Infusible Ink sheet we had the Cricut draw on and cut out. Weed away the excess and apply it to the mug.

How to Apply Infusible Ink to a Mug
You can use heat-resistant tape to hold the Infusible Ink in place. You may find that the carrier sheet on your Infusible Ink might be sticky enough to hold it into place.
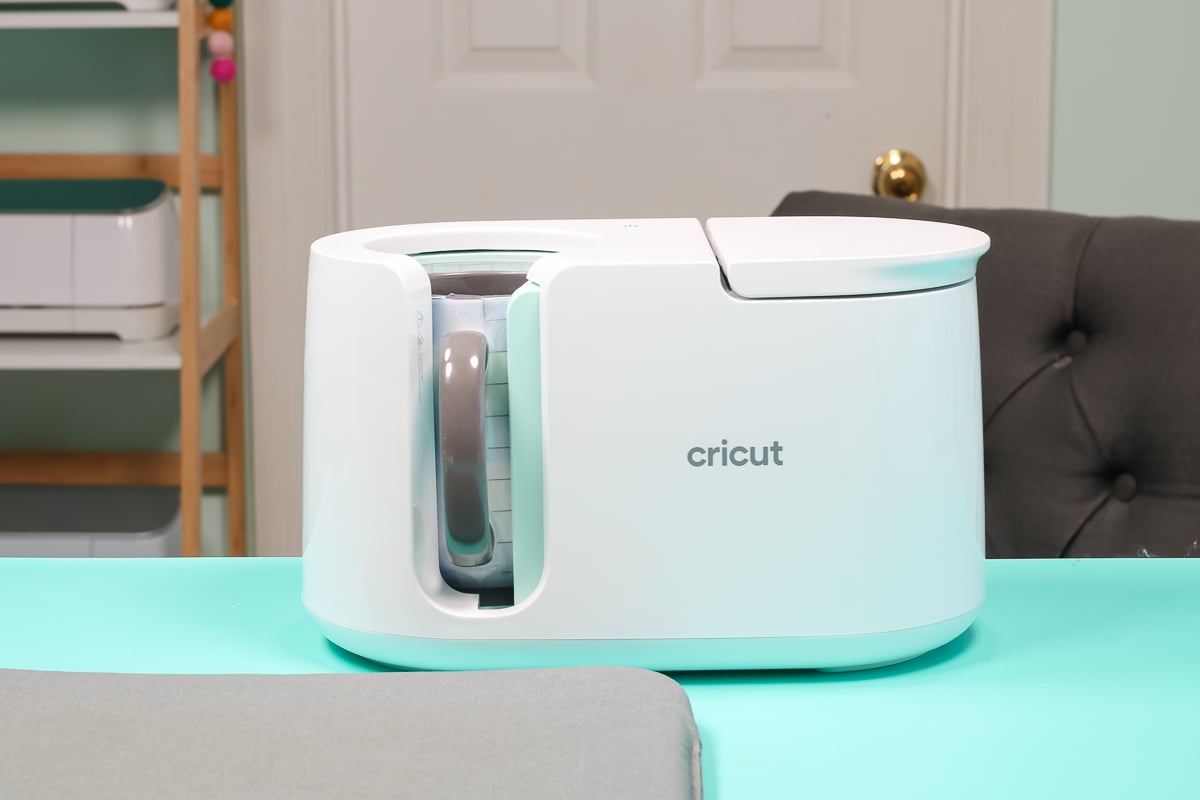
I am using the Cricut Mug Press. If you’re using a different press your settings may be different. With the Cricut Mug Press, applying protective paper on the outside of your design is optional. This is a personal preference as the backer sheet from the Infusible Ink will probably protect your mug press.
With the Cricut Mug Press, you don’t need to set a time or temperature. You just press the handle down and when it beeps it’s done.
Removing Infusible Ink from a Mug
Just like the coasters your mug will be very hot when it comes out of the mug press. The handle will not be hot so you can lift the mug out of the press using the handle. Allow the mug to cool a little before removing the Infusible Ink sheet. Use heat-resistant gloves, peel back the sheet, and enjoy your gorgeous mug!
Final Thoughts on How to Layer Cricut Infusible Ink
I love how these projects turned out. This is a great way to get a drawn look even if you don’t have a sublimation printer. This same technique will work on any sublimation blank.
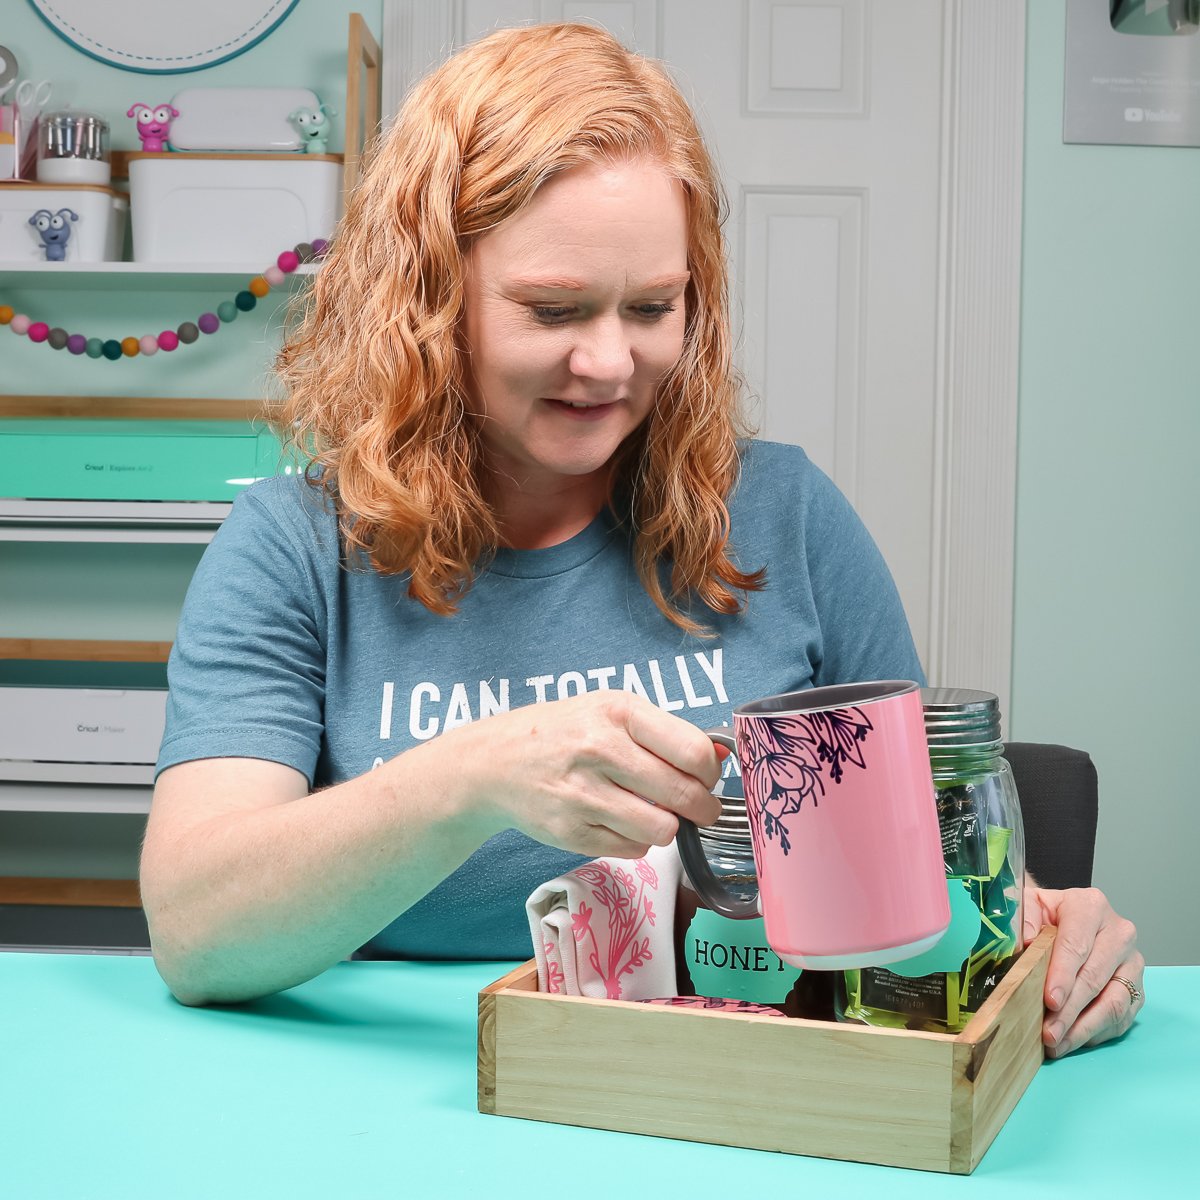
The coasters and the mug together make a great gift. You can put them in a gift basket to make a gift for someone or you can use the same technique for other projects and other sublimation blanks to personalize gifts and so much more.
This is a great way to get a personalized design with Infusible Ink and a great way to get a personalized sublimation design even if you don’t have a sublimation printer. Branch out from shirts to a polyester blanket or maybe a microfiber towel like you would use to wash your car and you make it for a gift.
Think outside the box. There’s so much you can do with this technique and you don’t even need a sublimation printer.
Frequently Asked Questions
Can I Use a Sublimation Printer to get this Look?
If you have a sublimation printer and you like the drawn look of this project, you can get the same look. Print a sublimation print in one solid color and then load it into your Cricut like you would Infusible Ink.
Your machine can then draw onto your sublimation print just like we did with Infusible Ink. As long as you use sublimation ink, sublimation paper, and sublimation or Infusible Ink pens, you can combine sublimation and Infusible Ink markers.
I get asked all the time if you can draw on Infusible Ink sheets and the answer is definitely yes. I hope this has answered all your questions about how to layer Cricut Infusible Ink. If you have any additional questions leave them in the comments and I’ll answer them for you.