This post and photos may contain Amazon or other affiliate links. If you purchase something through any link, I may receive a small commission at no extra charge to you. Any supplies used may be given to me free of charge, however, all projects and opinions are my own.
Have you ever wanted to create custom fabric? Today I will teach you how to create custom sublimation fabric in any design you desire. I’m going to test a variety of different fabrics to see how they look and then we’ll talk about how to use the sublimated fabrics.
If you’re new to sublimation and aren’t sure where to start, my Sublimation Beginner’s Guide is a great place to start.
You can watch me go through the whole process of creating custom sublimation fabric by pressing play on the video below.
Table of Contents
Making Sublimation Fabric
Have you ever had an idea for a project and couldn’t find the right fabric for it? Are you trying to match a specific party or home decor theme?
These are all reasons why you might need to make custom sublimation fabric. I think once you know how easy it is to make your own custom fabric you’re going to come up with even more reasons to make sublimation fabric.
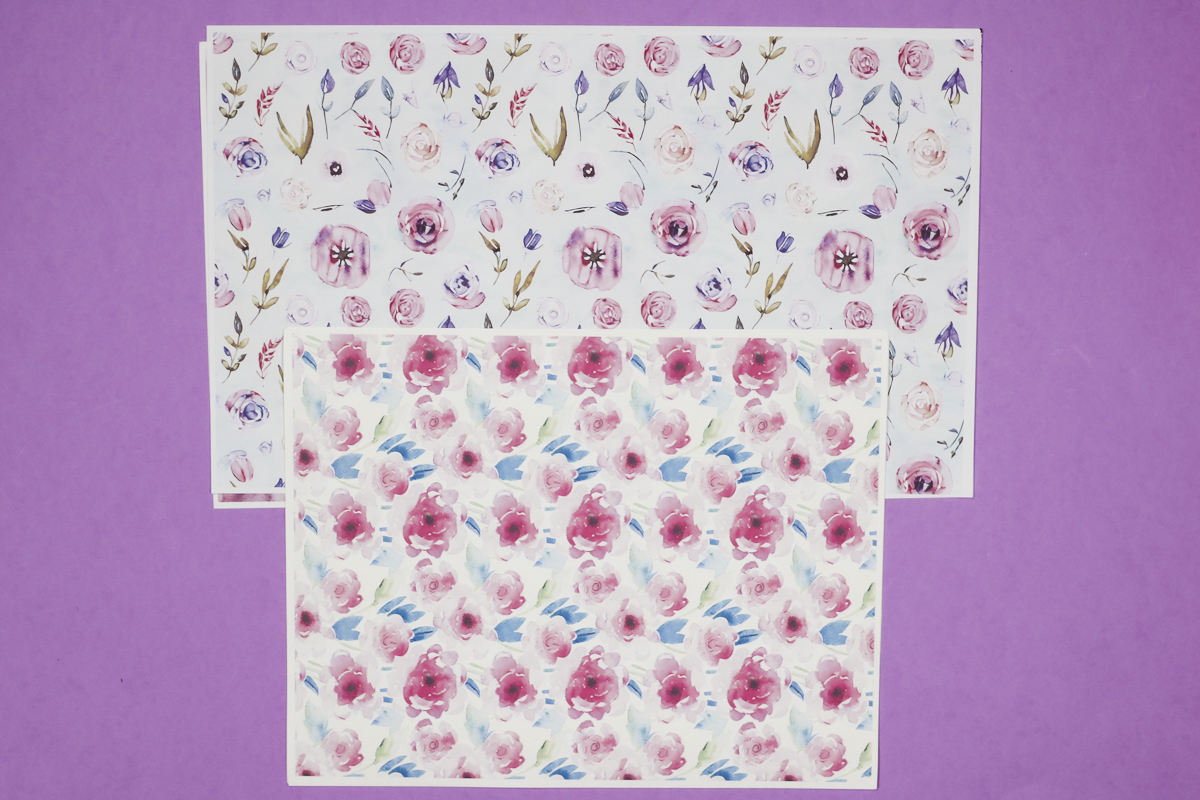
For today’s example, I am using a variety of watercolor floral sublimation designs. You can use any design you’d like for your fabric.
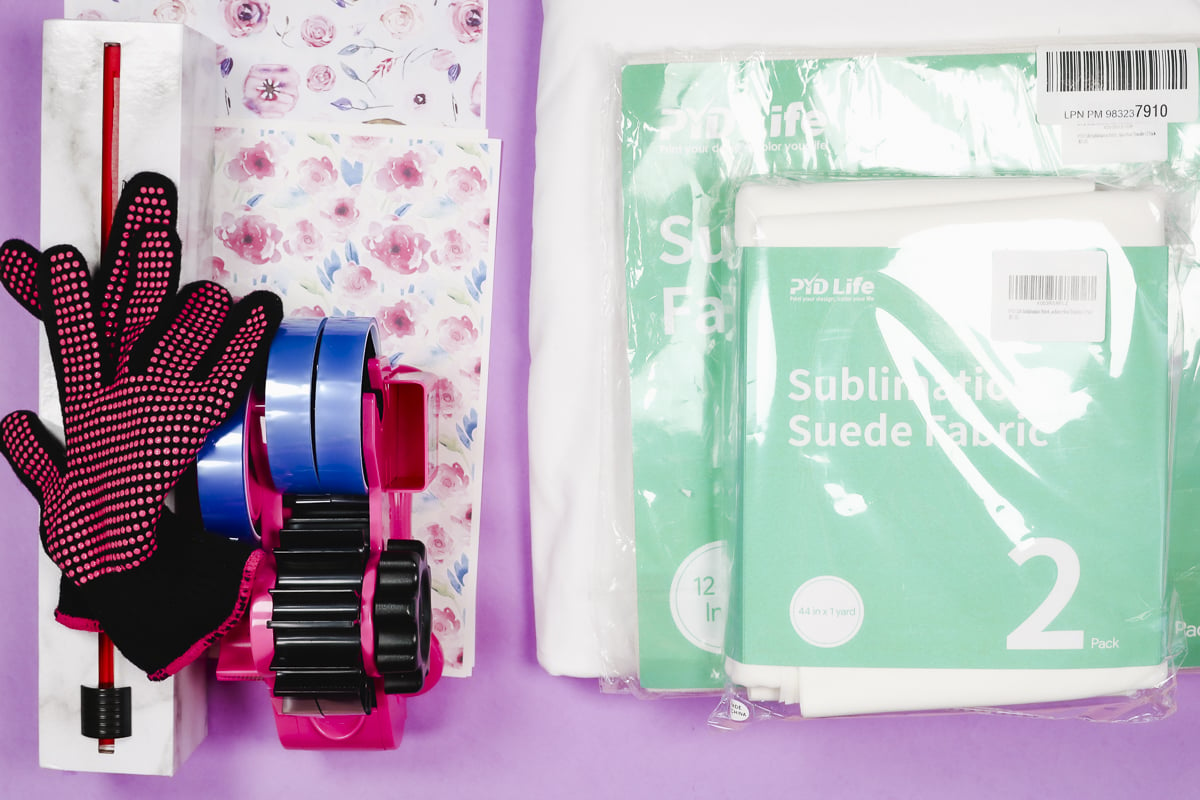
Supplies Used:
Now that we have all our supplies gathered let’s look at how to make our own sublimation fabric
Step 1: Choose Your Fabric
The first step is to choose the right fabric for your project. You want a white polyester fabric and 100% polyester is the best option to get bright and vibrant prints.
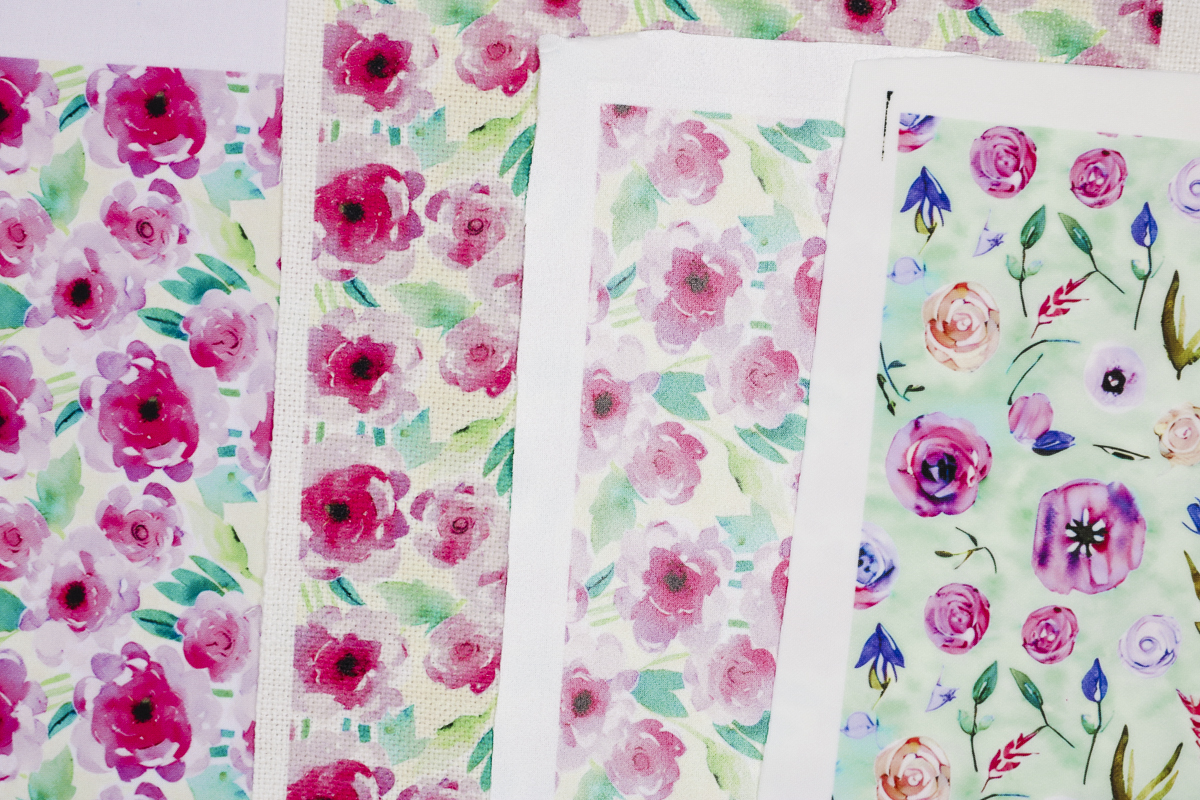
Today I am testing three different fabric types. First you can purchase by the yard at a craft store or online. I’m also testing two different sublimation fabrics from PYD Life. One comes in 12 by 12 sheets and has a canvas-like material feel. The second option is sublimation suede and it comes with two one-yard pieces in the package.
I am going to test each of these different options so you can see how they look. I do want to note that the fabric I purchased by the yard is more white than the PYD Life fabric which has a more creamy look to it.
Step 2: Print Sublimation Design
Next, we need to print our sublimation design. A sublimation print is sublimation ink printed onto sublimation paper from a sublimation printer.
I recommend printing your design as large as possible. A lot of my printers have a maximum print size of 8.5″ x 14″ so I am printing my design that full size.
You can do this project with 8.5″ x 11″ prints. With smaller prints, you would either make smaller projects or piece together multiple prints. You can learn more about piecing together sublimation prints in my large sublimation prints tutorial.
I am not a fan of piecing together sublimation prints, I have found it difficult to do. If I wanted to make a very large piece of sublimation fabric with a custom print, I would order a sublimation print from a place like Heat Transfer Warehouse that has a large format printer.
Step 3: Preheat Fabric
Now we need to preheat the sublimation fabric. I have my heat press set to 385 degrees for 55 seconds. I am using protective paper on both the top and bottom because some polyester fabrics can be delicate and I don’t want to risk damaging it.
Preheating removes wrinkles and moisture and will also pre-shrink the fabric. If you’ve had trouble with your prints moving or ghosting, it may be because your fabric is shrinking during the press.
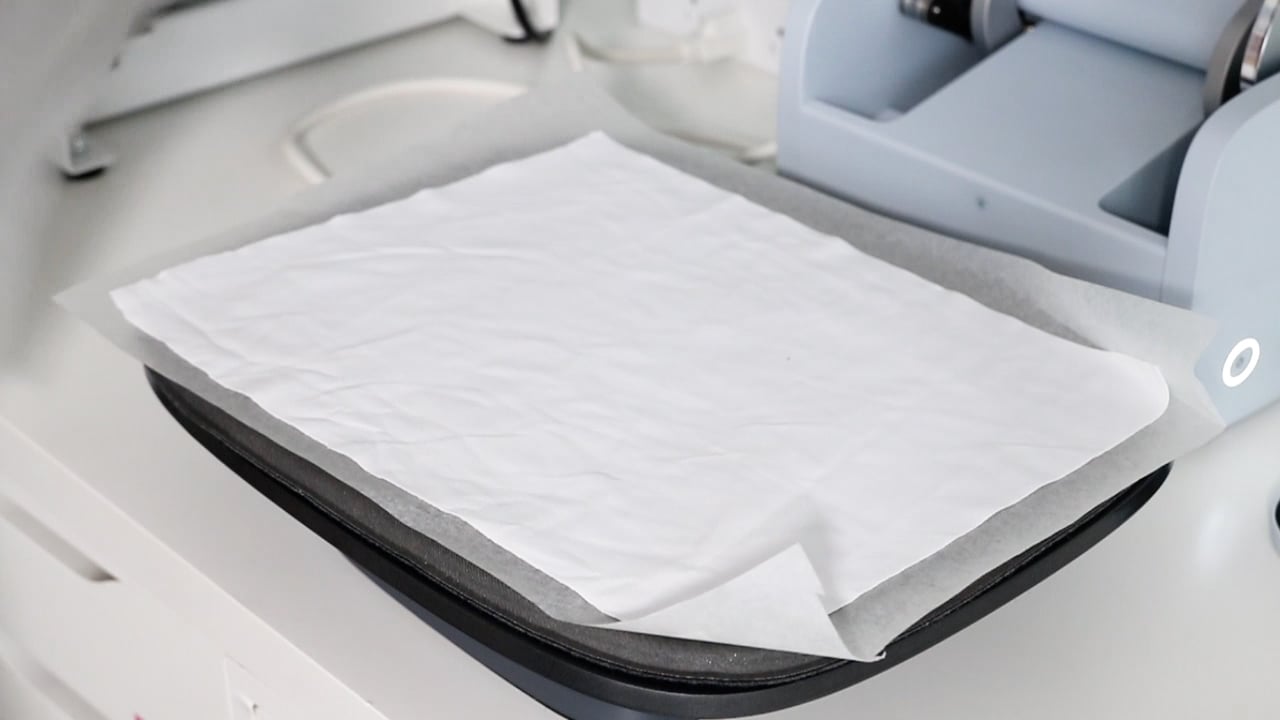
Getting in the habit of using protective paper with sublimation projects is a great way to prevent mistakes on future projects.
I am using my Cricut AutoPress for today’s project but you can use any heat source that goes up to 400 degrees. I did my preheat for 10 seconds at 385 degrees F.
Step 4: Lint Roll
I like to lint roll my fabric after pre-heating. Go over the entire surface to remove any dirt, dust, hair, or other debris.
Don’t skip the lint-rolling step, dust and other debris can cause imperfections in your design and leave blue marks on areas where heat is applied and there is no design.
Step 5: Add Sublimation Print to Fabric
The first fabric I am going to press today is the fabric I bought by the yard. This is a fairly thin fabric and wouldn’t be ideal for adding sublimation to both sides but it is nice for making one-sided fabric.
If you wanted to use this fabric and needed the print on both sides, I would press two pieces of fabric and then sew them together.
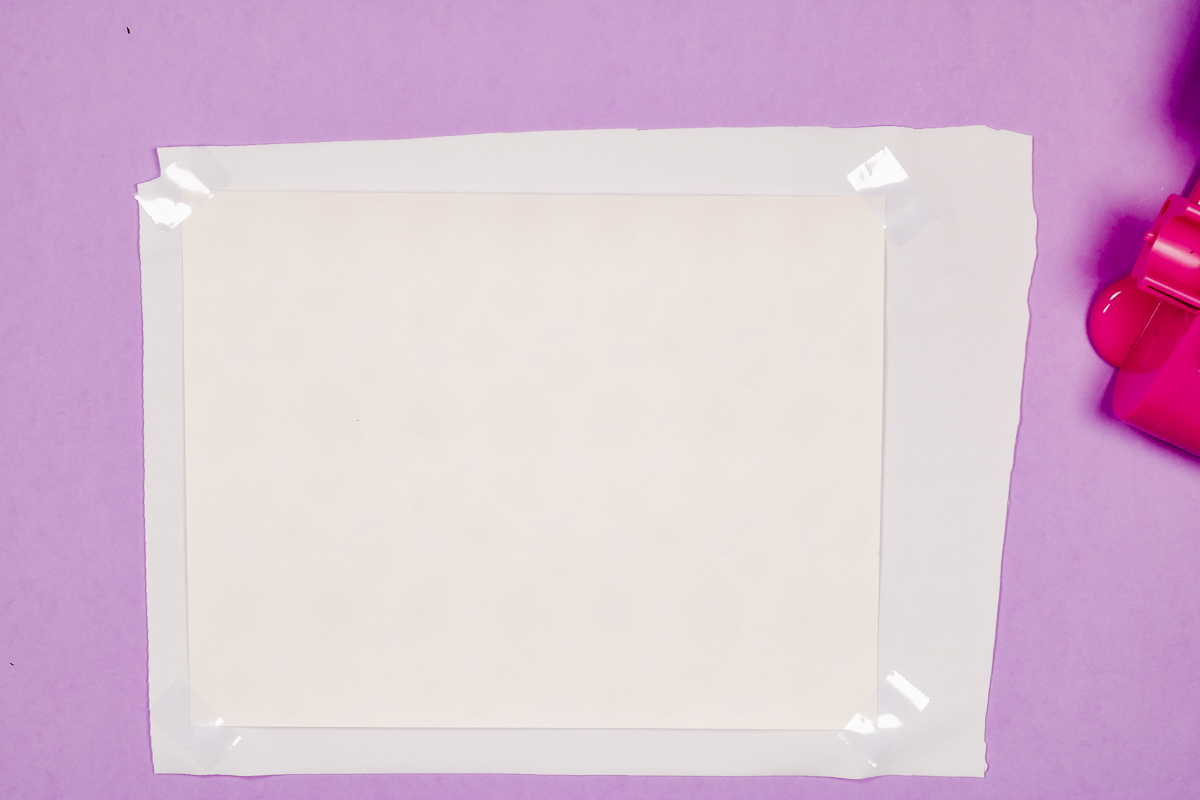
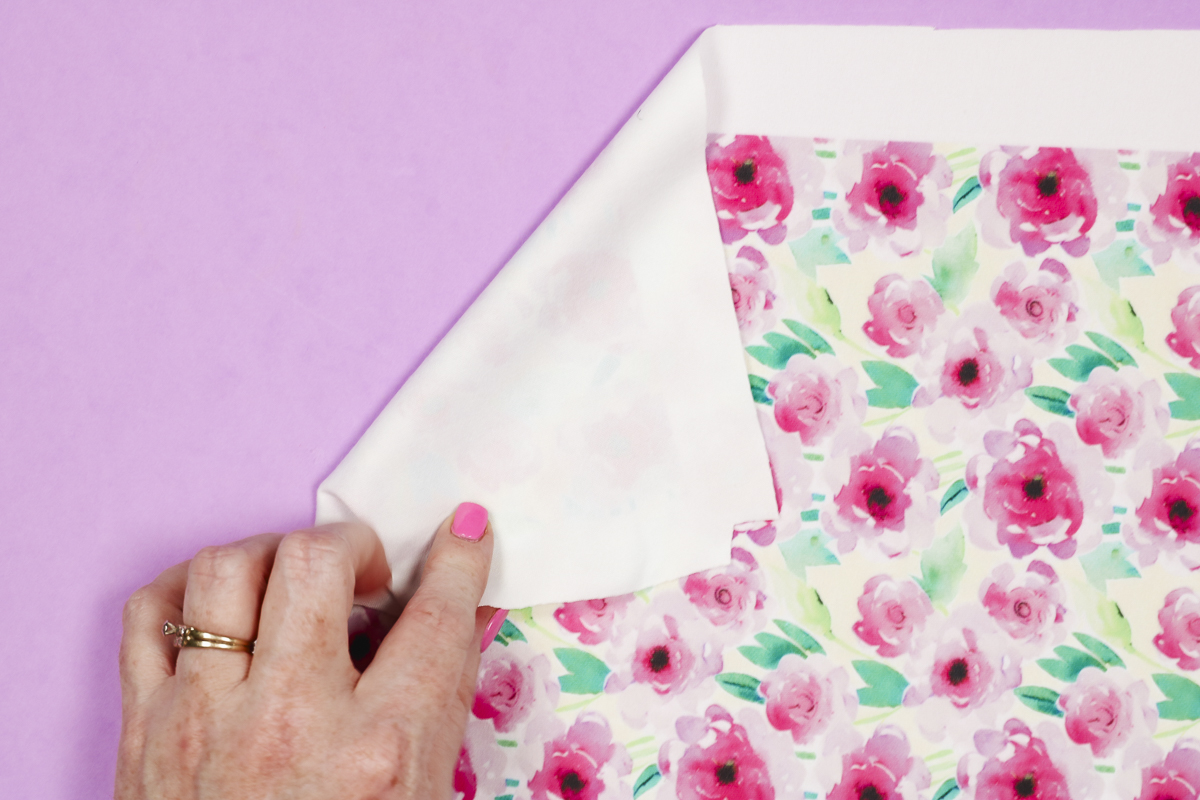
Place the sublimation print where you want it and then use heat-resistant tape to hold it in place. I like to add tape to the four corners.
Step 6: Press Sublimation Print onto Fabric
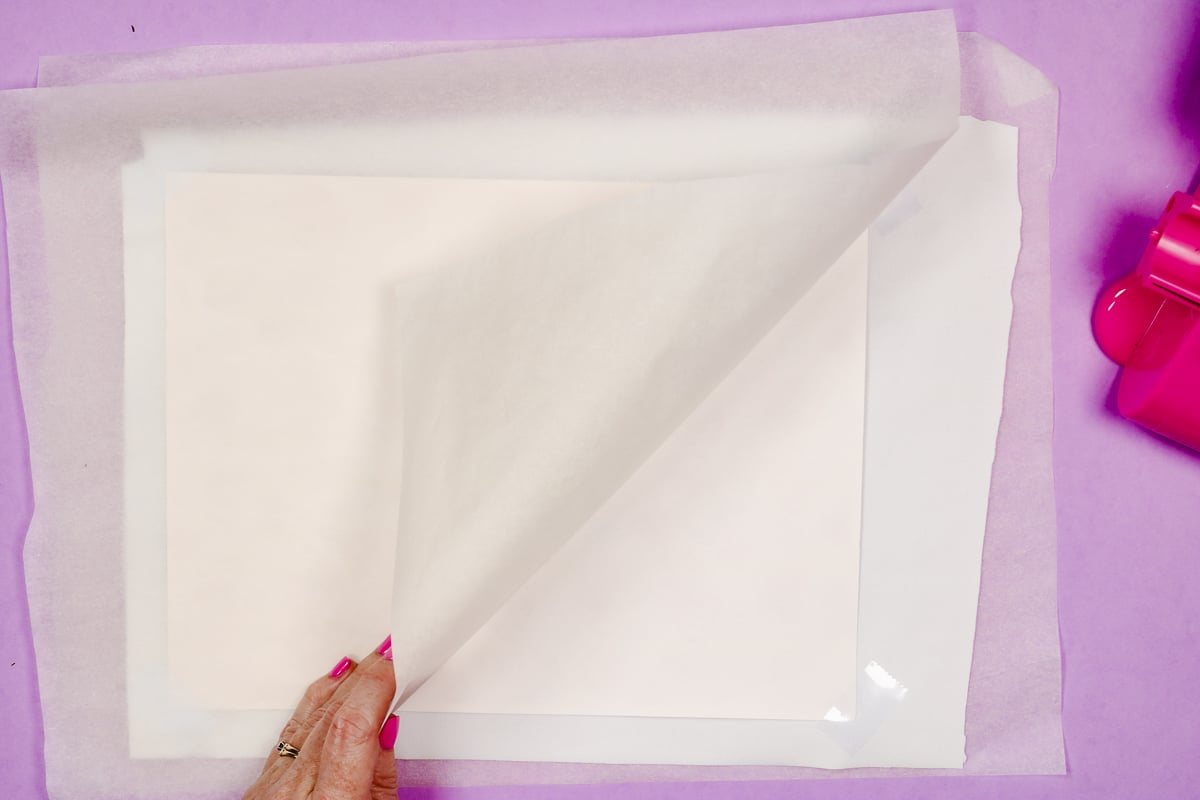
With the design taped into place add protective paper to the top and the bottom and then press for 55 seconds at 385 degrees.
I am pressing all three fabrics at the same time and temperature so we can compare the results and decide which type of sublimation fabric is right for your project.
When the pressing time is up, lift your heat press, and you can remove the sublimation print immediately and reveal those gorgeous results.
Step 7: Compare Sublimation Fabric Results
Let’s take a look at the sublimation results on the different fabrics.
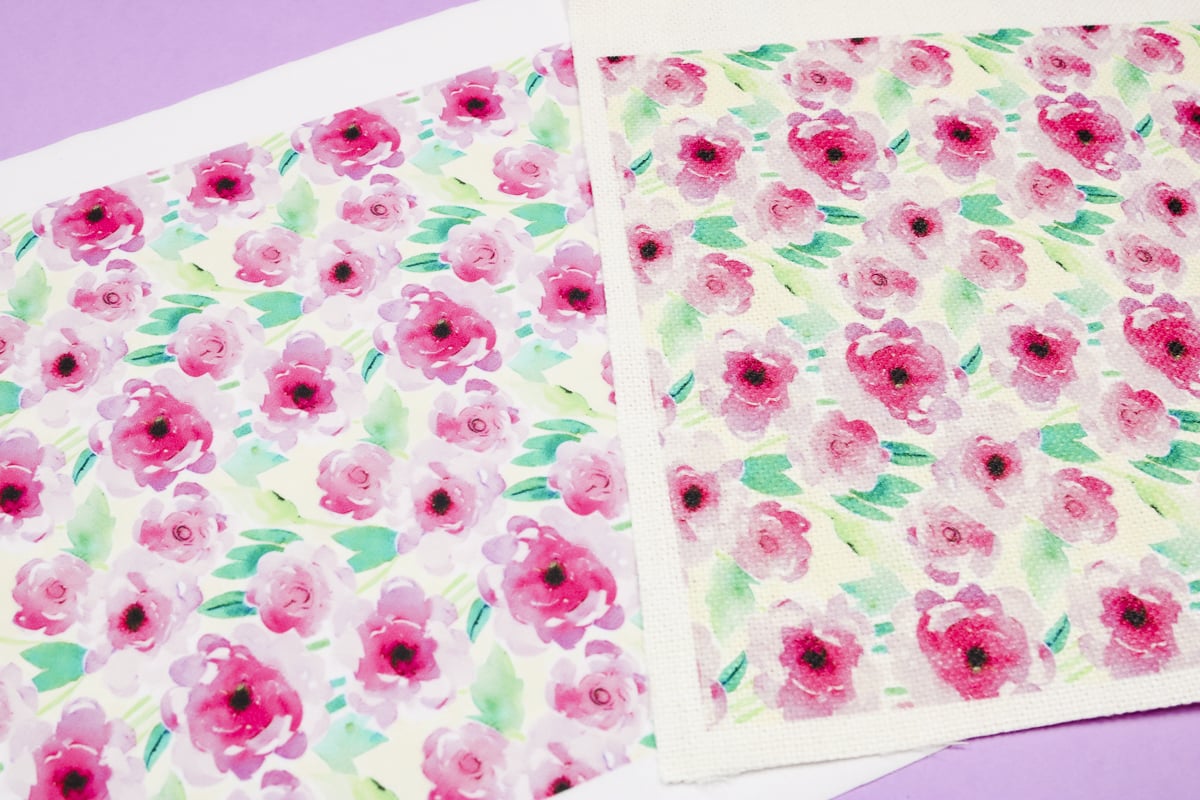
Polyester Fabric By the Yard
This fabric you can purchase in craft or fabric stores but you can also find it online. It is a bright white which I like and the sublimation print is beautiful.
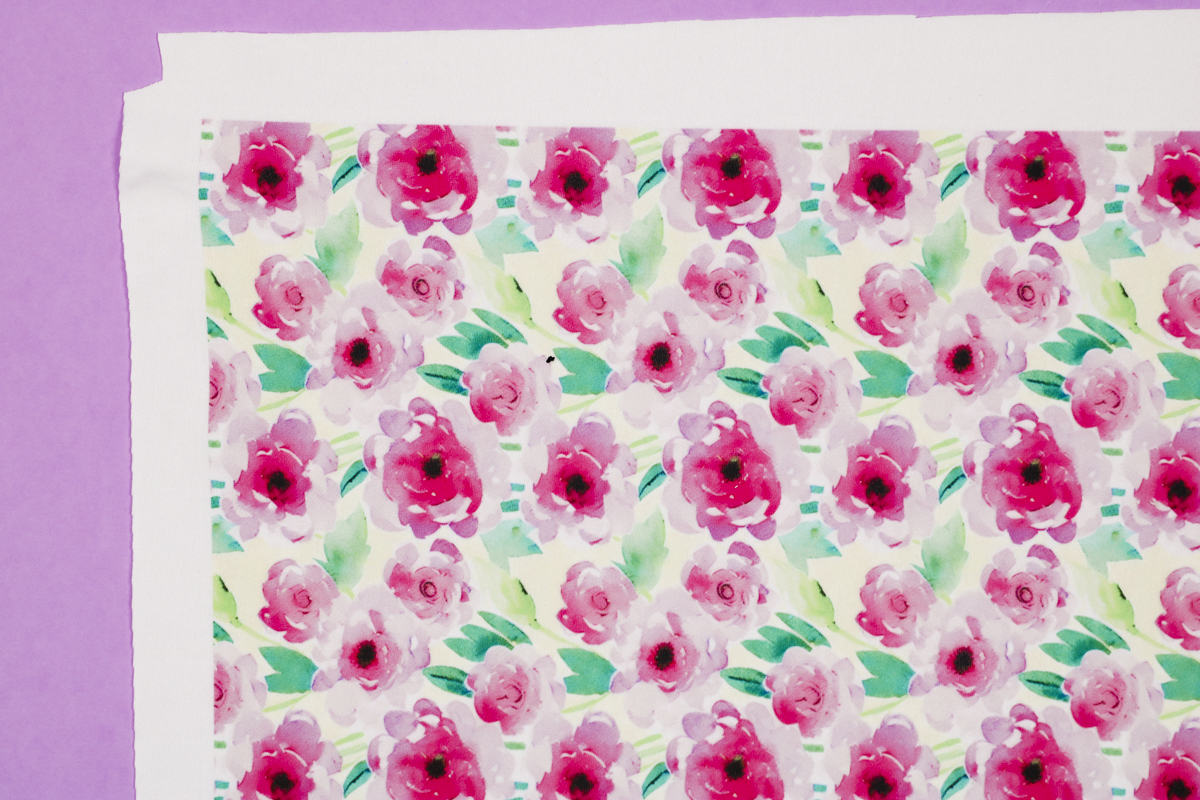
The fabric is fairly thin so you can see the sublimation print through the back a bit. The print on the front however is amazing.
I also really like the feel of this fabric, it is 100% polyester but it feels really nice. I would rank this as my first choice for making your own sublimation fabric.
Fabric Sheets from PYD Life
My second choice is the fabric sheets from PYD Life. The fabric has a canvas texture and is slightly cream before applying the sublimation print.
When comparing the finished prints with prints on the bright white fabric you’ll see that the colors are altered because it’s not a true white.
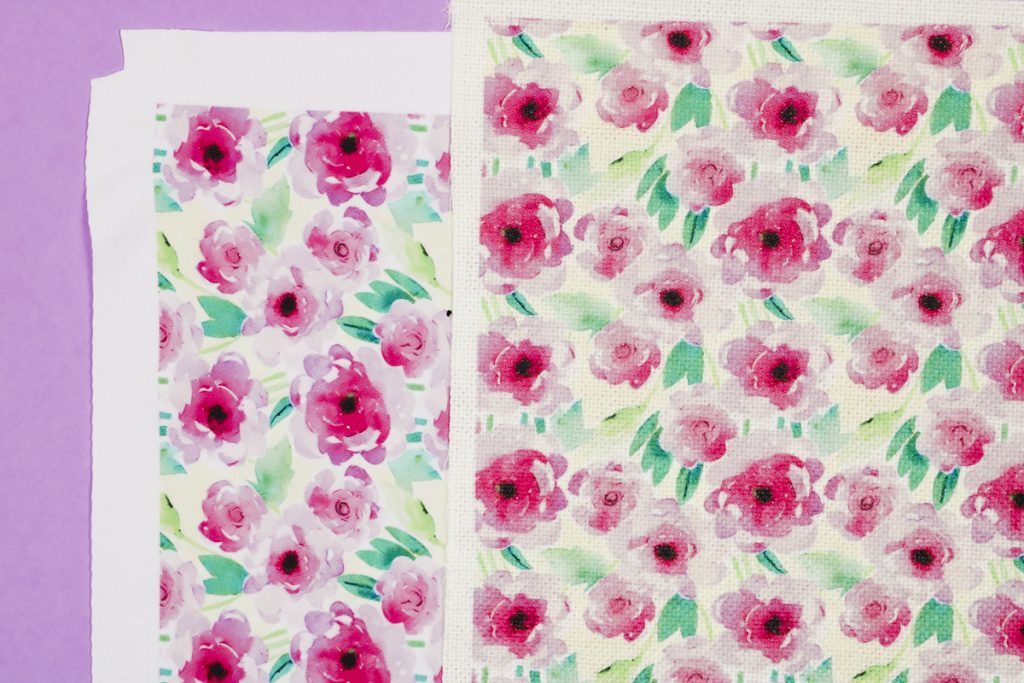
The fabric is very thick and sublimated great. You can see the canvas texture through the sublimation.
I did want to mention that one side of the fabric has the canvas look and feel and the other side is just a smooth polyester fabric. I did test sublimating both sides of this fabric sheet and both sides sublimated great.

If you’re looking for a canvas or rustic look for your sublimation fabric project I think this would be a great alternative for you.
Sublimation Suede Fabric from PYD Life
The last fabric I tested today was the sublimation suede fabric from PYD Life and I have to say I did not like it at all.
This fabric has one side which is the suede-like fabric and the other side is regular polyester fabric. I sublimated the suede side because that is the side I would use if I ever used this fabric. I do not like the feel of the polyester side at all.

The sublimation did not transfer well at all, it is very faded. I tested the polyester side as well and it sublimated fine but I don’t like how it feels. If I wanted a regular polyester-looking fabric, I can purchase the fabric by the yard that feels great, sublimates beautifully, and is less expensive.
What Projects Can You Make with Sublimation Fabric?
Now that we’ve made sublimation fabric, let’s talk about the projects you can make with it.
I think custom sublimation fabric is great for sewing projects. If you have a small printer and don’t want to try piecing together larger prints I would look at smaller projects. If you want to make larger projects, you could order a large sublimation print from a place like Heat Transfer Warehouse.
Another option is to create something with multiple small prints that you can arrange that have a white background. Like repeating names onto a blanket.
If you want to make larger projects, you’ll want to use the polyester fabric by the yard so you aren’t limited in size or have to piece fabric pieces together.
If you’re looking to make home decor pieces like a sublimation canvas or even a pillow cover, I think the PYD Life sheets with the canvas feel is a great option for those projects.
Things to Remember
When thinking about a fabric project, don’t let the fabric on the market limit you. If you have something in mind, you can create your own fabric with sublimation prints.
Consider the project you want to make and how much fabric you will need and either print or order your sublimation print.
Keep in mind that not all polyester or sublimation fabric is created equal. As you saw today, just because it is 100% polyester doesn’t guarantee you’ll get a beautiful finished product.
I would definitely test the fabric you want to use before trying to press a large design to make sure you get the results you’re looking for.
I hope I’ve answered any questions you have about making custom sublimation fabric. If you have any additional questions, feel free to leave them in the comments and I’ll be happy to answer those for you.