
This post and photos may contain Amazon or other affiliate links. If you purchase something through any link, I may receive a small commission at no extra charge to you. Any supplies used may be given to me free of charge, however, all projects and opinions are my own.
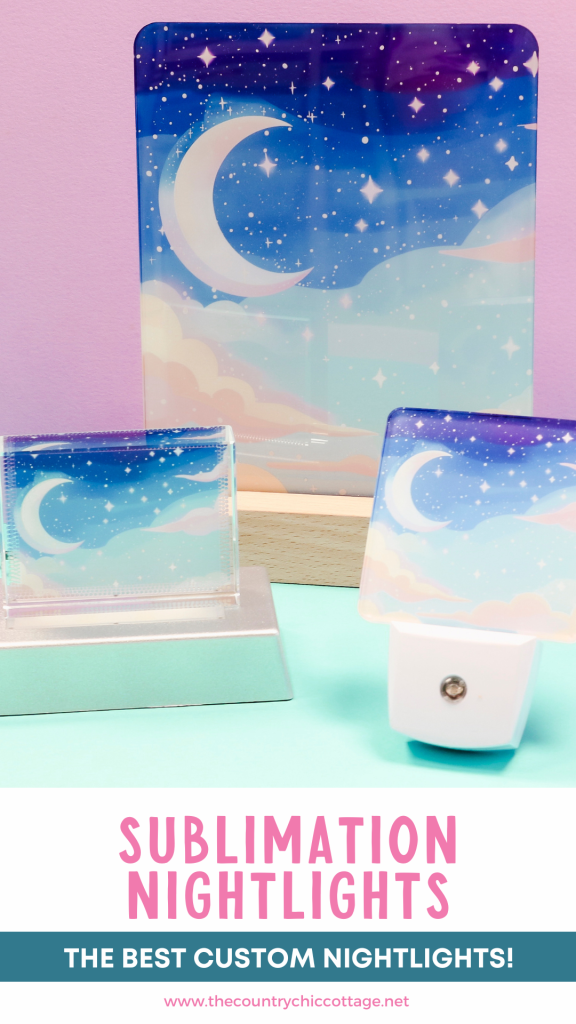
Today I’m going to show you how to make sublimation nightlights! If you ever want to create a custom nightlight, this tutorial is for you. I will show you three different sublimation nightlights so you can see how they all perform and decide which one is best for you.
I am going to show you a traditional sublimation nightlight and two different sublimation nightlights that light up through a base.
If you’re new to sublimation, my Sublimation Beginner’s Guide is a great place to start.
You can watch me sublimate all of these different nightlights by pressing play on the video below.
Table of Contents
Making Sublimation Nightlights
Let’s jump into how to make sublimation nightlights. I will show you the process for making each of the different sublimation blanks and even include the free moon, stars, and cloud sublimation design.
Supplies Used
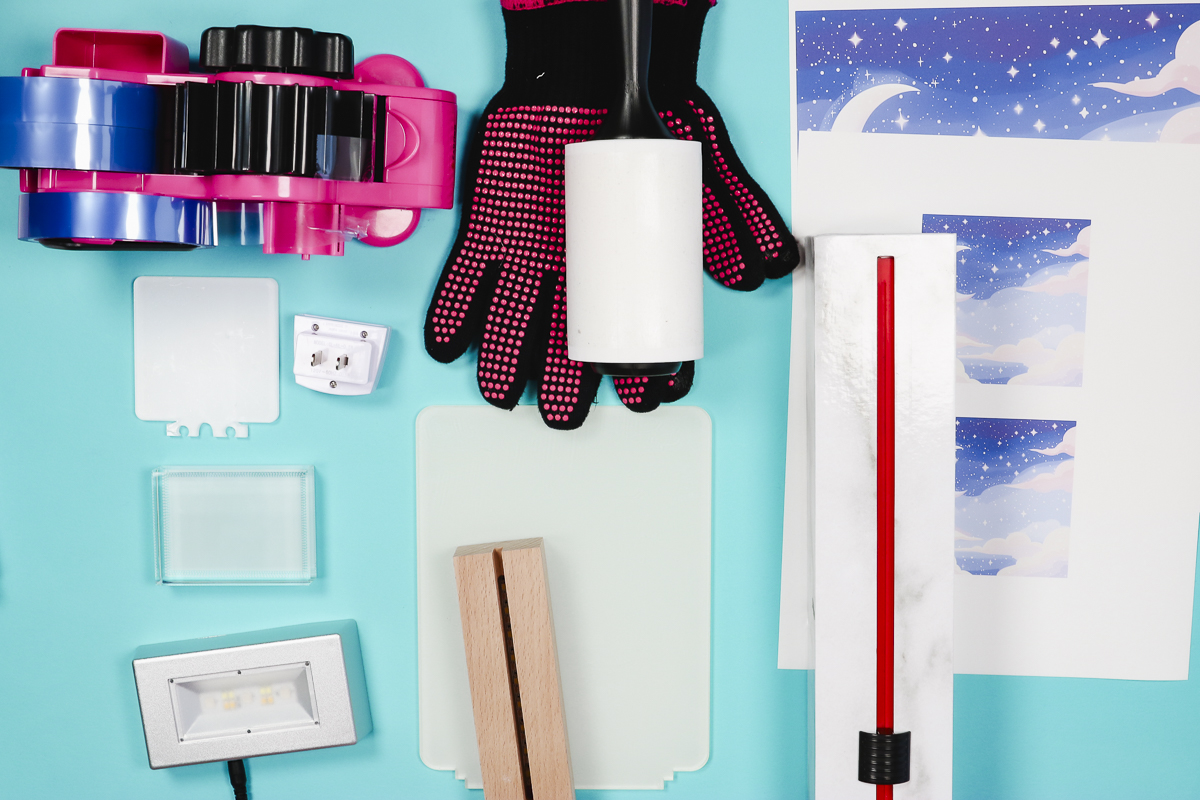
Step 1: Prepare Sublimation Print
I am using the free starry sky design, you can get it at the link in the supply list. I am using Canva to resize the design to fit the blanks I’m using.
To size the design, measure each blank and then size the design to be slightly larger than the blank itself.
On each of the blanks I’m using today, I will be applying the print to the back of the sublimation nightlight so I do not need to mirror the designs.
Print the designs using a sublimation printer. Make sure you’re using sublimation ink and that you’re printing on sublimation paper.
Step 2: Prepare Nightlights for Sublimation
Check the front and back of each sublimation nightlight for protective film. The acrylic sublimation nightlights I used had a protective film covering the white sublimation side of the nightlight. The glass sublimation nightlight did not have a protective film on it. Peel the carrier sheets off each sublimation nightlight.
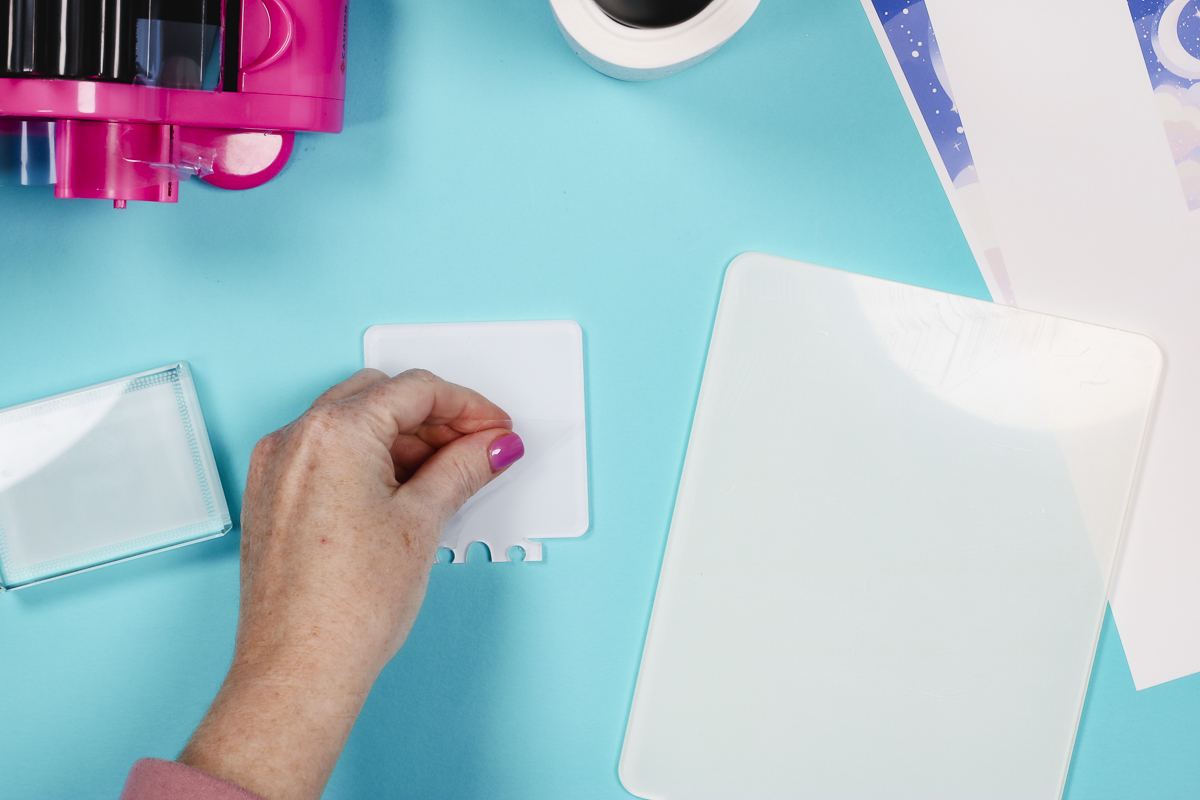
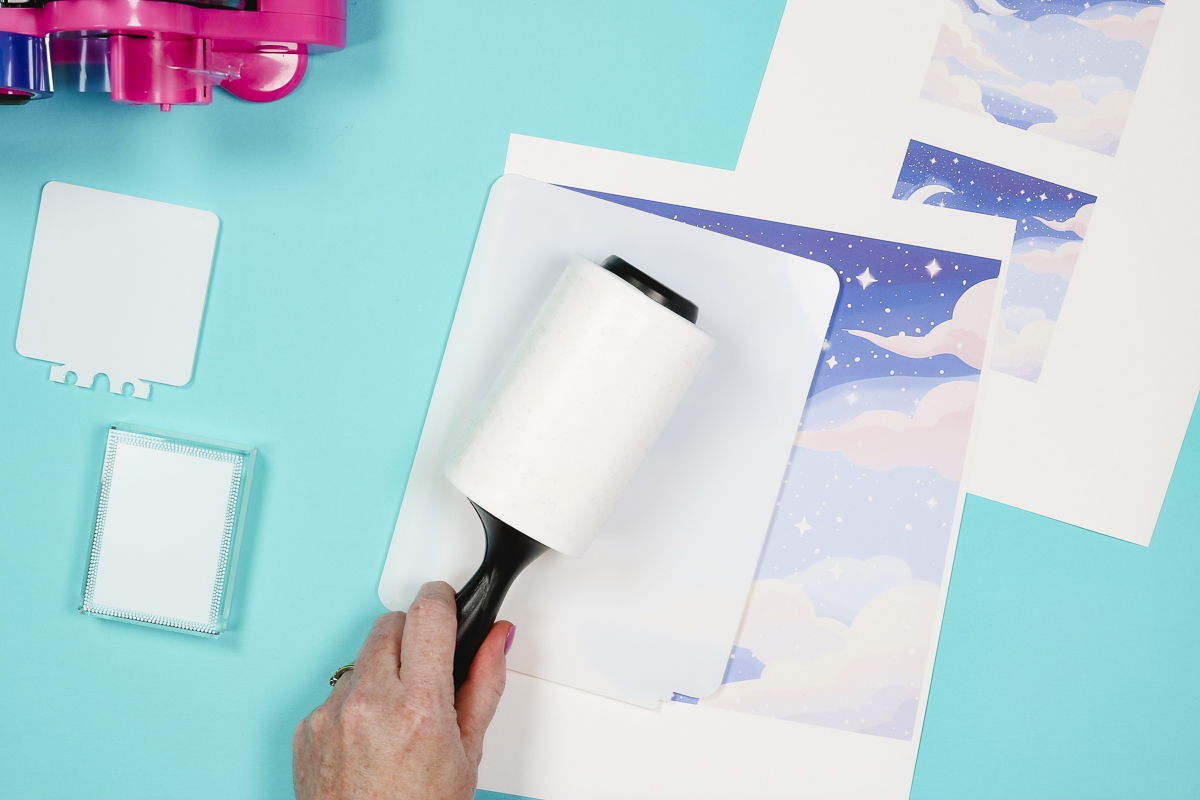
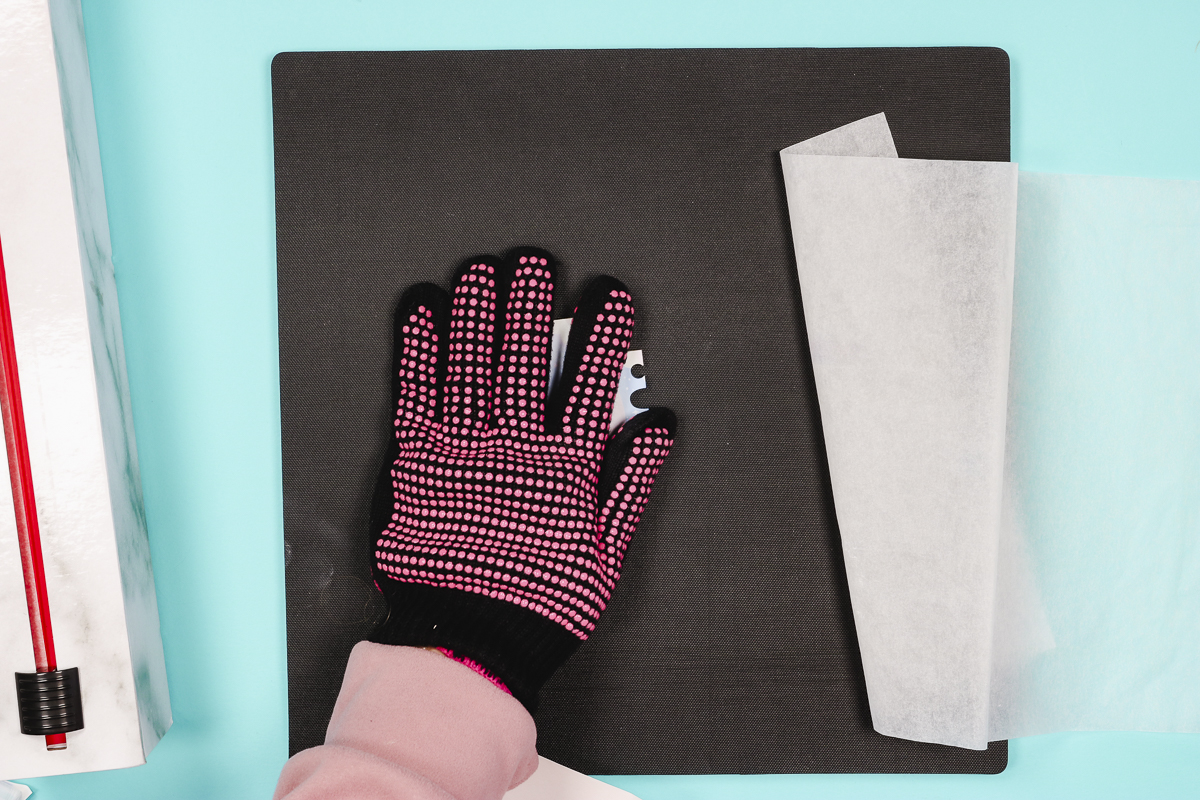
With acrylic and glass blanks, I don’t generally preheat them but they do need to be cleaned well. Use a lint roller to clean the sublimation side of each blank really well.
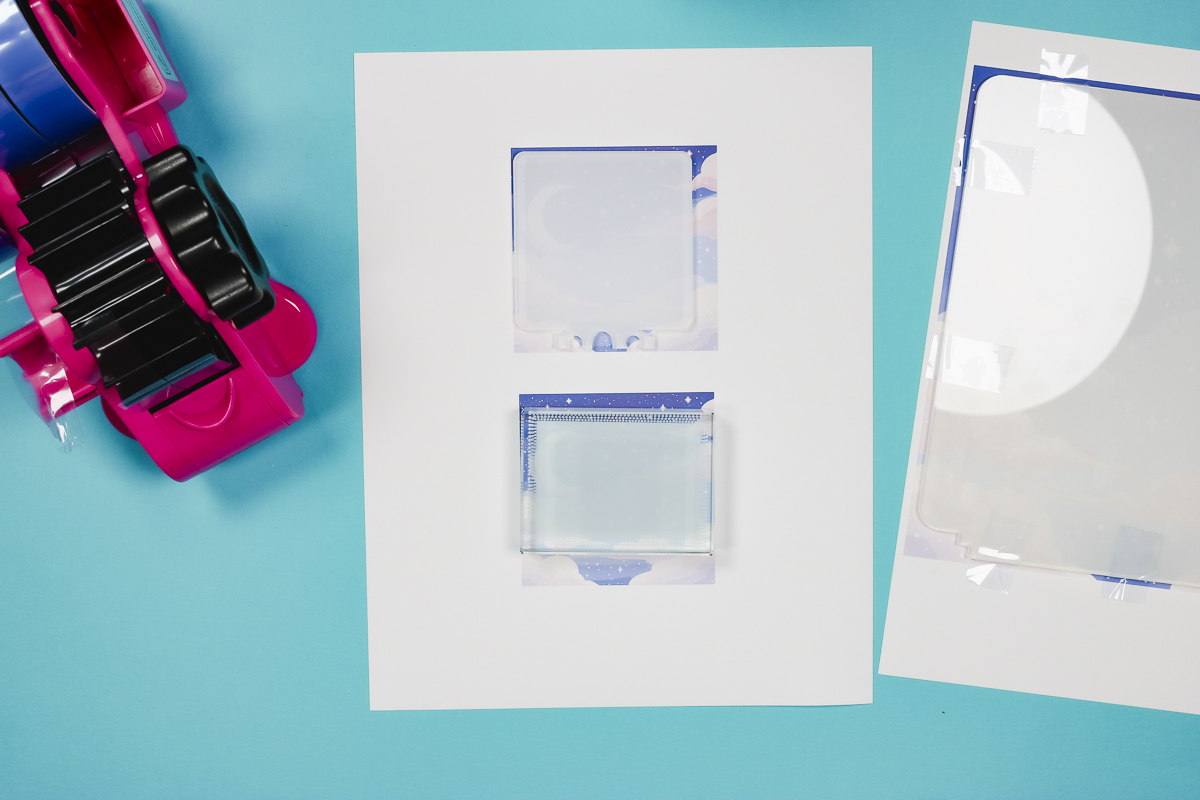
Step 3: Locate Sublimation Print on Sublimation Nightlights
On each of these sublimation nightlights, there is a clear side and a white side. The white side is the sublimation side and is where you will locate the print.
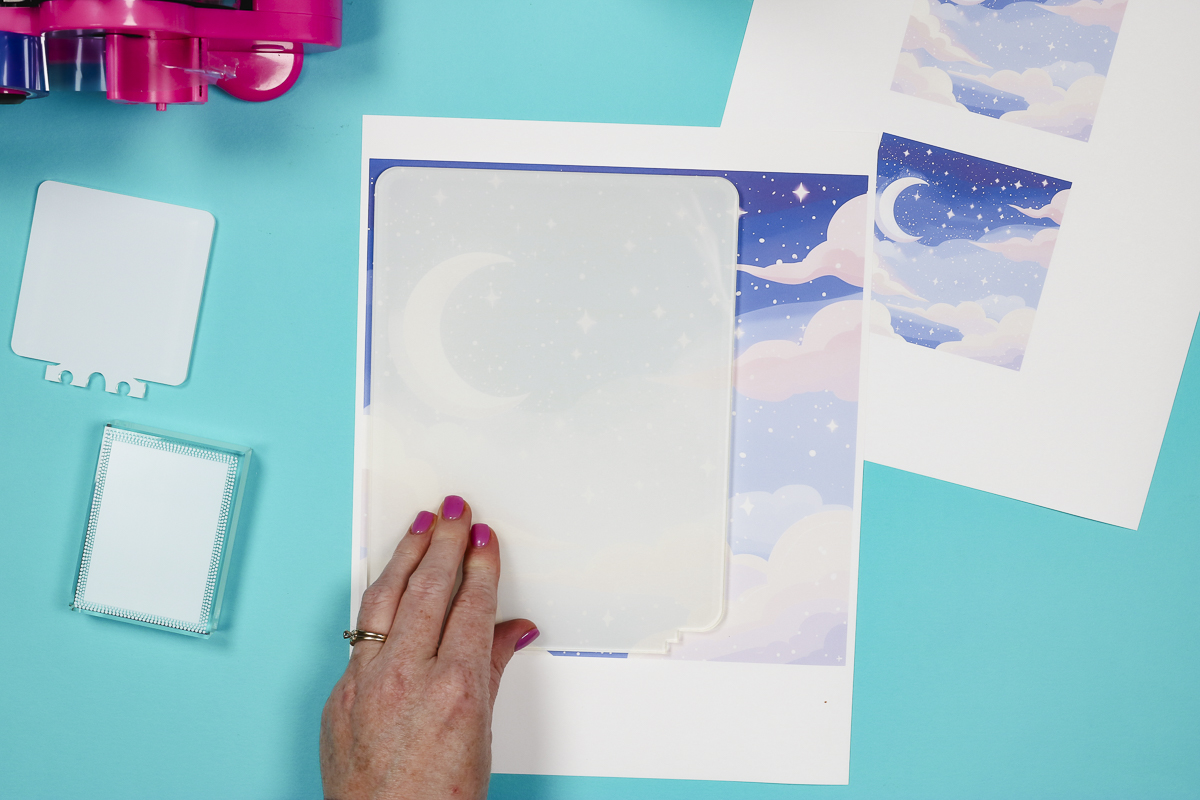
Use heat-resistant tape to hold the sublimation nightlights in place on the sublimation print. You do not want the nightlight or print to move while you’re pressing.
Repeat this process for each of the different sublimation nightlights you’re using.
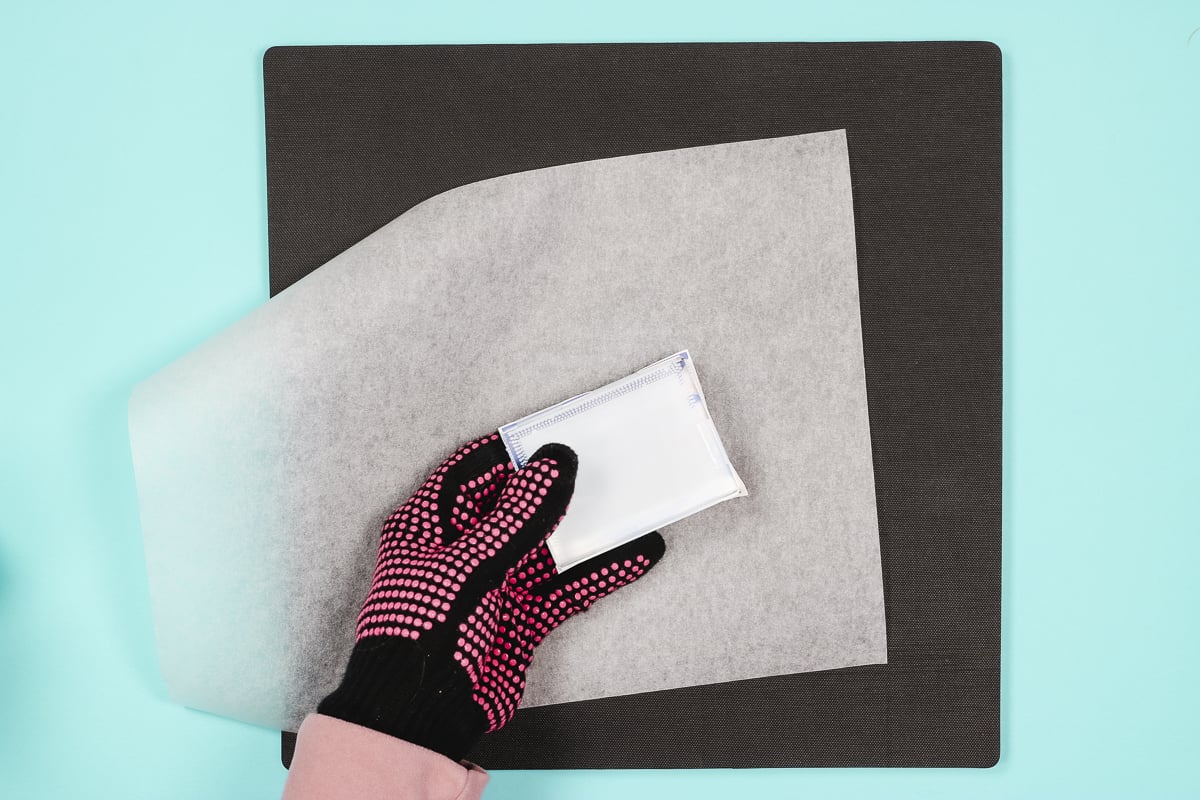
Step 4: Use a Mat and Protective Paper
Pressing the different sublimation nightlights has to be done individually because they are all different thicknesses.
The nightlights don’t require heavy pressure so you can use any heat press with them. I am using my EasyPress today for ease.
When using a more firm sublimation blank like acrylic or glass, I like to use a firmer heat-resistant mat. Instead of the EasyPress Mat, I am going to use my firm mat from Artesprix.
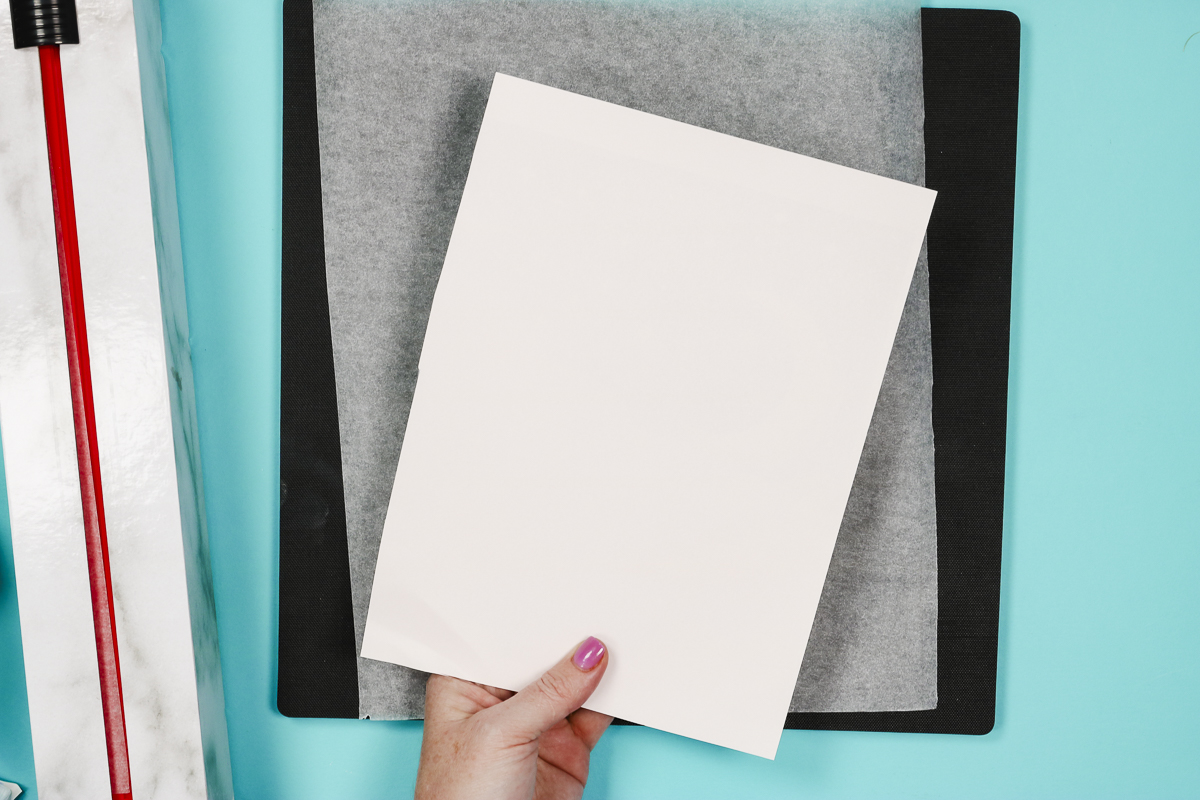
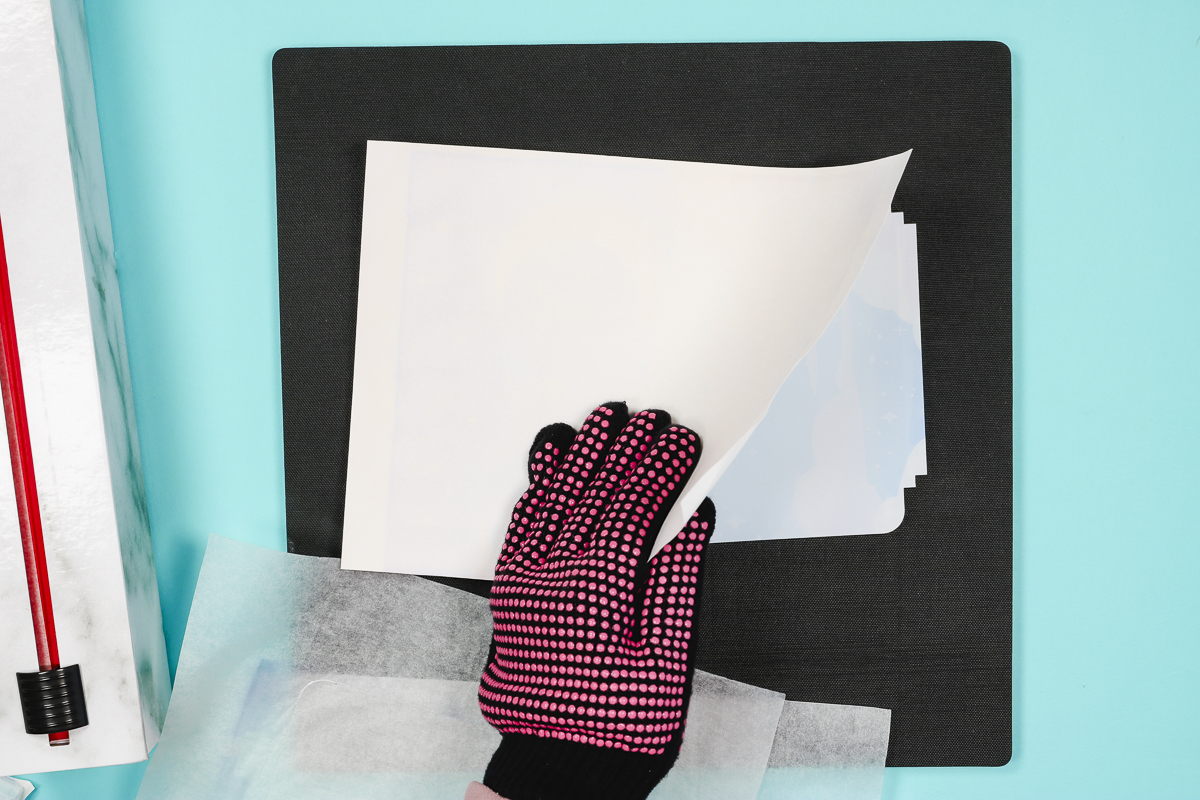
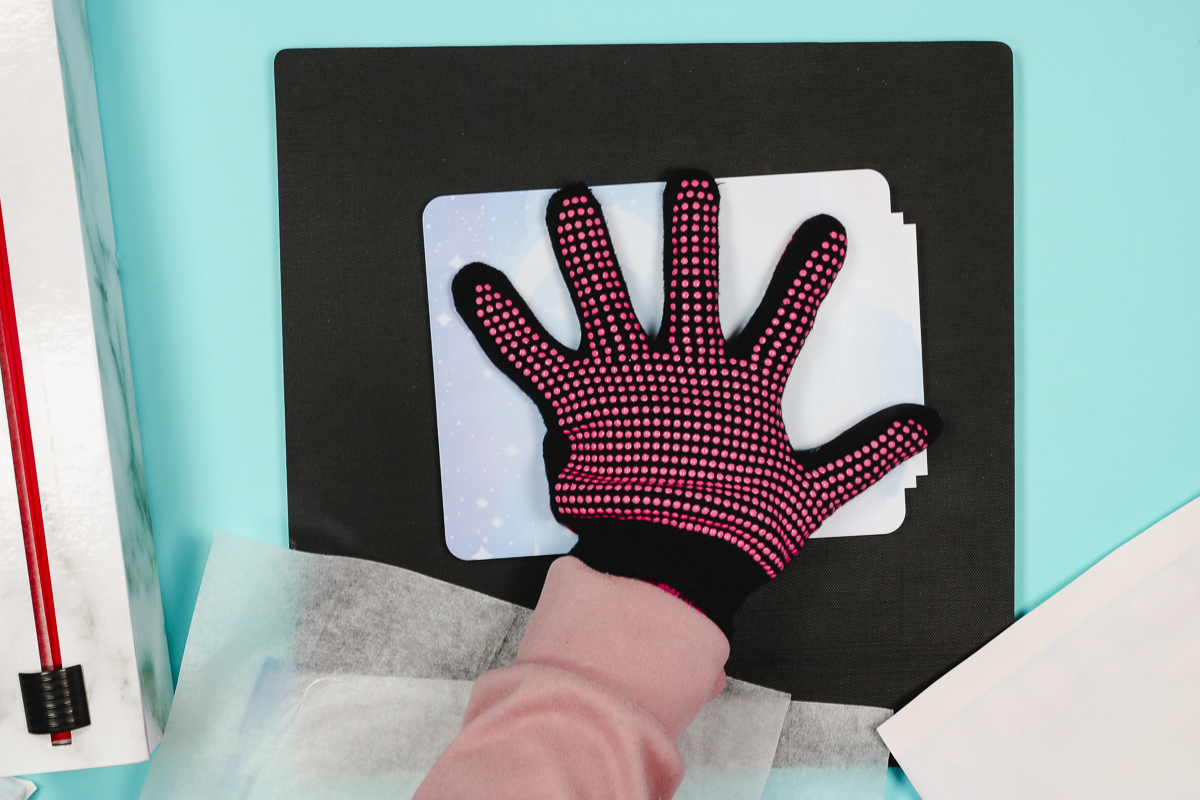
Place a sheet of protective paper on the mat and then the first sublimation blank. I am pressing the PYD Life sublimation nightlight first. Put the nightlight on the protective paper, sublimation print on top, and then place another sheet of protective paper on top of it to protect your heat source.
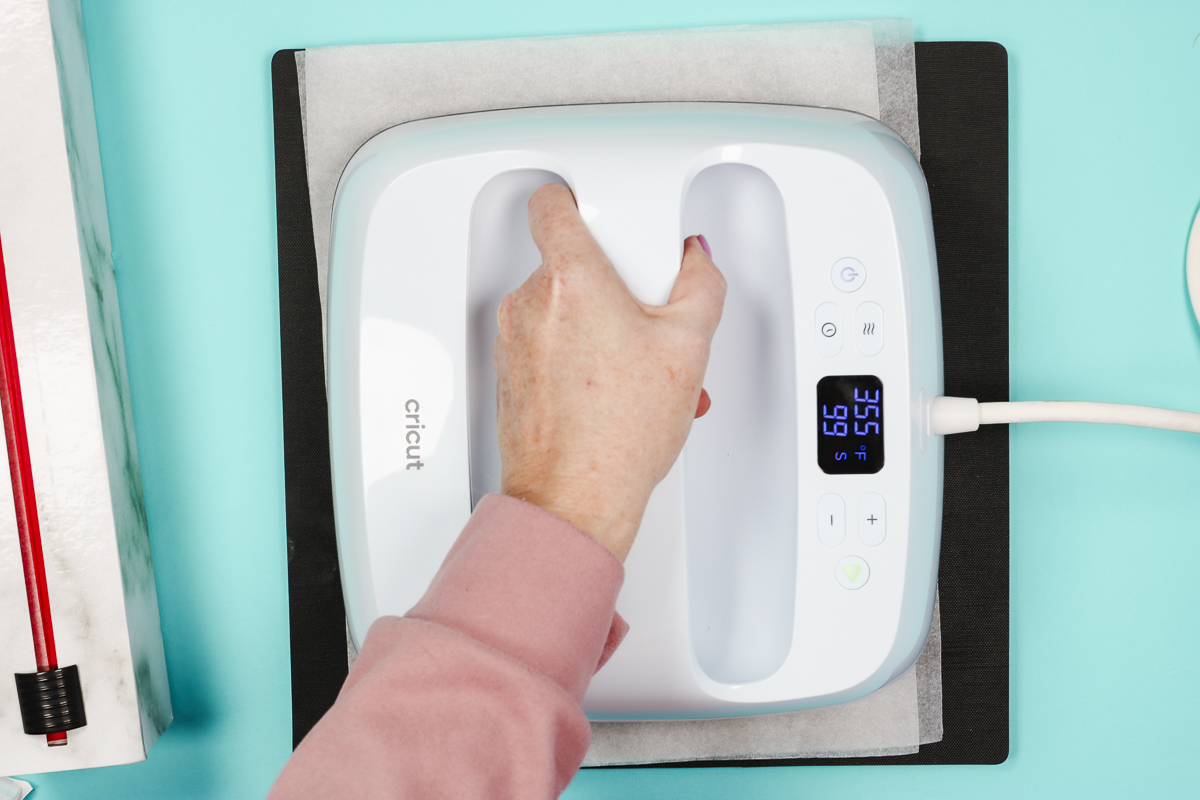
Step 5: Press Sublimation Nightlight
Now it’s time to press each of the different nightlights.
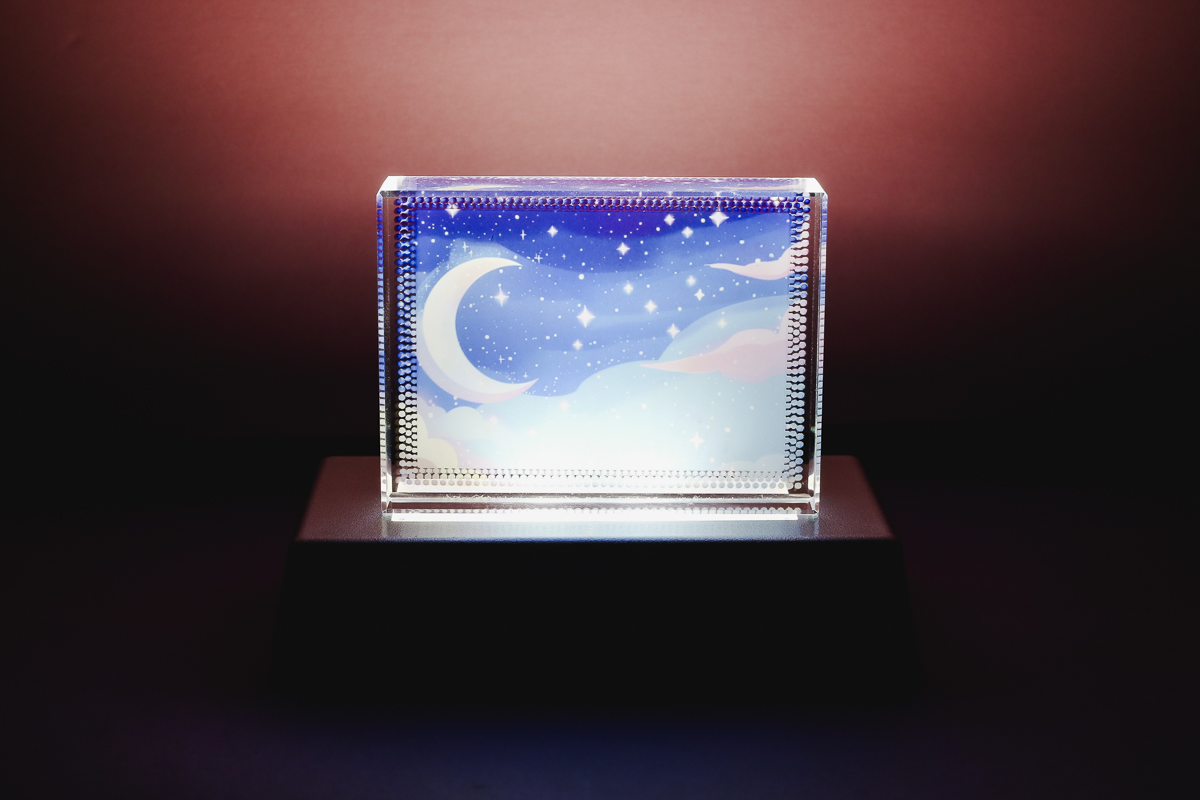
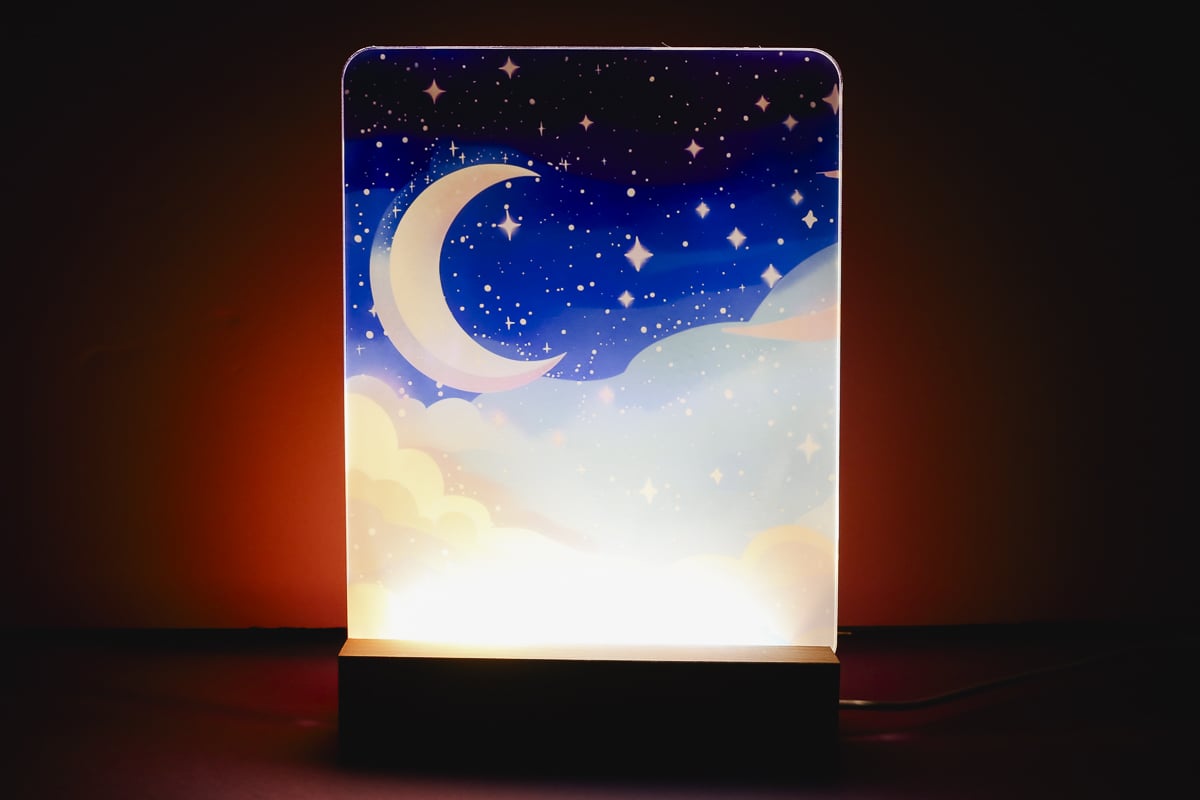
PYD Life Acrylic Nightlight
This PYD Life nightlight calls for a temperature of 355 degrees for 120 seconds. For this blank, I am going to press down with medium pressure for the full-time.
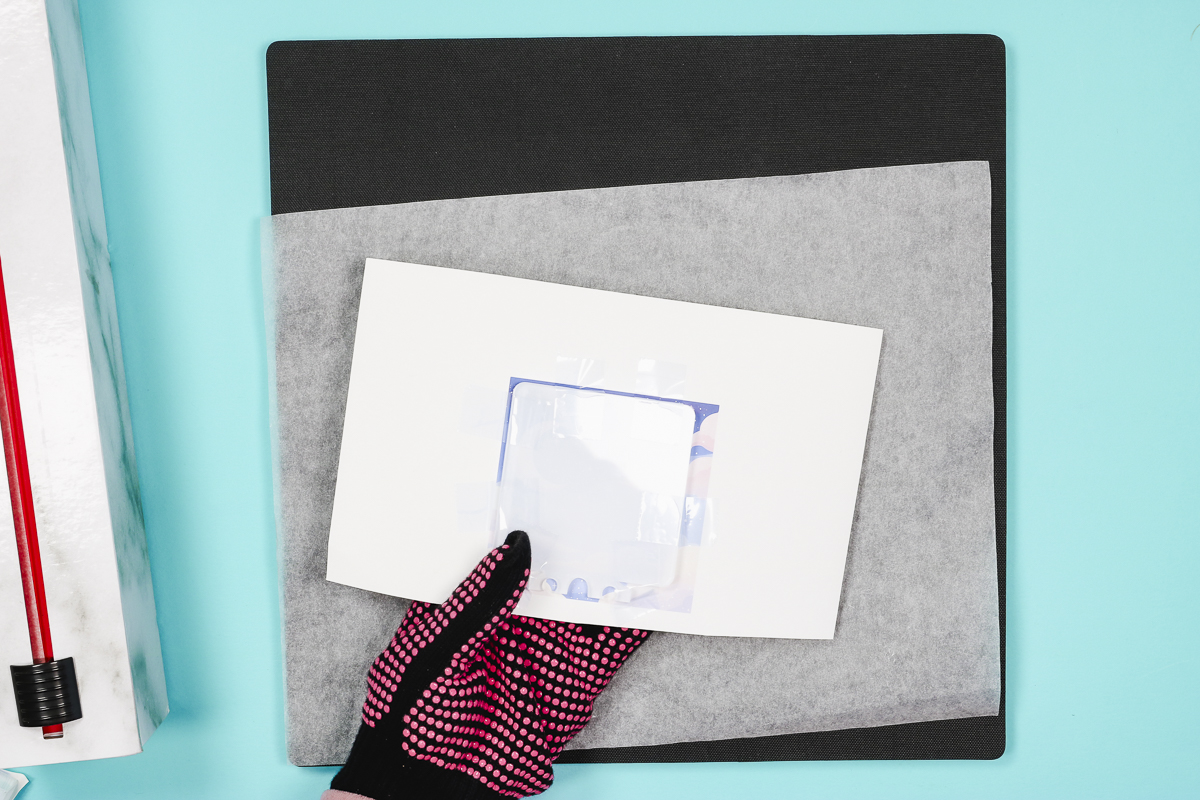
Once the time is up, lift up the press and using heat-resistant gloves flip the nightlight over. Before you remove any tape or the sublimation print check to make sure the print has transferred evenly.
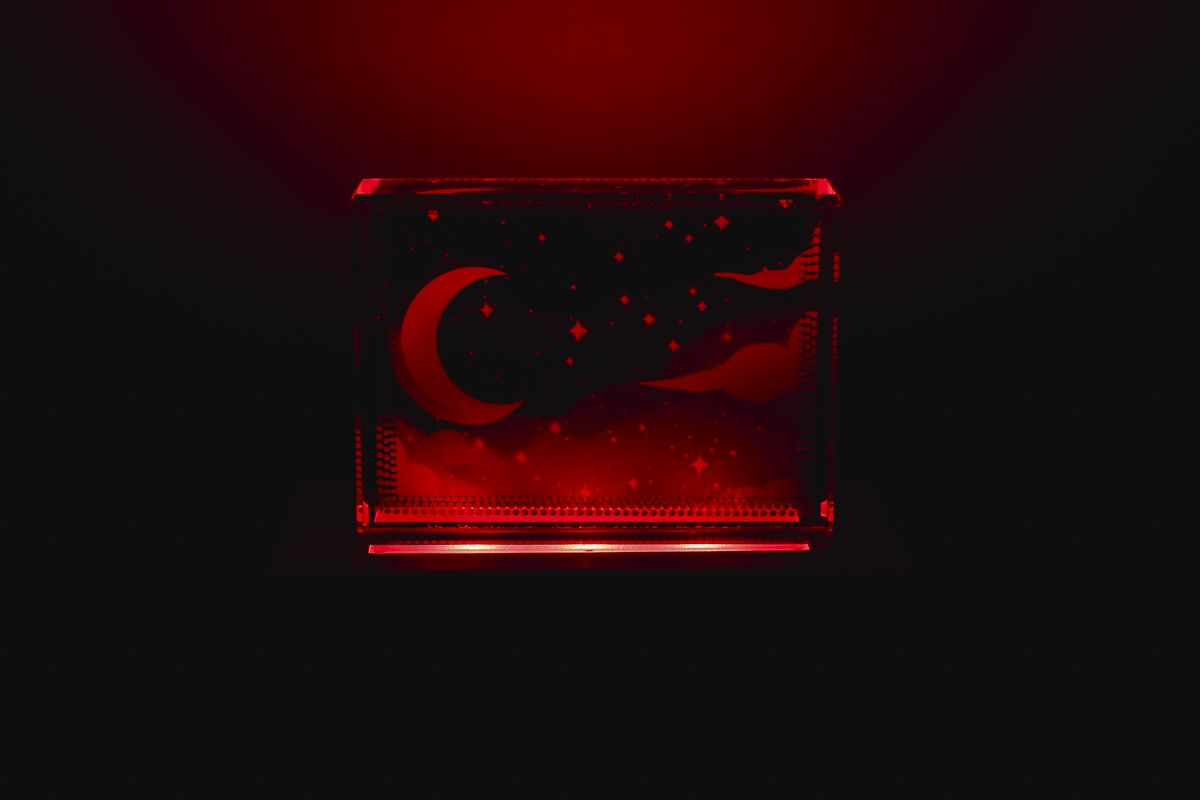
That is one of the great things about all of these nightlights, you can see through to the front so you’ll be able to tell without removing the print if you need to press again. I did have to press this blank more than once to get the design to transfer completely.
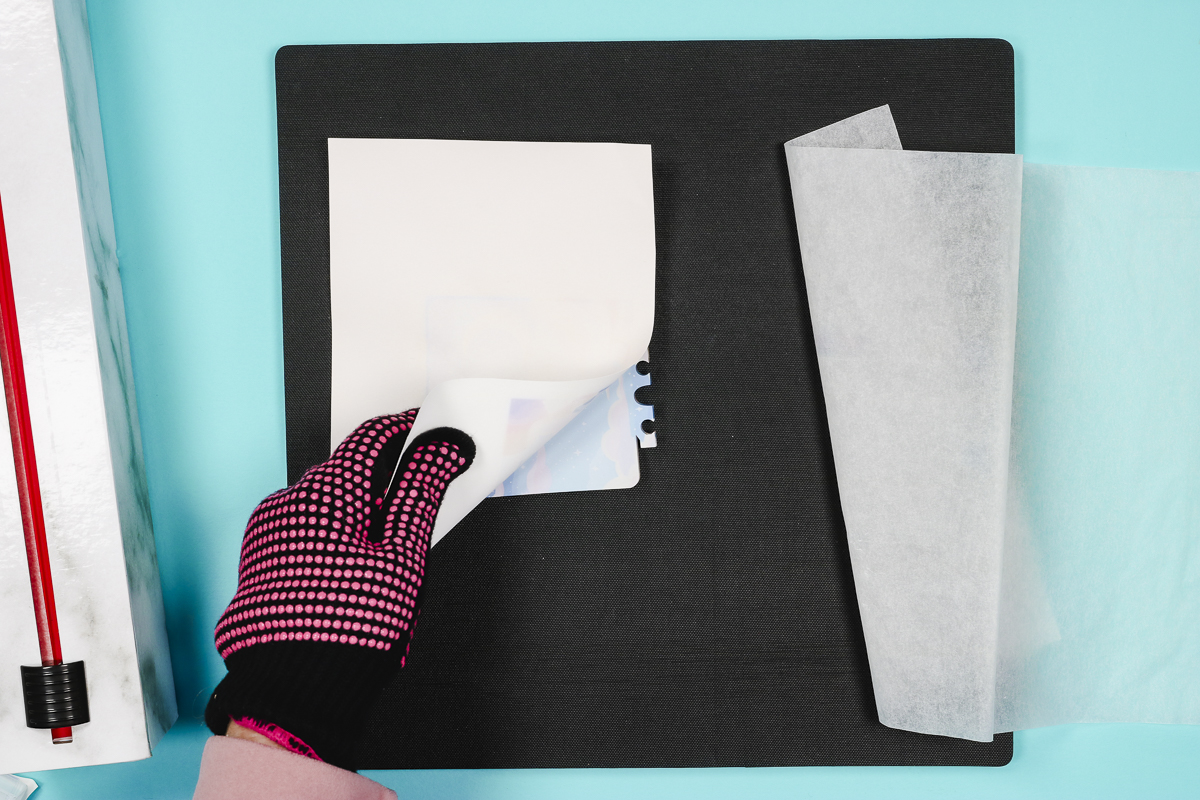
When the print looks good, remove the sublimation print and tape and allow it to cool under something heavy. The acrylic sublimation nightlights can bend a little during the heating and cooling process. The best way to prevent that from happening is to allow it to cool under something heavy to keep it flat.
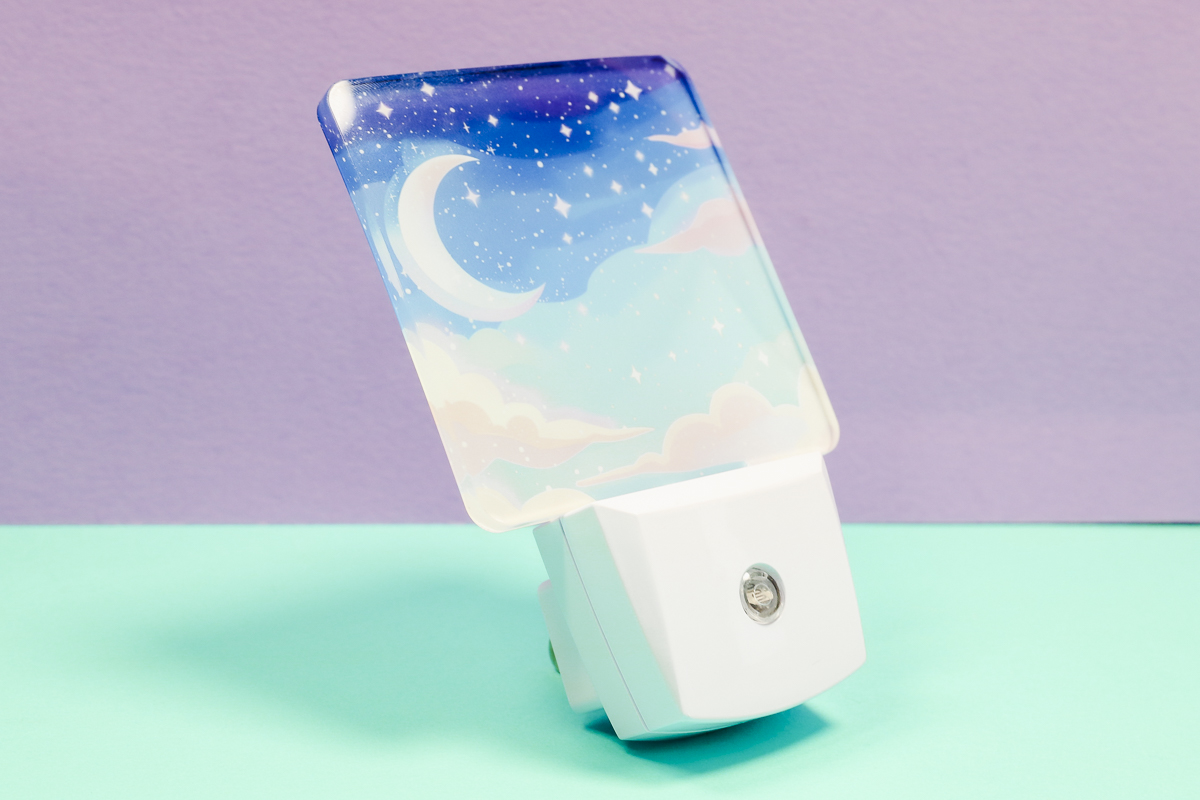
Etsy Traditional Sublimation Nightlight
This nightlight has a recommended time of 65 seconds and heat of 375 degrees.
I am going to press this blank the exact same way I pressed the first acrylic blank. Apply medium pressure for the full time and then check the front before removing the sublimation print.
I experienced uneven heating on this blank as well. I think using the EasyPress and manual pressure can cause this, luckily it’s okay just press again for a few more seconds.
Check the front of the blank each time before removing the print. It’s nearly impossible to line a sublimation print back up perfectly if you remove it so check really well for even sublimation. I did have to press this one multiple times but I was able to get it sublimated perfectly in the end.
Remember to use heat-resistant gloves to remove the sublimation print and tape and then cool it under something heavy to help it flatten out.
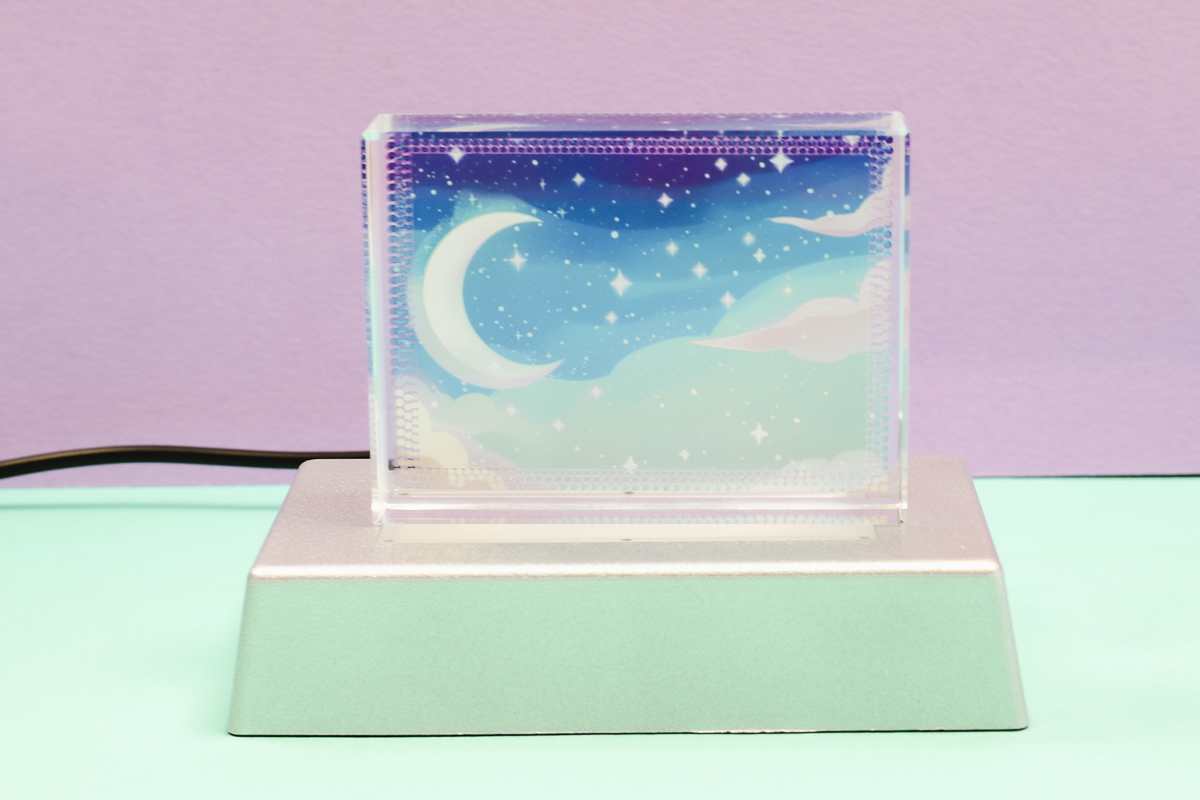
Glass Block Sublimation Nightlight
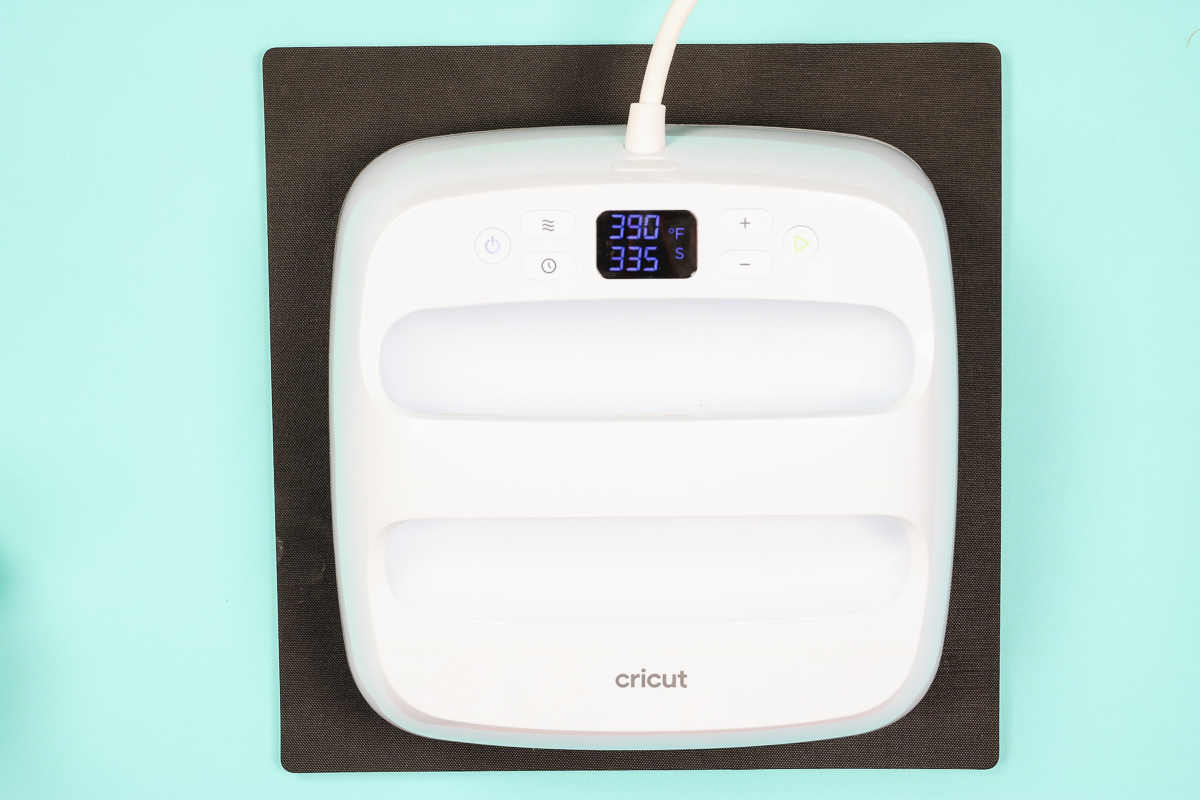
This glass block nightlight has a much longer pressing time. The recommended settings are 390 degrees for 350 seconds.
On this blank, I am just going to set the EasyPress on top of it and not press down. It would be difficult to hold a consistent pressure for 350 seconds.
When the time is up, remove the EasyPress and then check the sublimation print.
The glass will be very hot, don’t touch it without heat-resistant gloves until it is completely cool.
The glass nightlight sublimated perfectly without having to press again. I did not have to hold the EasyPress down to get a good result.
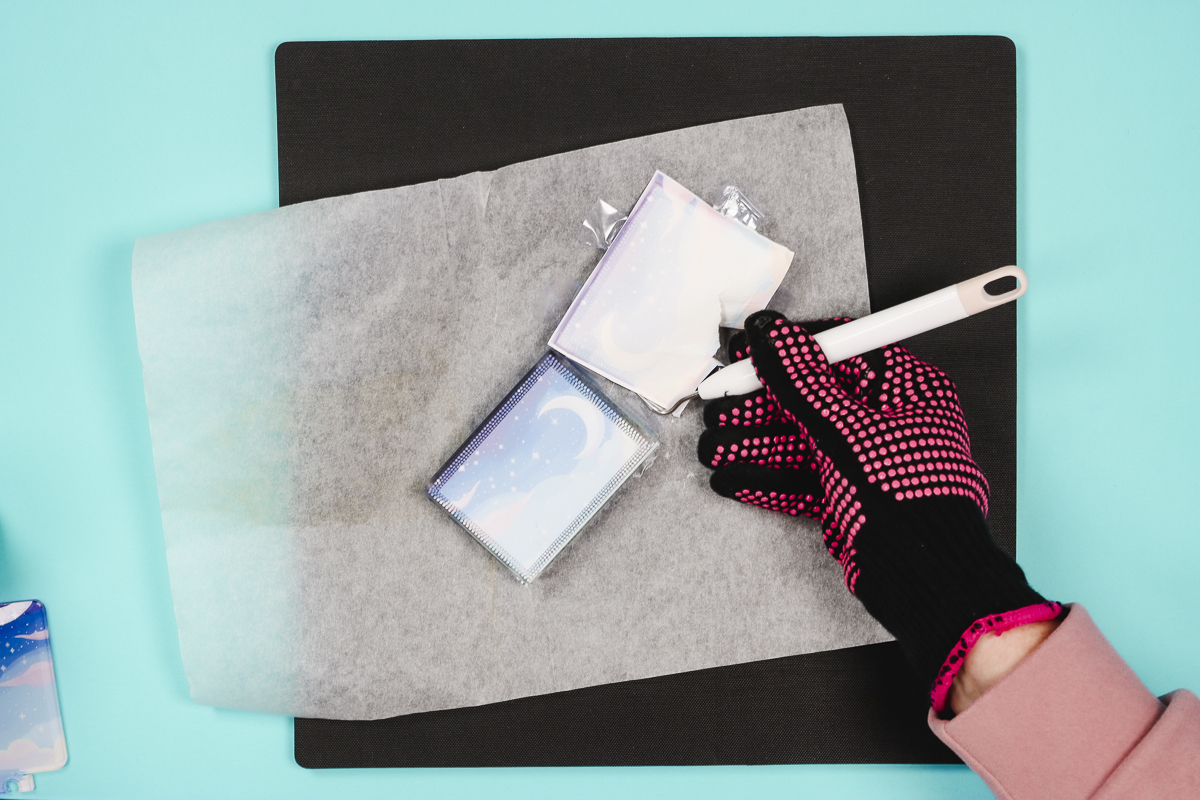
Remove the sublimation print and tape and allow the glass block to cool completely before trying to add it to the light base.
Step 6: Assemble Sublimation Nightlights
Next, we’re going to discuss how to assemble each of the different nightlights we sublimated today.
Light Up Glass Nightlight
The light up glass sublimation nightlight is the easiest of the nightlights to assemble. You simply, place the glass block on top of the base.
The glass portion doesn’t attach to the base it just sits on top of it. Because it doesn’t attach you may want to look at other options if you’re looking at a nightlight for smaller children that may not leave the glass block alone.
This nightlight can be sublimated horizontally or vertically and you can change the colors of the light which is really cool. You’re sure to find a color that works well for the design you use.
This nightlight does not come with a traditional plug. It has a USB plug at the end so you will need a plug base to attach to the cord to plug it into a wall.
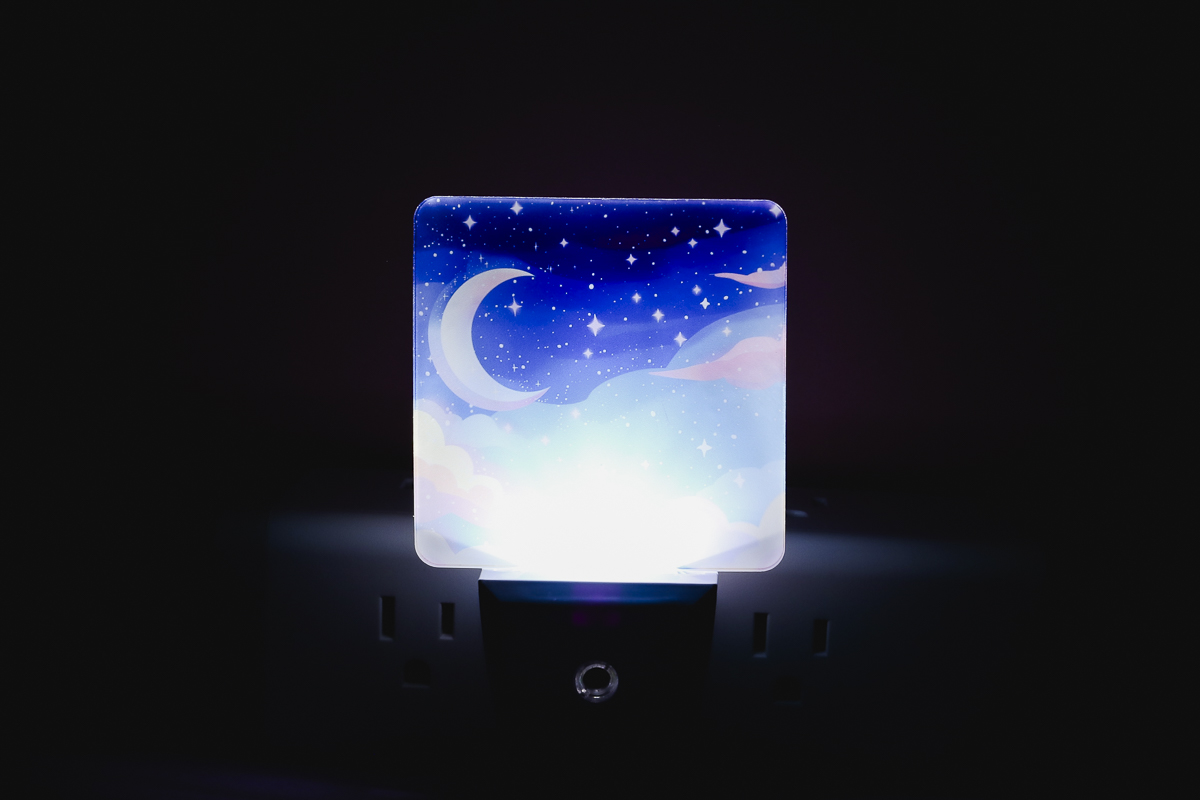
Traditional Light Up Plug In Nightlight
The assembly for this nightlight was the most difficult for me. It was not hard but it was harder than the other options I tested today.
I do think the acrylic piece is supposed to snap right in the plug but I think mine was warped from being heated and then cooled. I did not cool it completely under something heavy, I just used my hands to apply some weight while it cooled.
To assemble the nightlight I removed the top two screws from the base and then wiggled the acrylic piece into place. When it’s in place, replace the screws and tighten them.
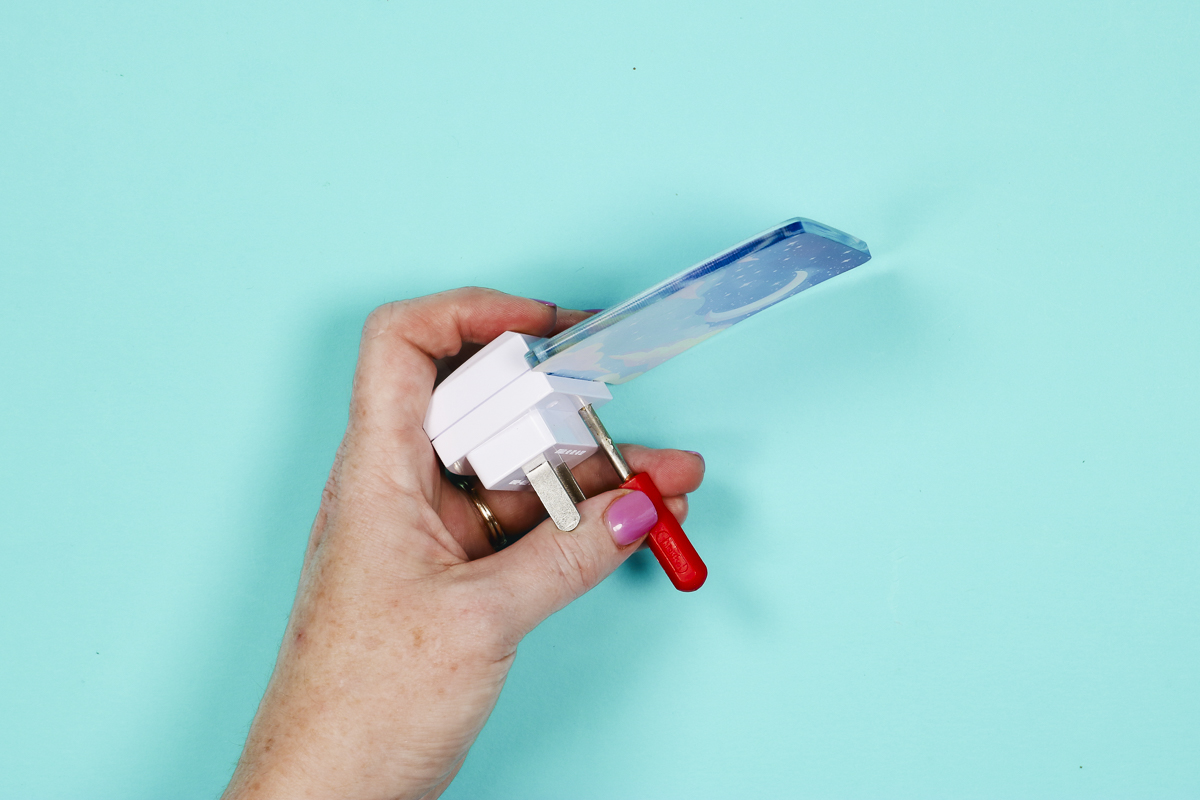
This is a traditional plug-in nightlight. You will plug it into the wall directly and it can only be plugged in in this orientation.
I do like that it has a sensor that allows you it to come on automatically when the room is dark, that is a great feature.
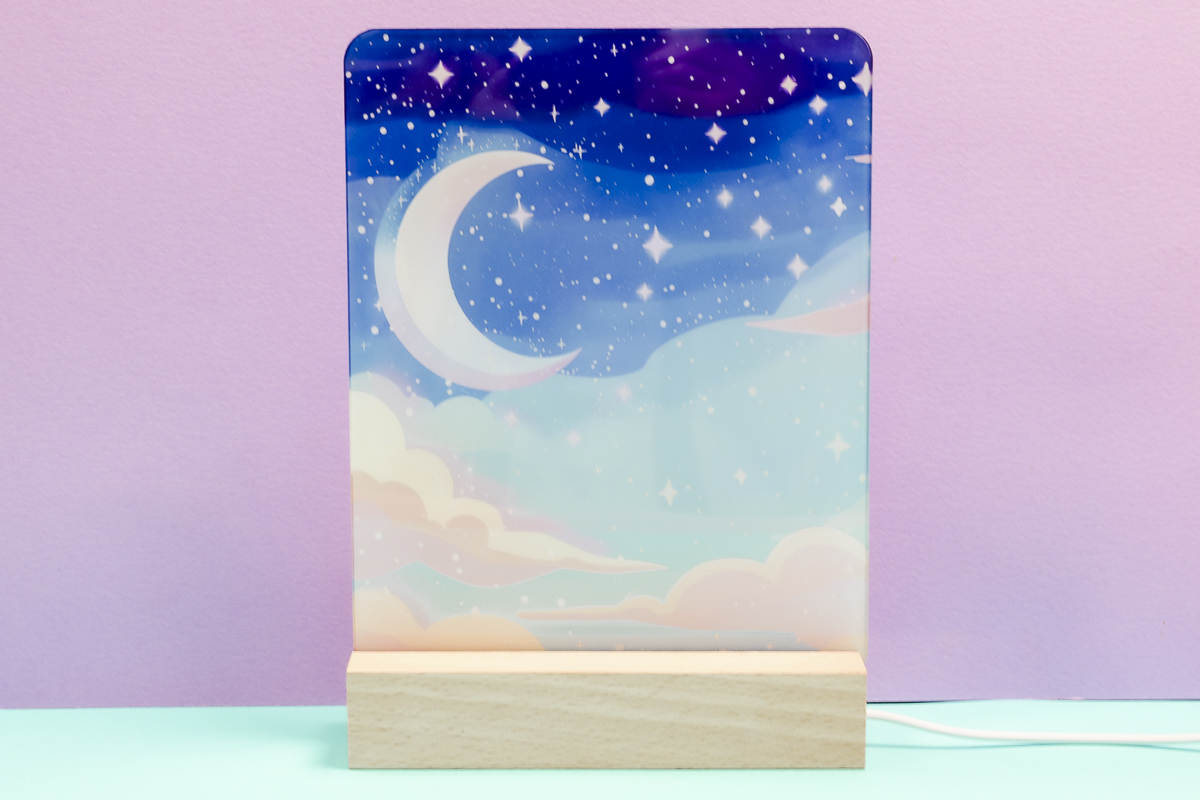
Sublimation Nightlight with Wood Base
This last nightlight is as easy to assemble as the glass block nightlight. You will simply slide the bottom end into the slot on the base and it will lock into place.
This nightlight can also only be oriented in one direction so make sure your print is correct when you locate it.
Like the glass nightlight, you will need a plug base to plug this nightlight into the wall, it does not come with a traditional cord.
Pros and Cons of Sublimation Nightlights
Each of these sublimation nightlights turned out great. I really think which one you choose will be determined by the look you’re going for.
Let’s look at the pros and cons of sublimation nightlights.
Sublimation Nightlight Cons
- If you don’t cool the blank under something heavy, it can warp as it cools. You can reheat the blank and cool it under something heavy and flat to help flatten it out.
- You may need to press more than once to get the sublimation print to transfer completely.
- The traditional plug-in style nightlight can only be plugged in in one direction.
- The acrylic nightlight only has one color light.
- The glass nightlight and PYD Life nightlight both only come with USB cords, you will need to have a plug base to actually plug them in.
- The glass sublimation nightlight may not be safe for young kids as the glass just sits on top of the light. It does not attach.
- The glass sublimation nightlight base feels cheap compared to the glass block itself.
Sublimation Nightlight Pros
- The traditional nightlight has an automatic sensor that turns it on when the room is dark.
- The glass sublimation nightlight has a variety of different colored lights to choose from.
- The PYD Life sublimation nightlight is beautiful. It’s large and looks beautiful. It is large enough to be a statement piece in a room.
- You can see the sublimation print from the front of the nightlight blank which makes it easy to know if you need to re-press.
- You can re-heat the acrylic blanks to flatten them out if needed.
- The sublimation prints look beautiful on all the different sublimation nightlights.
- You can make these sublimation nightlights even if you only have an EasyPress heat source.
I had a lot of fun making these sublimation nightlights. They all turned out great and would make great nightlights for your home and amazing gifts.
I hope I’ve answered any questions you have about these nightlights. If you have any additional questions, leave them in the comments below and I’ll be happy to answer them for you.