This post and photos may contain Amazon or other affiliate links. If you purchase something through any link, I may receive a small commission at no extra charge to you. Any supplies used may be given to me free of charge, however, all projects and opinions are my own.
Are you ready to learn about DTF printing? In previous articles, we’ve discussed what DTF printing is and the safety concerns associated with it. I’ve also walked you through the setup and maintenance process so you know exactly what it takes to create DTF prints on your own.
If you’re ready to deep dive into DTF printing, start with my What is DTF Printing Guide and follow that up with my DTF Printer Maintenance article and you’ll be ready to move on to printing.
You can watch me go through this entire process by pressing play on the video below.
Table of Contents
How to Create Your Own DTF Prints
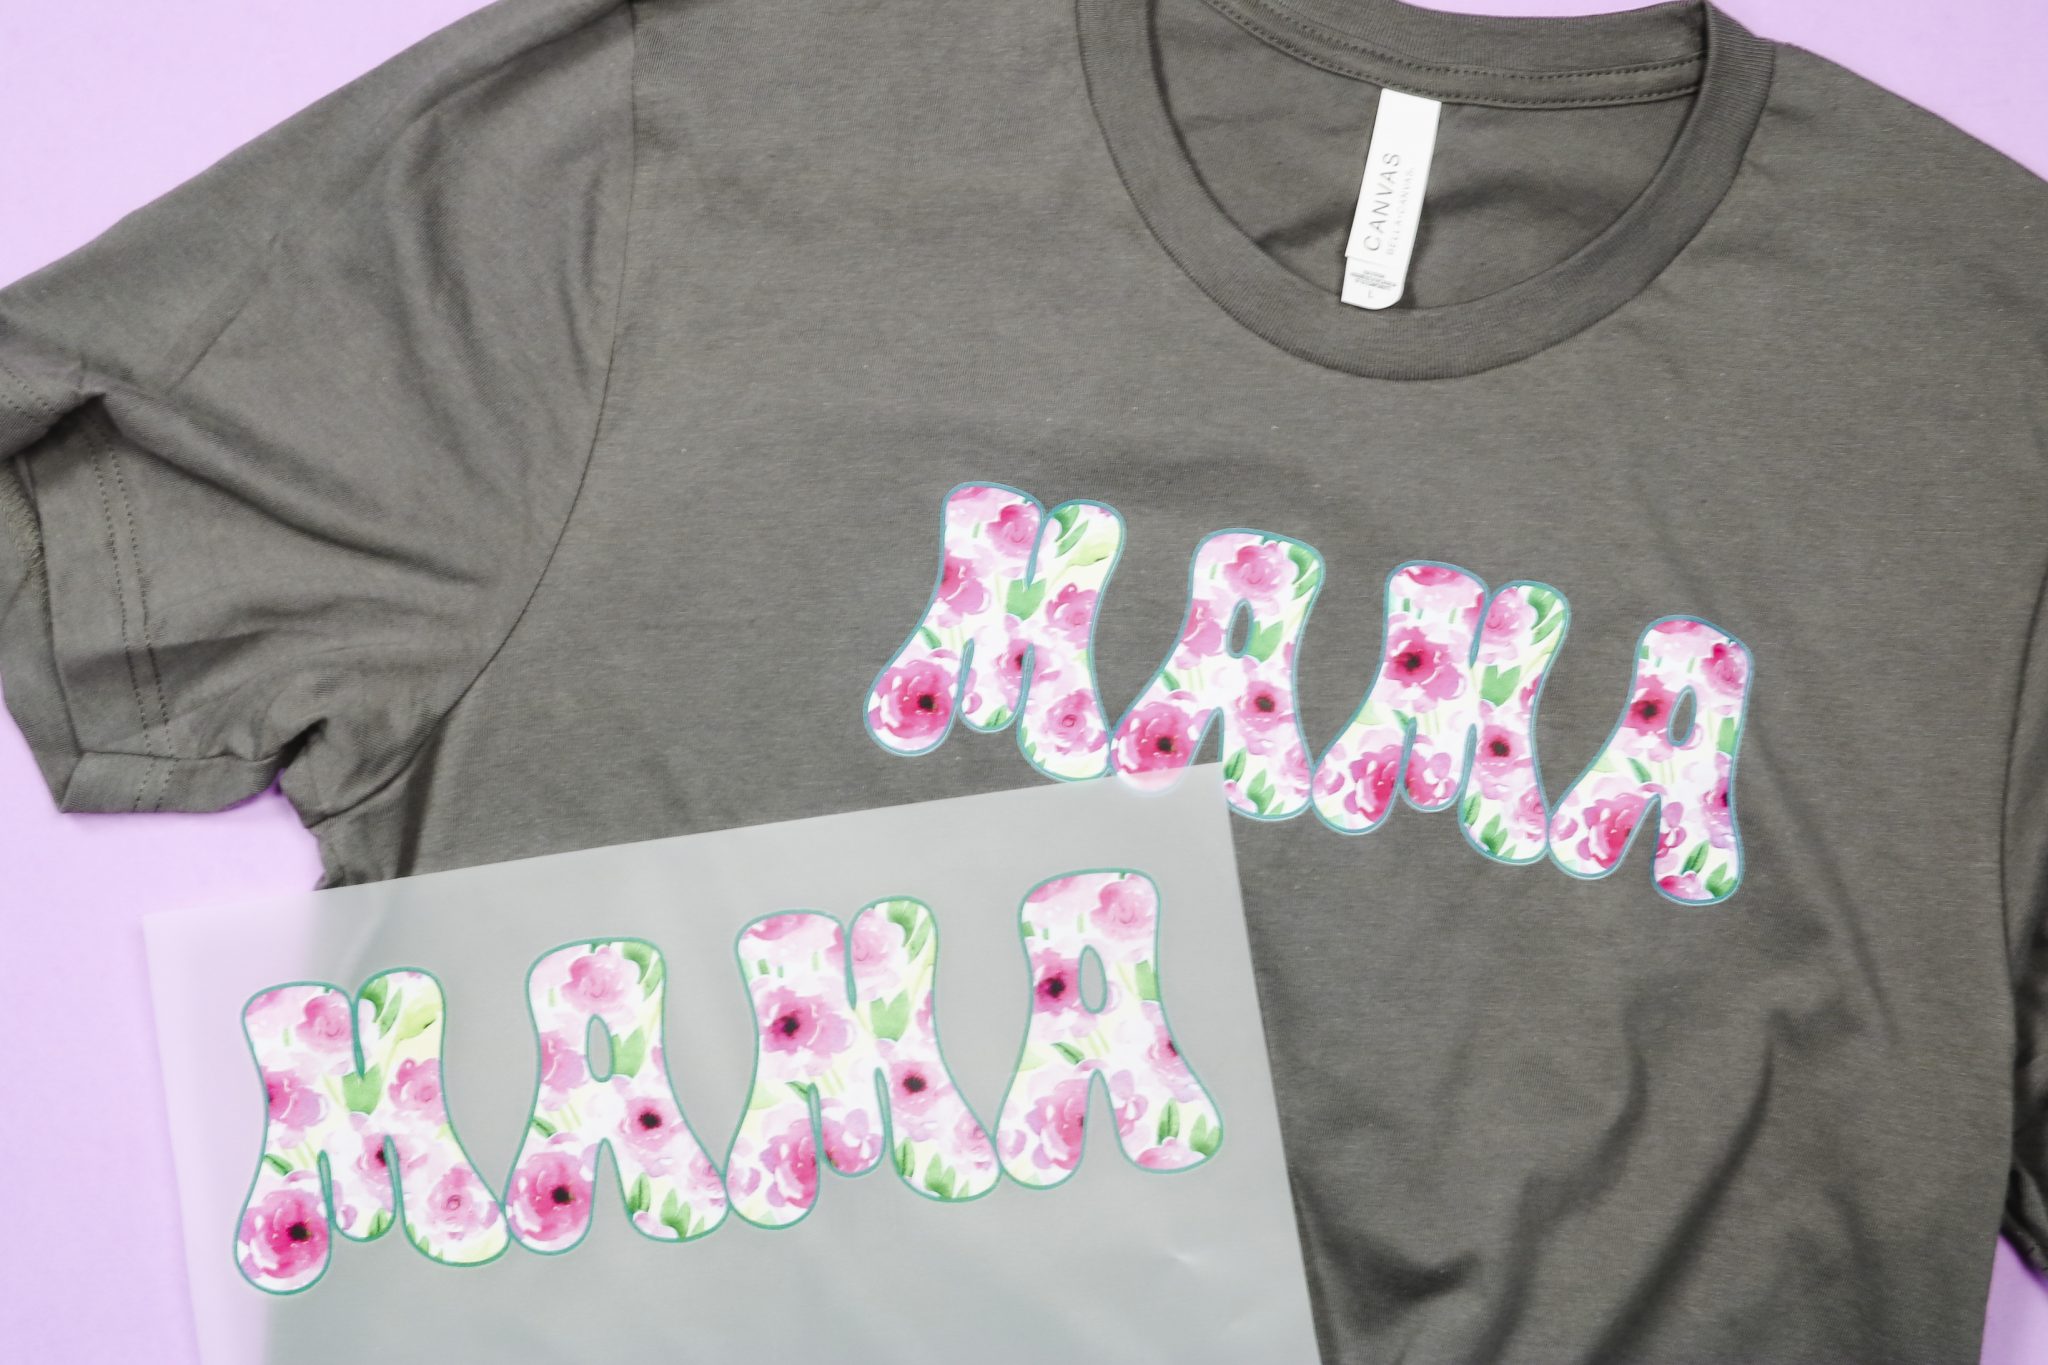
I’m going to show you the whole DTF printing process. You’ll learn how to print, add powder, cure the powder, and press your design onto a shirt.
If you read through the whole process and decide the printing process is more than you want to take on, you can skip that step and get right to the pressing by ordering a DTF print. I order mine from Heat Transfer Warehouse.
Supplies Used:
NOTE: If you haven’t set up your DTF printer yet or haven’t fed the media into the printer yet you need to do that. I am not going over the setup process in this tutorial so make sure you review those other blog posts before coming here to print.
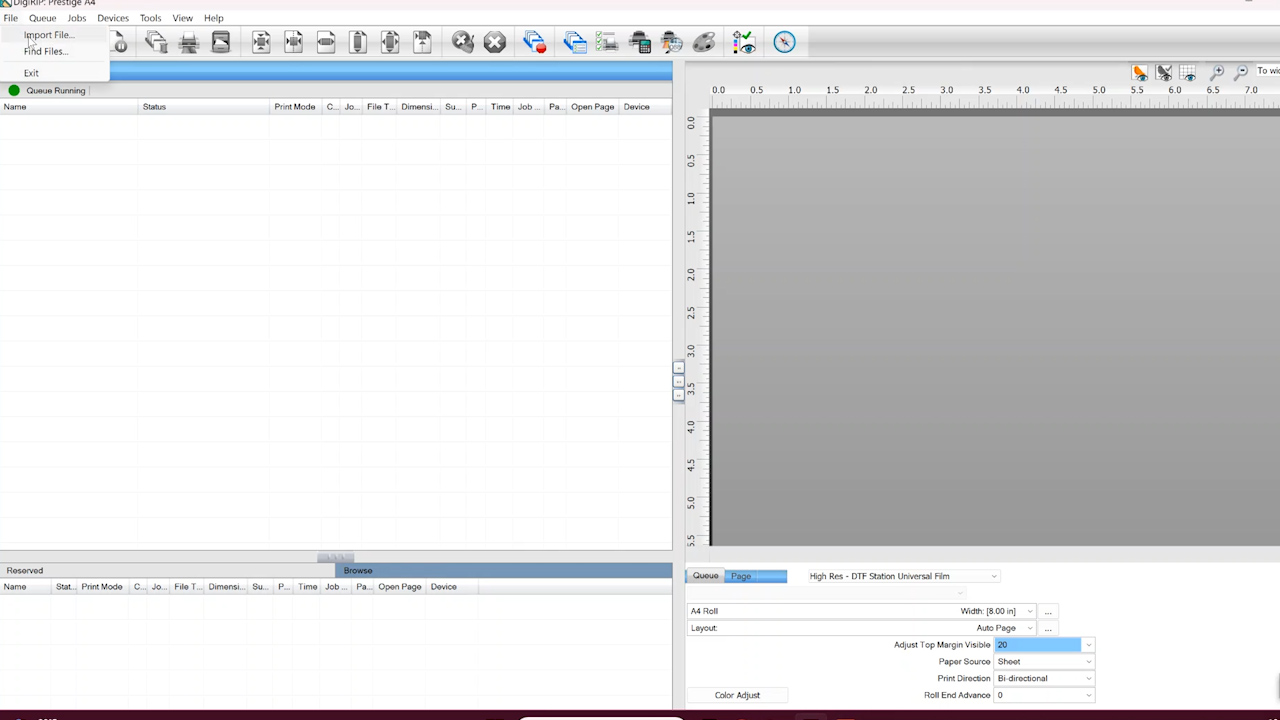
Step 1: Upload to RIP Software
To print from a DTF printer, you need to have RIP software. RIP software is what takes your design and turns it into an image that has white ink.
DTF printers have white ink and normal household printers do not. You need the RIP software to translate the image to make the best possible designs so the final print can be put on any color of garment, even dark colors.
The DTF printer I’m using today includes RIP software with the purchase. To print, I need to open the RIP software on my computer and upload my design.
Note – RIP software is PC-only, meaning it doesn’t work with mobile devices or Mac computers. The printer I am using also does not have wifi or Bluetooth capability, it needs to be connected directly to the computer.
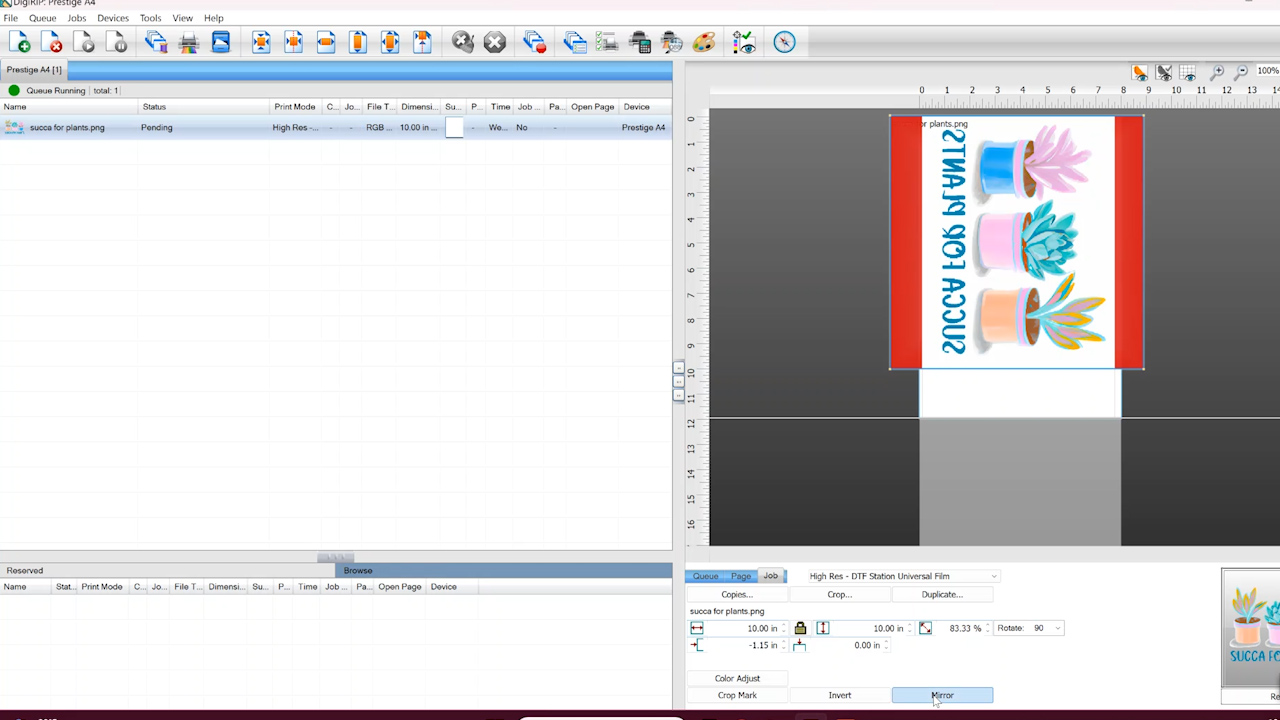
Step 2: Resize and Mirror Image to Print
With the image in the software, you can resize the image, move it on the sheet, rotate it, etc. You can see the sheet right in the software making it easy to move things how you want them.
This printer has a maximum width of about eight inches. The print can be as long as I want but it has to stay within that eight-inch width.
DTF prints need to be mirrored. You’ll take care of that in the RIP software before printing.
Step 3: Printing with a DTF Printer
Once the design is set up how we want, we’re ready to print.
The first thing you’ll notice is that DTF printers are very slow. The printing process is not something you can rush and the ink is wet so you can’t mess with it while it’s printing. You’ll also notice there is a line at the beginning of the print.
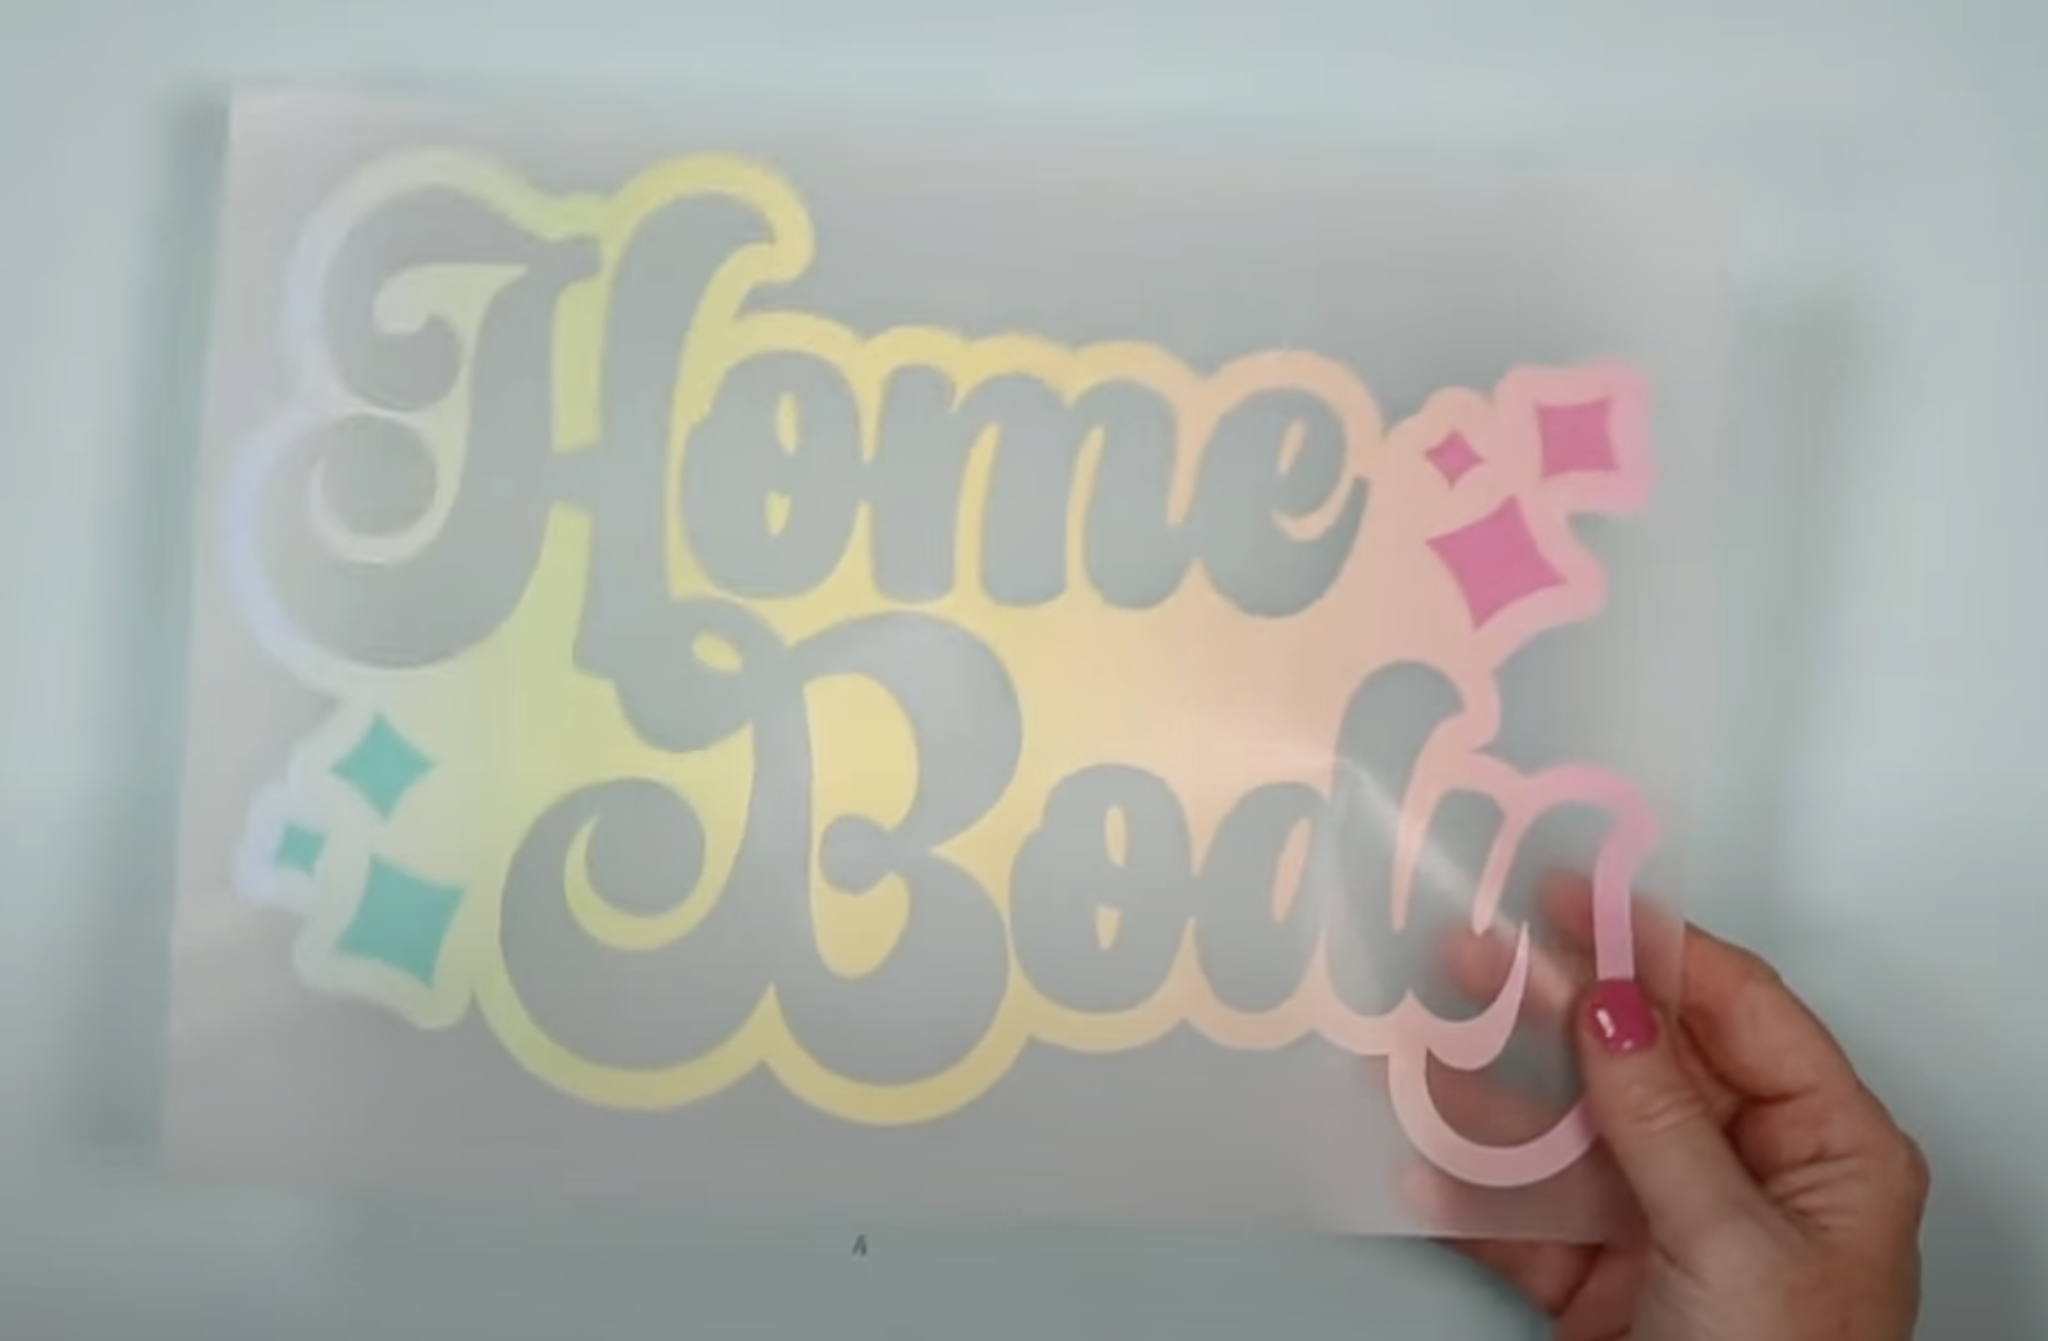
This line should run the length of your design. If your design has a background that was removed, it may print as wide as the background was.

The DTF print will look white as it comes out of the printer. This happens because there is an order to how the printer prints the colors. The RIP software does all that arranging for you. The white ink will typically be the top layer that you see on the back, this will make your print look best on dark colors.
When your design is done printing, you’ll see that the other side of the print will look normal. Also, when the printer is done printing, you’ll see there is a second printed line and the printer will stop.
Step 4: Remove Prints From DTF Printers
Press the exit button on the printer to feed the film through the printer far enough that you can cut it off.
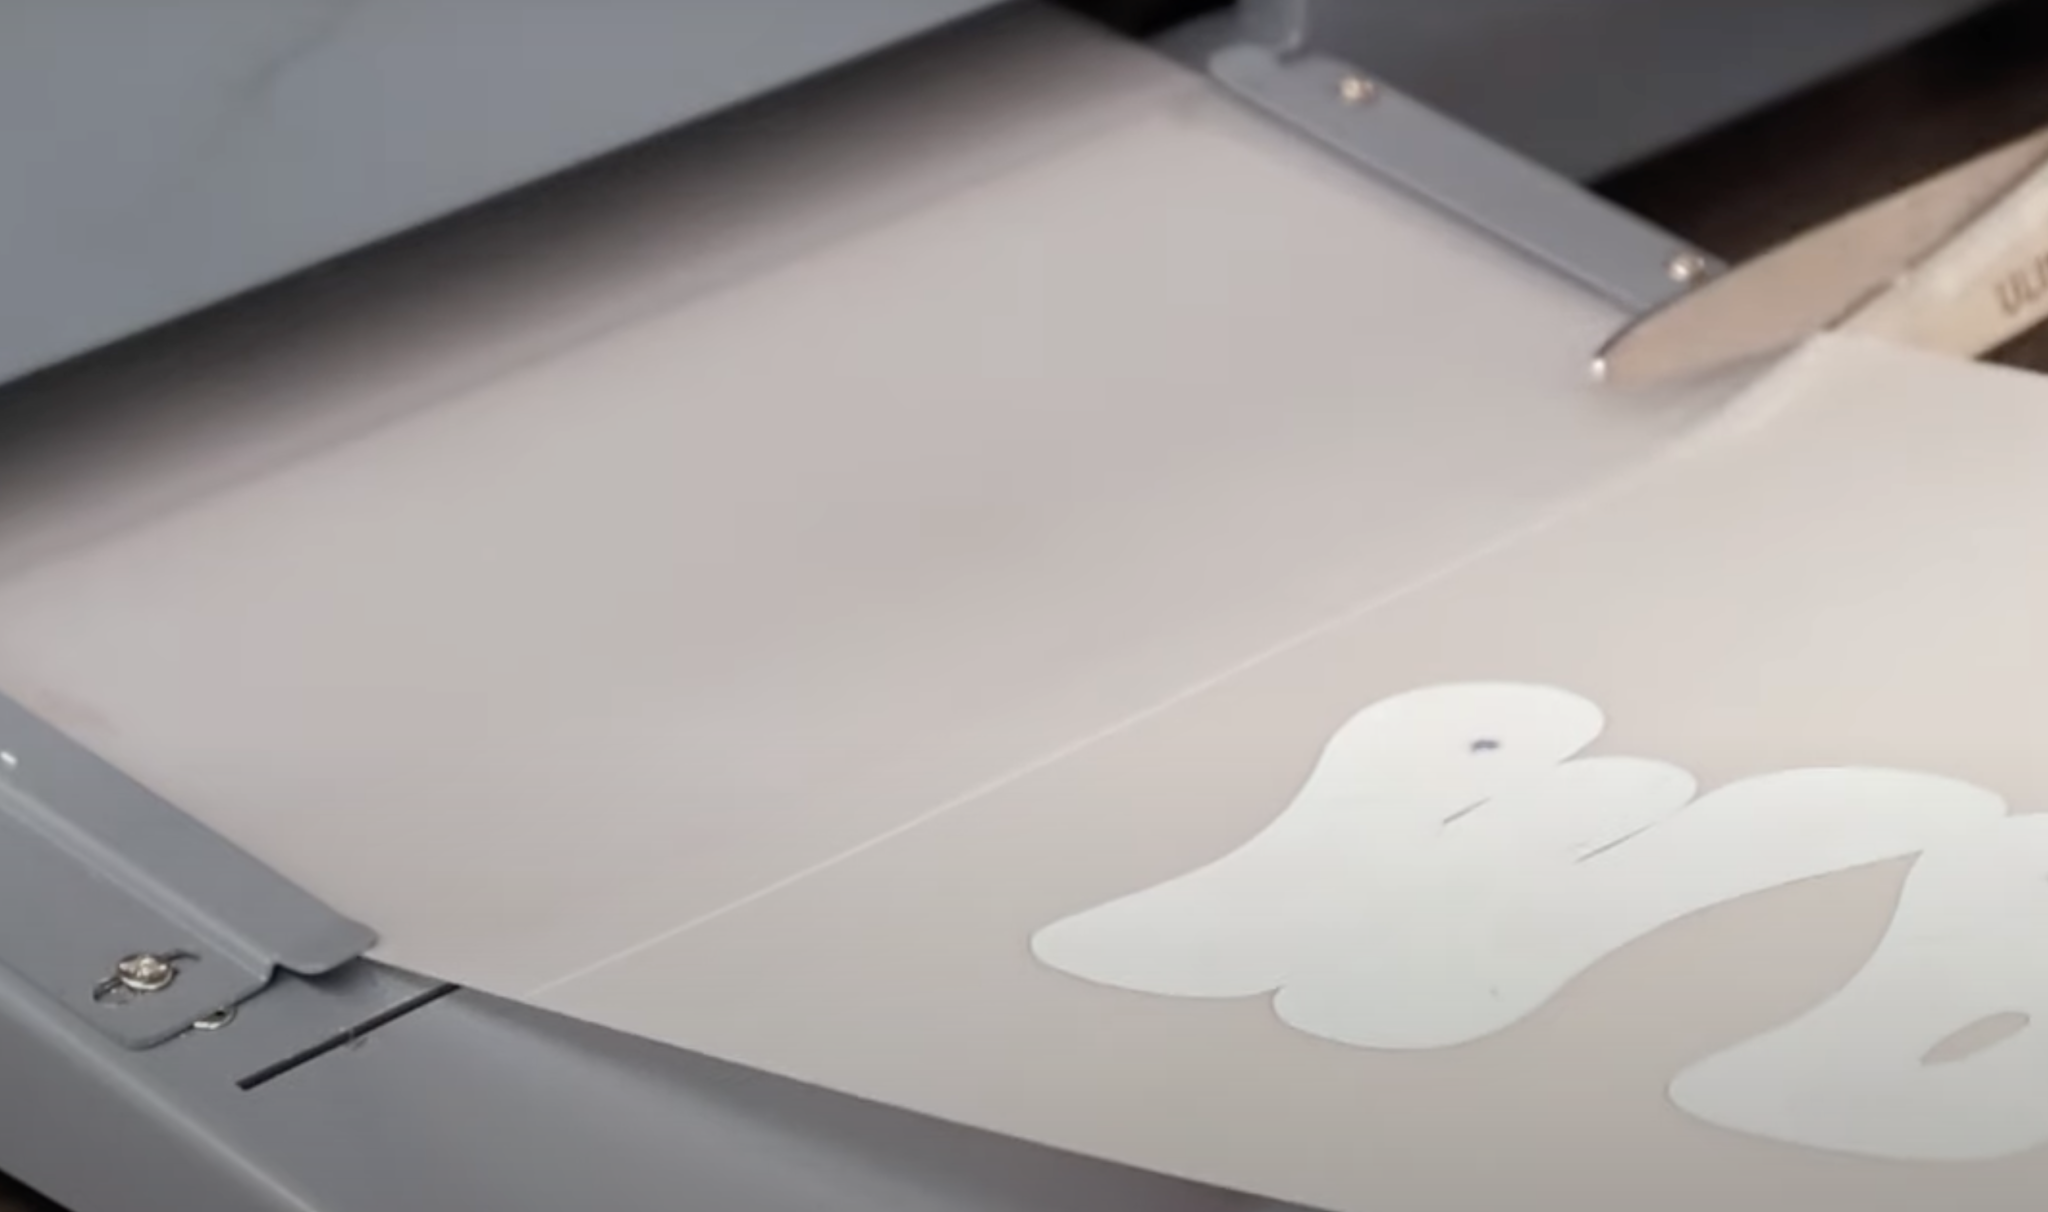
You can cut the print off with scissors or with a razor blade. You can see there is a slot on the tray you can run a razor blade across. Be careful if you choose this option. The ink is wet and will smudge if you rub up against it.
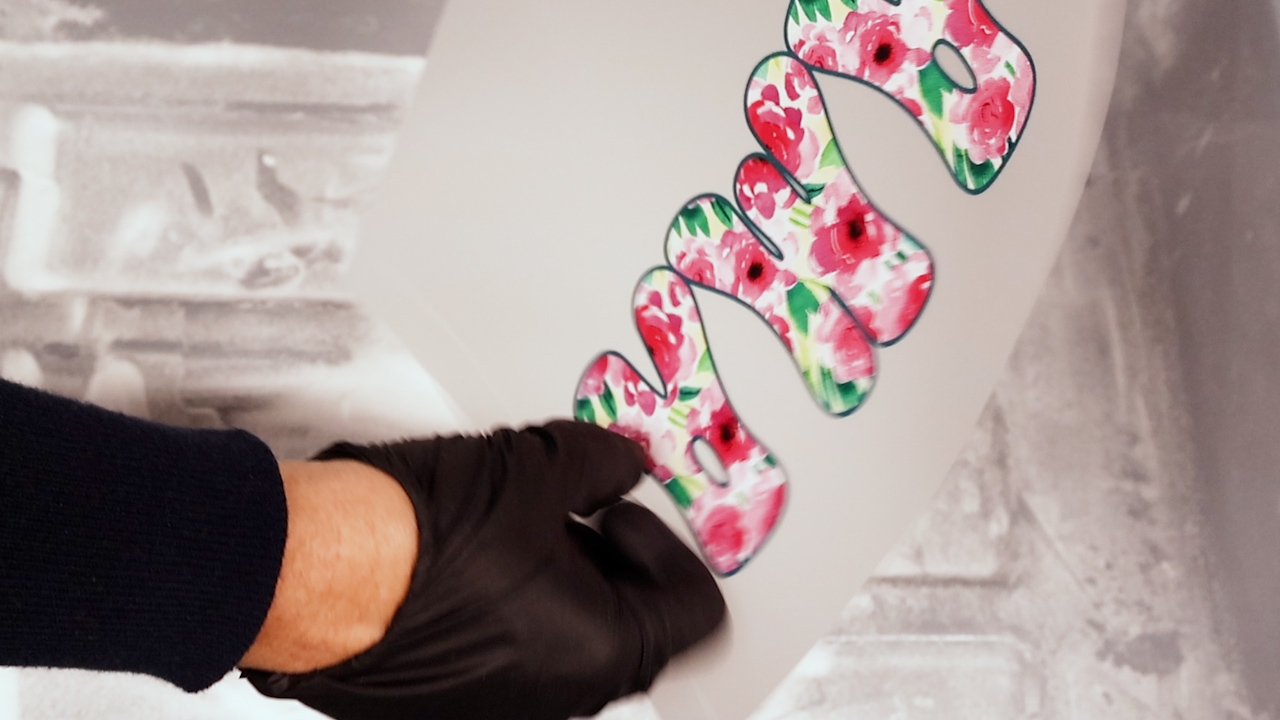
Step 5: Add Powder the DTF Prints
Now that the printer is done printing and you’ve removed the DTF print it’s time to move the print to the powdering area. You should powder your DTF prints as soon as possible after printing. Don’t wait longer than 2 hours after printing.
IMPORTANT: Your powdering area should not be close to your printing area. They need to be separated and you shouldn’t powder near your printer.
I am using a manual powdering process. You can purchase a powder shaker with your printer but it is not a necessity. I’m using a plastic bin for the manual powdering process.
SAFETY NOTE: Regardless of how you’re powdering your prints make sure you’re being careful. I wear glasses, a mask, an apron, and gloves when working with DTF powder.
Put the print in the tub and roll it back and forth to make sure the powder is fully coating the wet ink. Do this multiple times to make sure that no areas are left without powder.
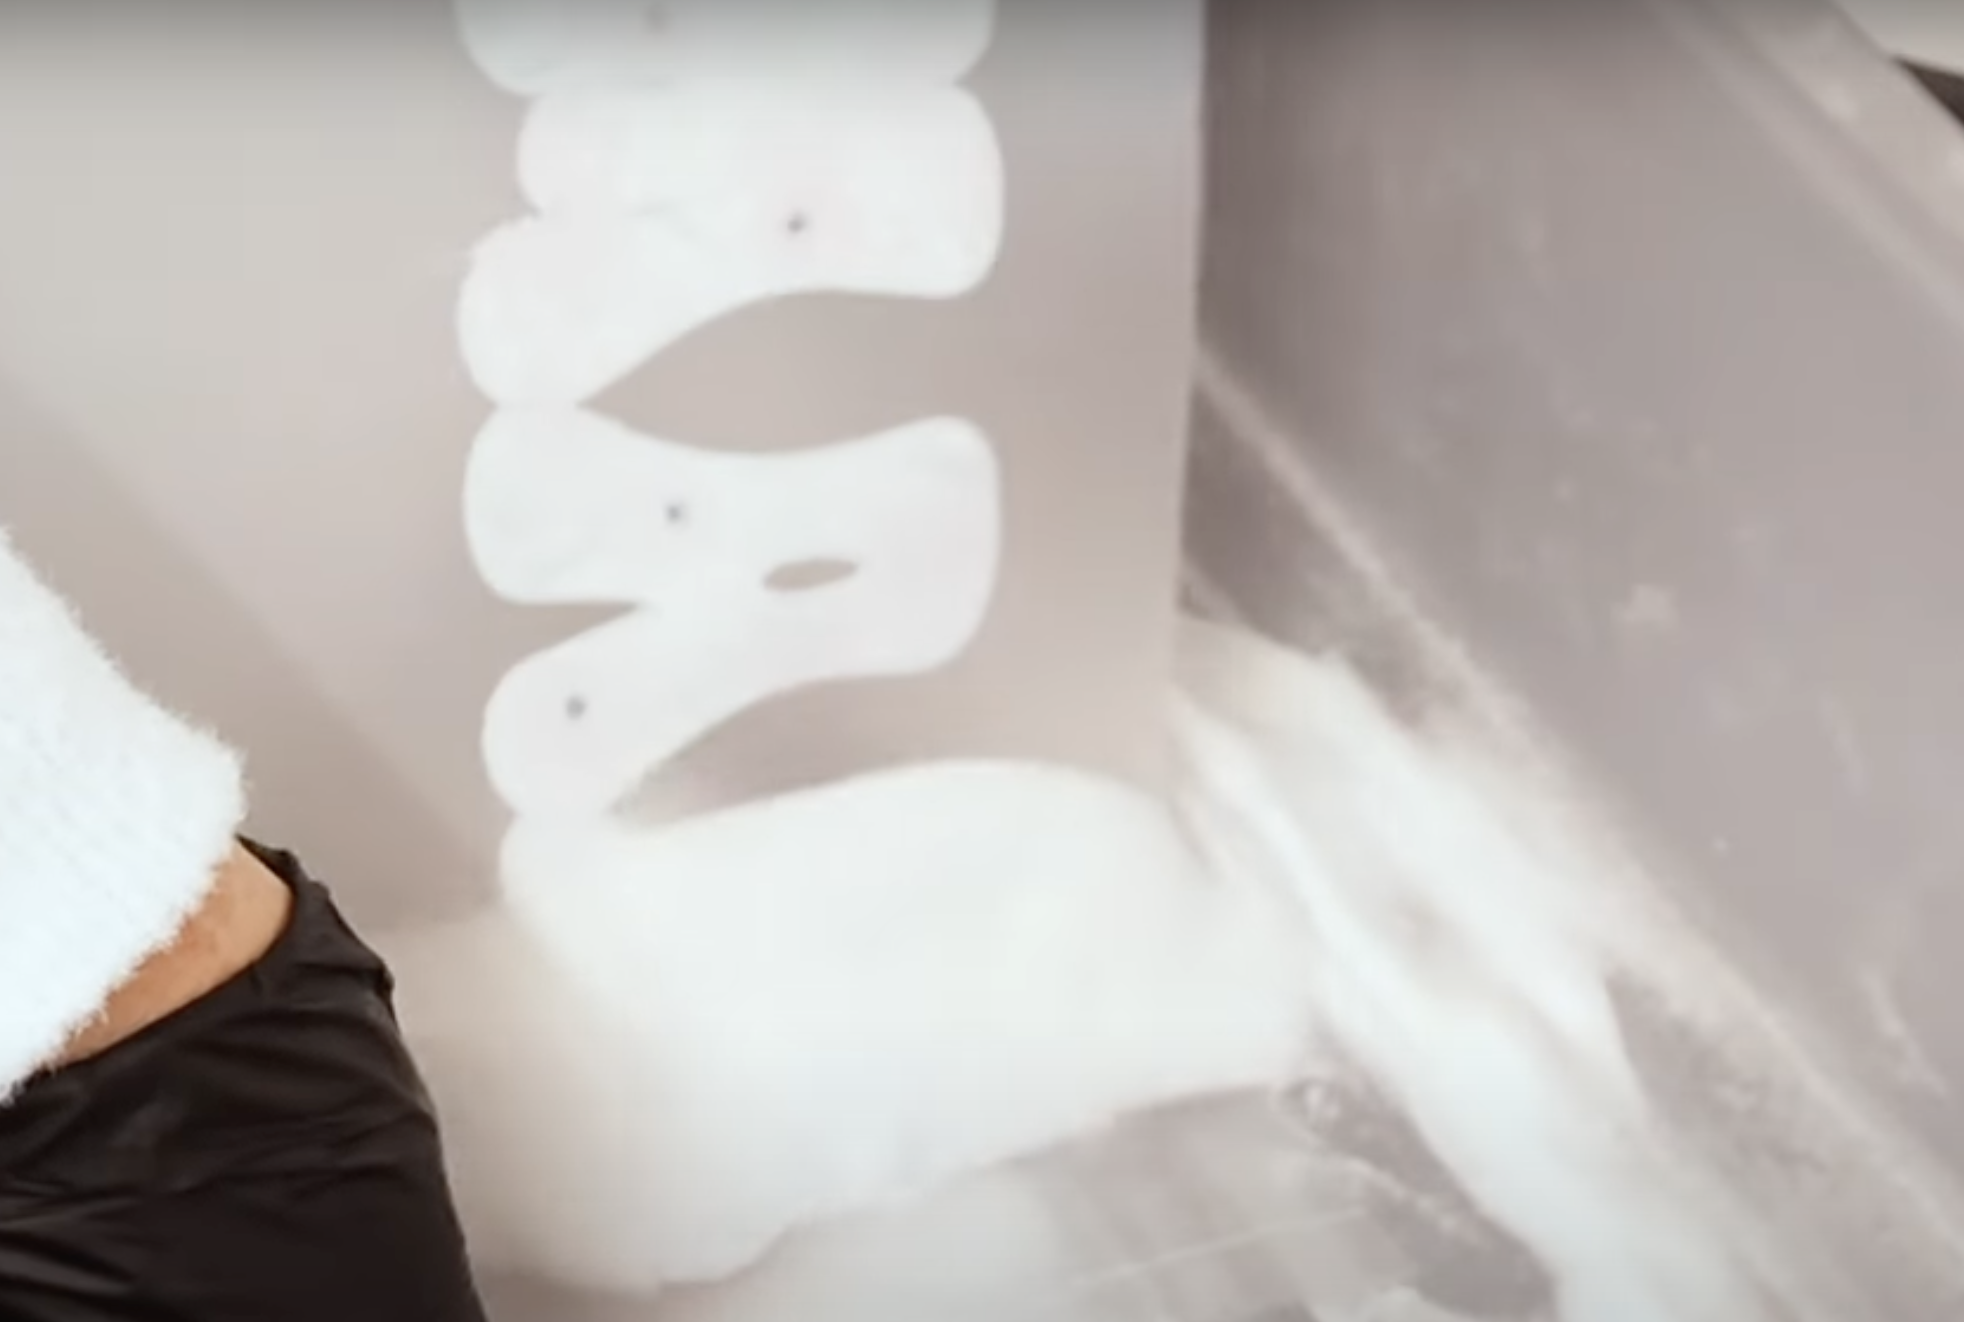
Step 6: Flick Off Excess Powder
This step is one of the most important steps in the entire process. After applying the powder to the entire printed area, flick off the excess powder.
To do this, I am flicking the back side of the print. Start at one end of the print and flick the back repeatedly moving from one end to the other.
I flicked each area multiple times removing as much excess powder as possible. While we want a good coating of powder across the entire inked surface we don’t want uneven coverage. Flicking the print to remove powder gives us a more even layer.
Remember, the ink is still wet during this process. Even though it’s covered with powder it isn’t dry yet. It can still smudge if you touch it.
Step 7: Cure DTF Powder on Print
When you’re done removing the excess powder, it’s time to move the print over to the curing area.
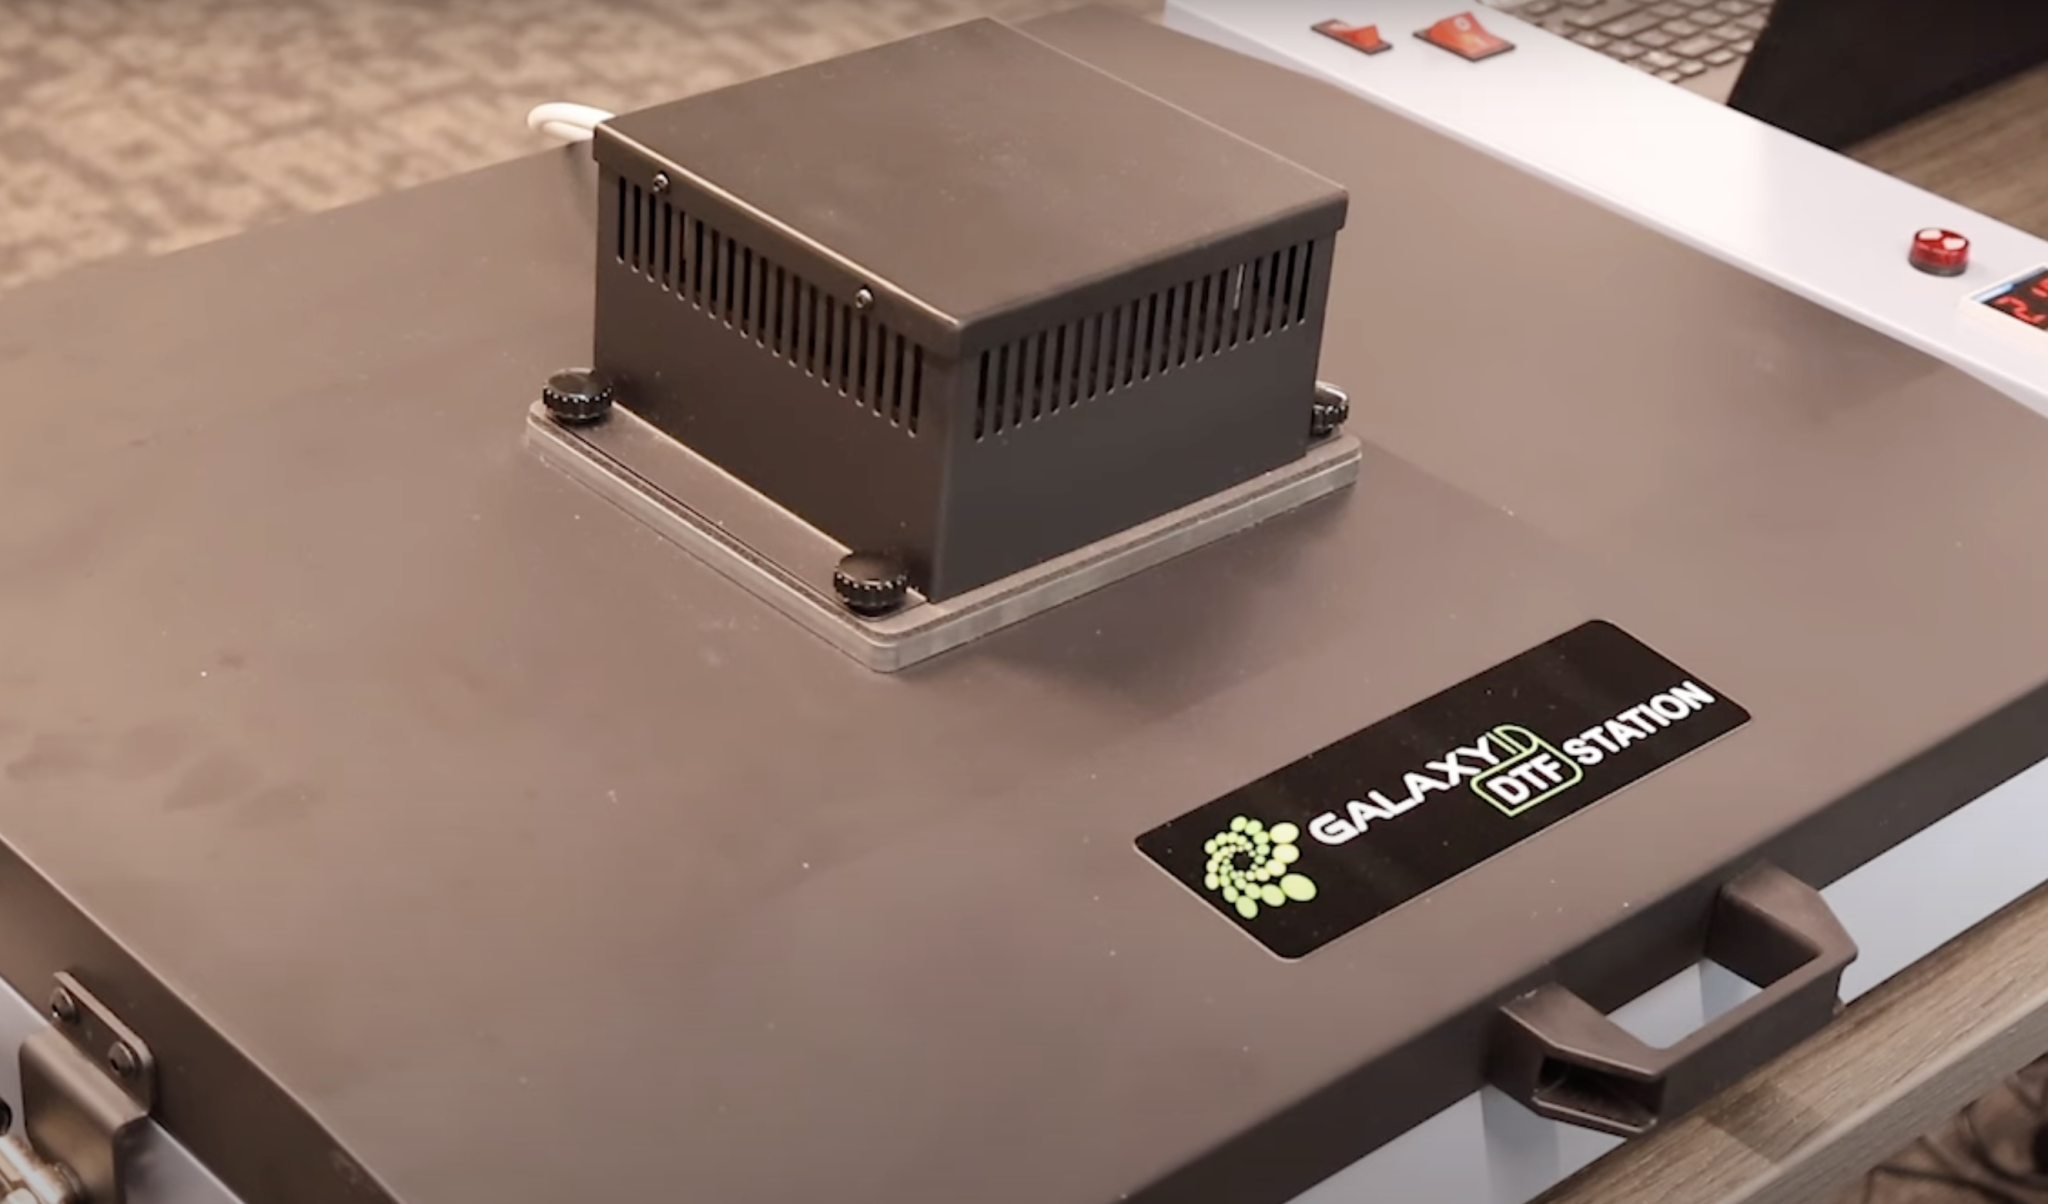
I am using a curing oven that has an air purifier attached. One of the safety concerns with DTF printing is the fumes that happen when you cure the powder.
SAFETY NOTE: If you’re using one of the hacks going around, such as hovering your heat press over the DTF print to cure it, I would use caution. You will have no control over the fumes that come out of the heat press. Using an oven with an air purifier you have control over the fumes.
Make sure you turn the oven on at least 10 minutes before you start the curing process. The oven I’m using has two power switches. One is for the heating element and the other is for the air purifier. If you wait until the oven heats up to turn the air purifier on, it will heat up faster.
You may need to adjust the temperature of your curing oven but 248 degrees Fahrenheit is the minimum temperature required to cure DTF powder. Humidity, temperature, and even elevation can affect the time and temperature needed at this step. Keep an eye on your humidity, 50% humidity is probably too low for this process.
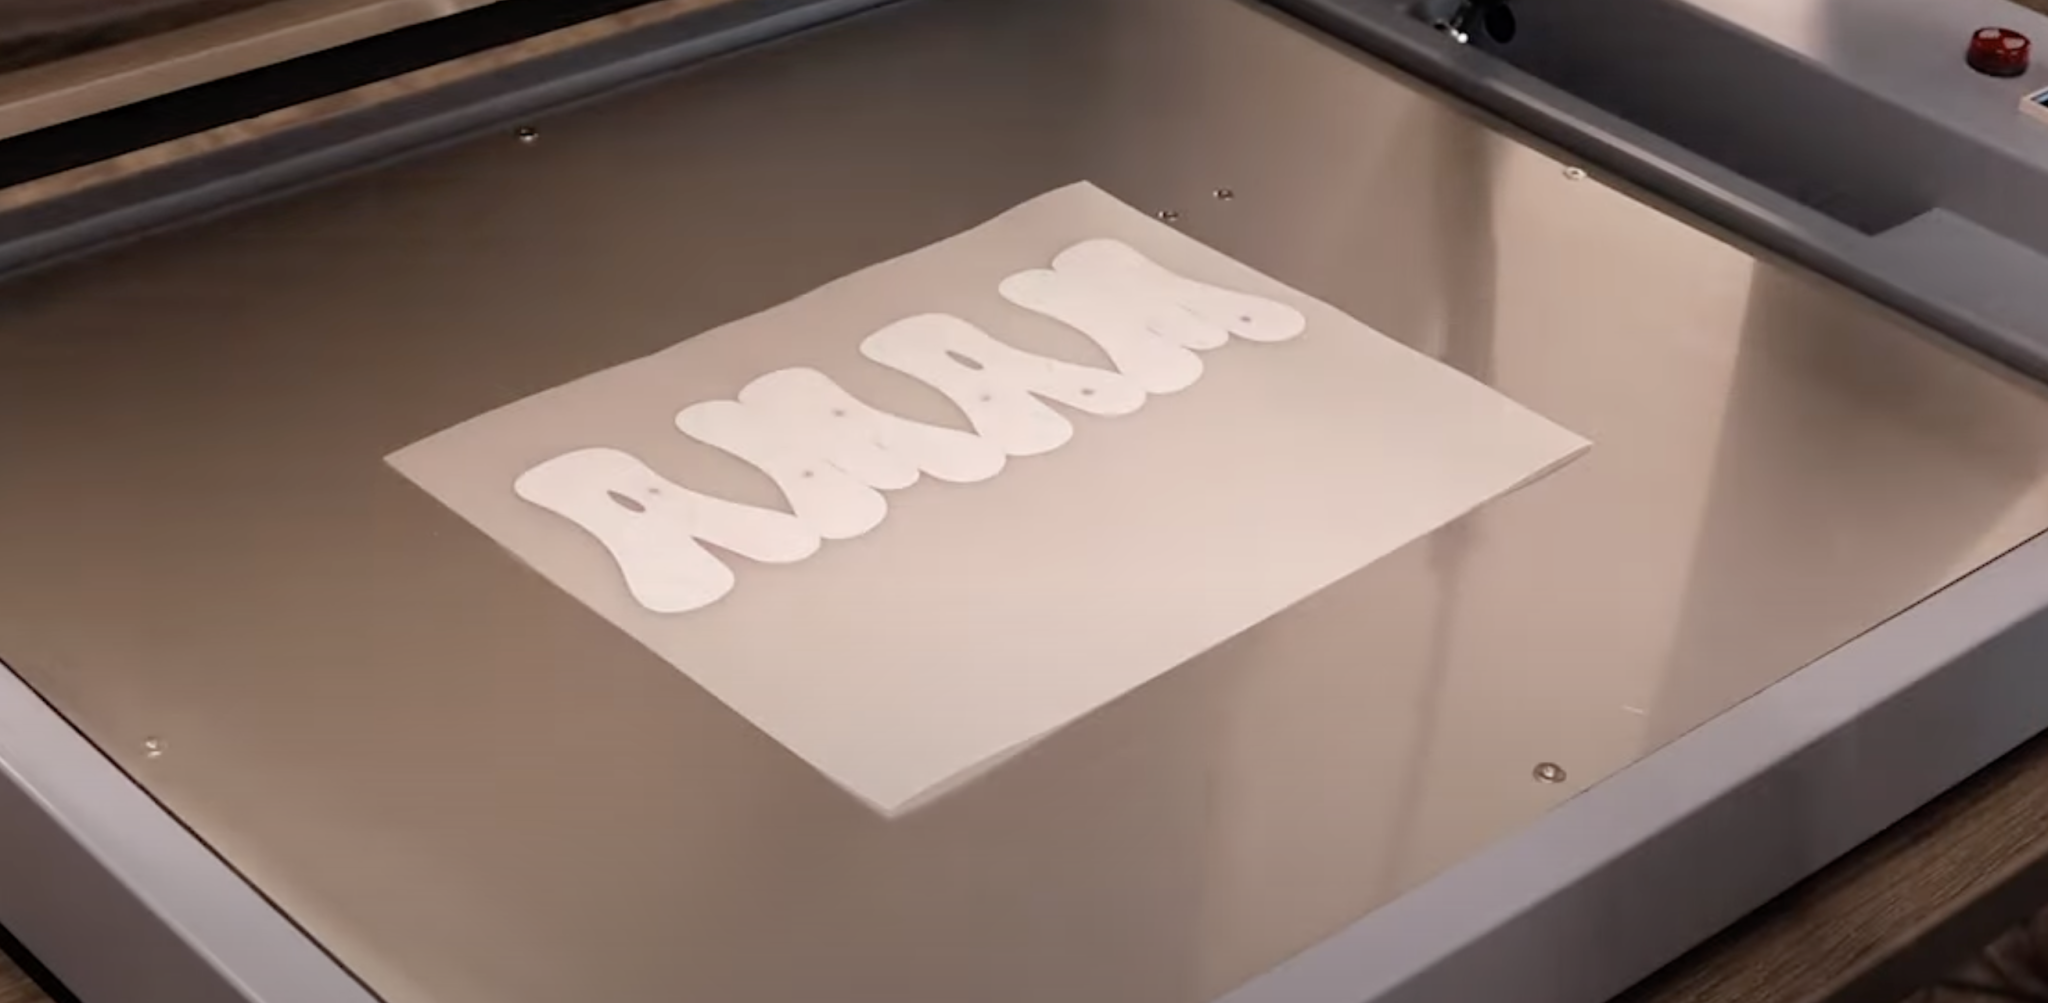
With the oven heated up, turn the air purifier on, open the lid, and place the film inside the oven. Make sure the ink side is up. Close the oven and let it cure for about 60 seconds.
Use gloves during this process as the platen is hot.
Step 8 : Check for Proper Cure
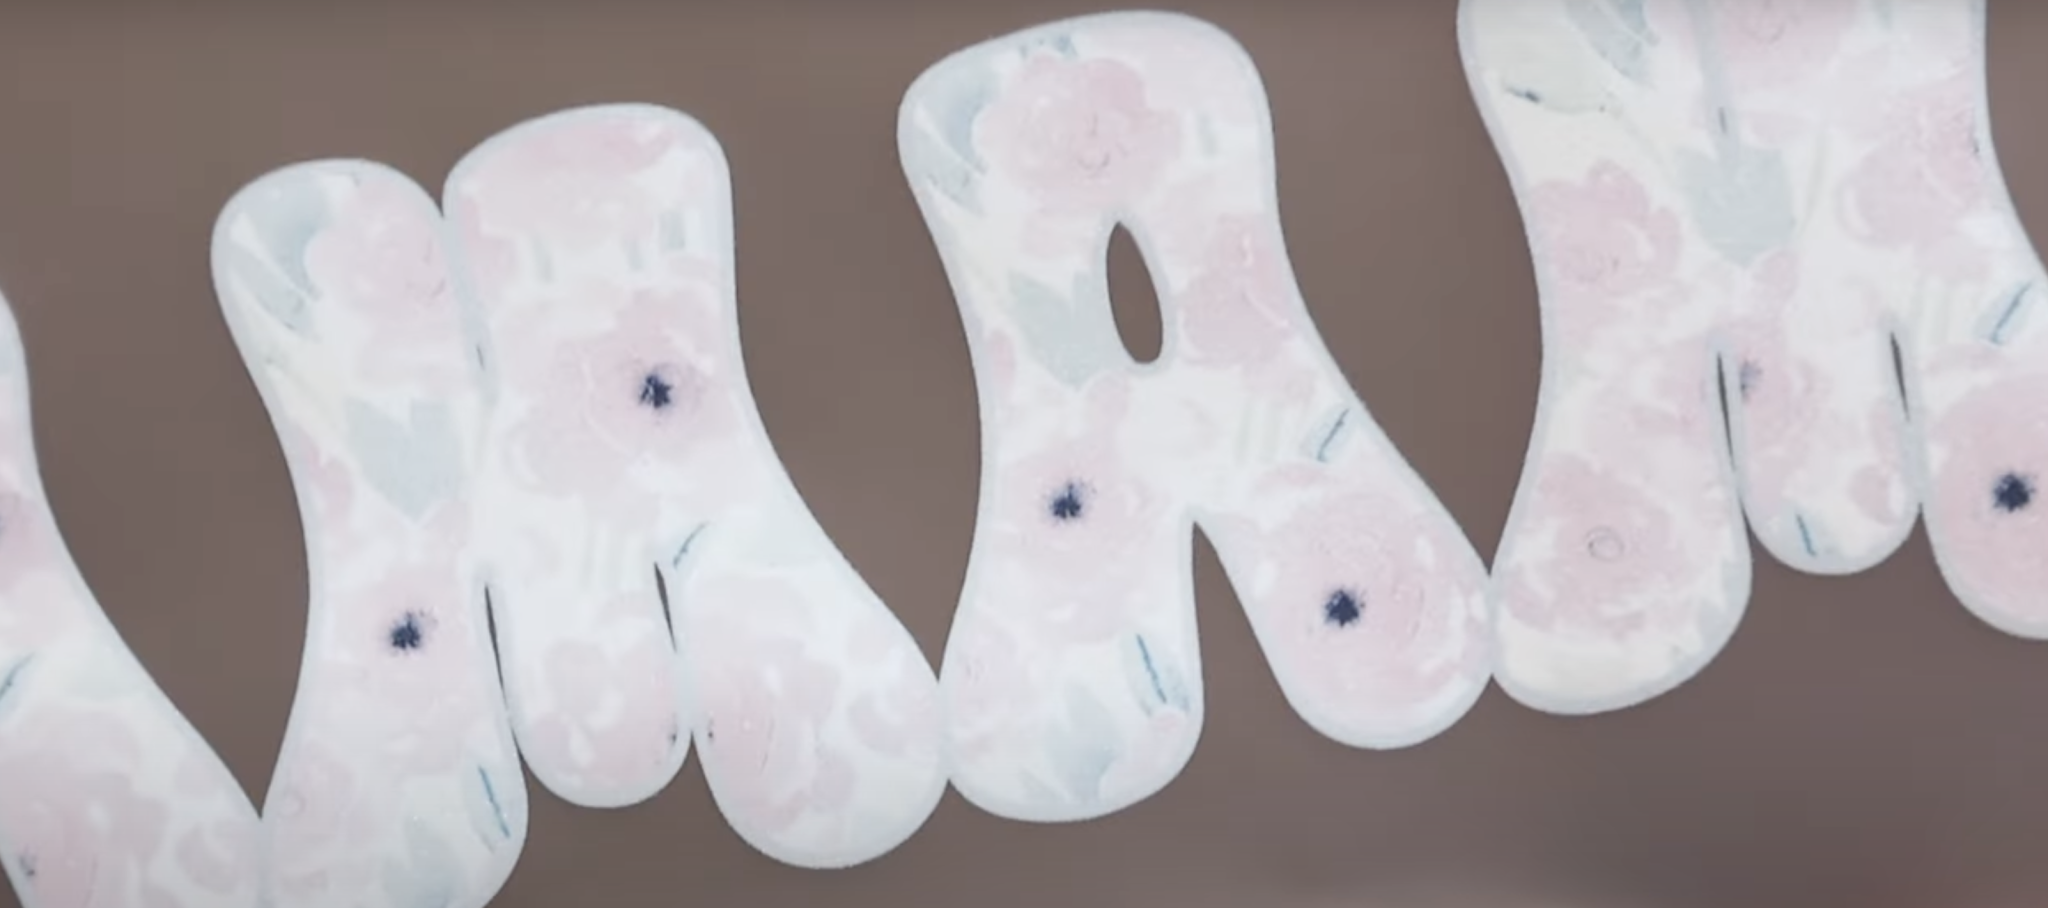
Check the print after 60 seconds by opening the lid and looking closely at the print. When the print is fully cured, it shouldn’t be grainy or look like powder anymore. The powder will melt and have an orange-peel finish when it’s cured.
Often I have to rotate my prints and heat them again to make sure the whole print is fully cured. You’ll know it’s fully cured when it has that orange-peel finish and is very shiny.
There is a learning curve to the curing process. The more you do it the easier it will become.
With the print and powder fully cured, you’re ready to press. Make sure you wait at least 10 seconds after curing before pressing. Don’t forget to cut off the top and bottom lines before pressing. I find it easier to do after the curing process so the print doesn’t smear.
How to Press DTF Prints
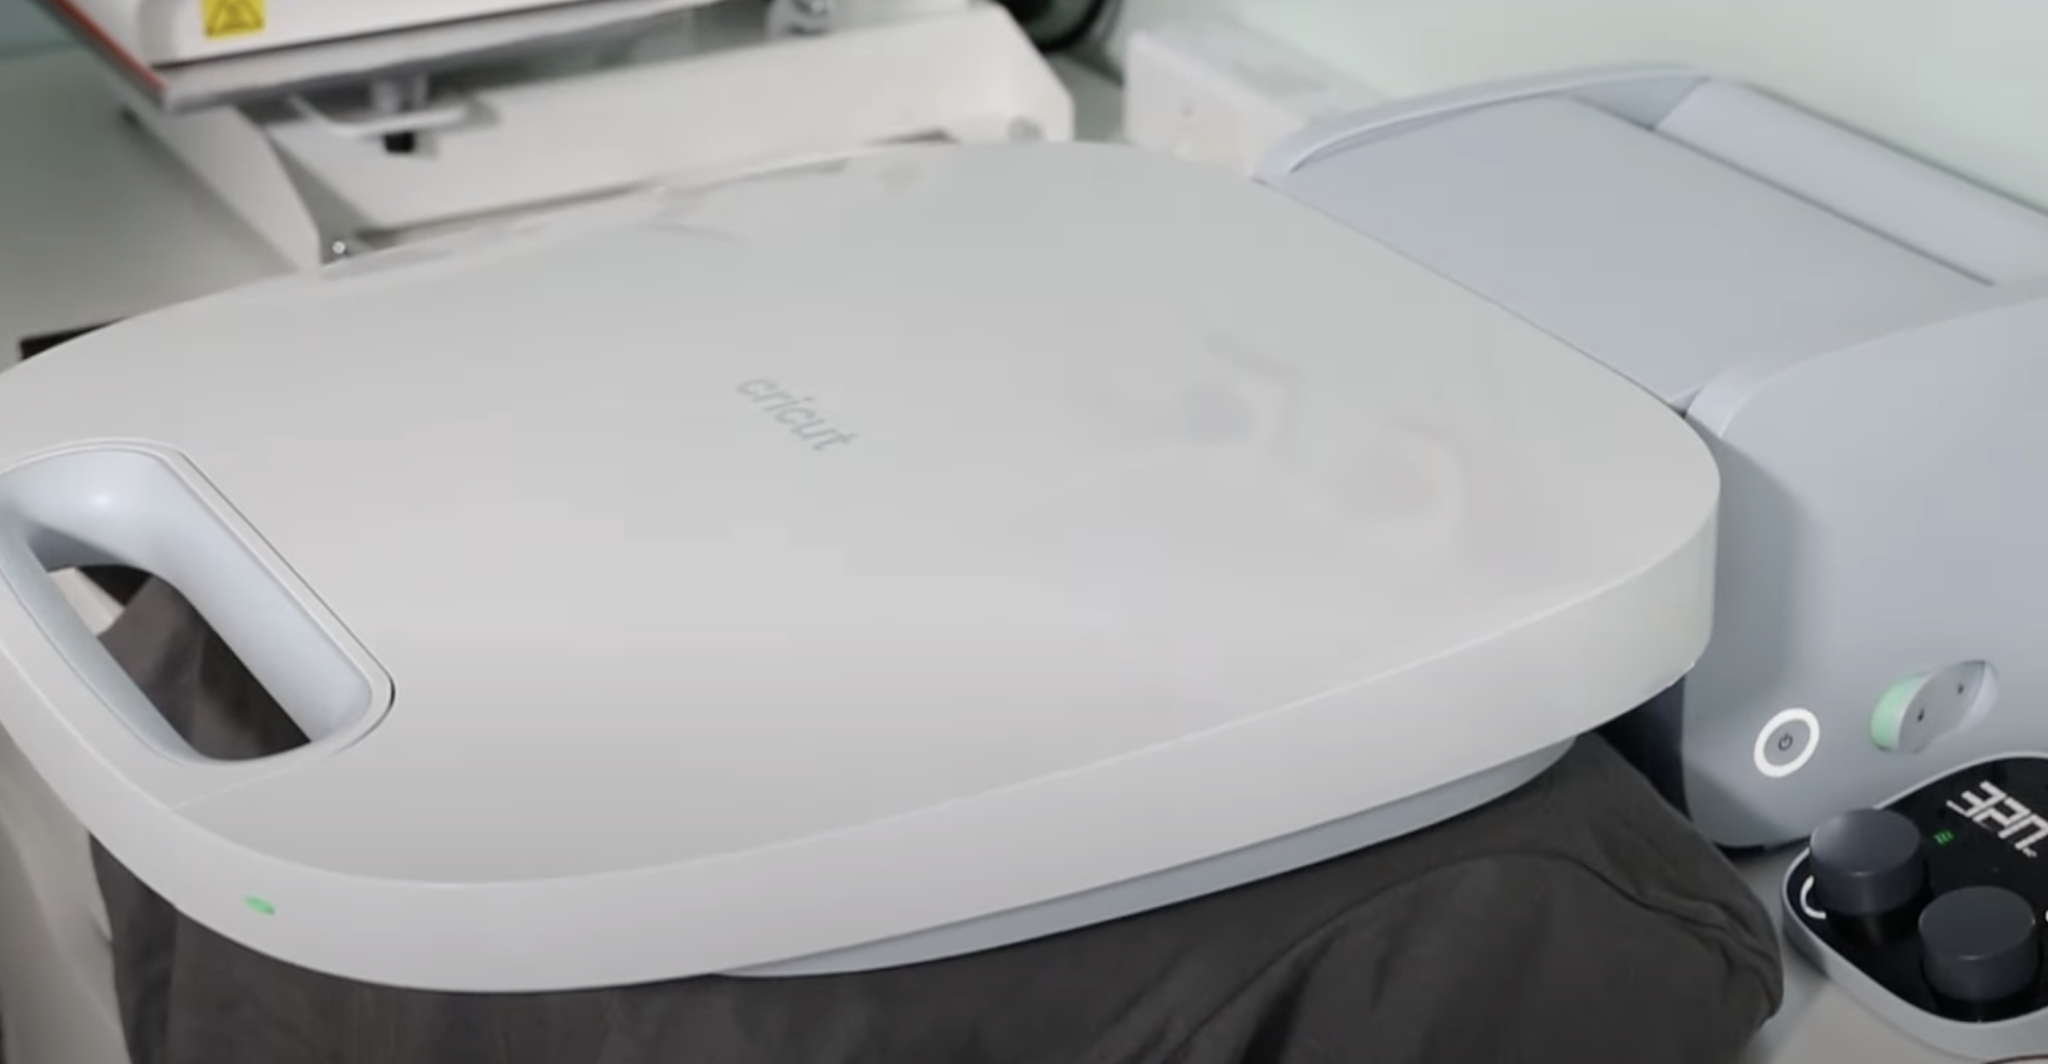
The best part of DTF printing is the pressing process. The actual pressing process is extremely easy and probably my favorite part of the whole project. I am trying different heat presses, including the Cricut EasyPress to see how each of them works with DTF prints.
Step 1: Preheat Your Press
You will want to make sure and heat your press for at least 10 minutes before pressing. Even if the press gets to the set temperature before 10 minutes, allow it to keep heating before applying the print.
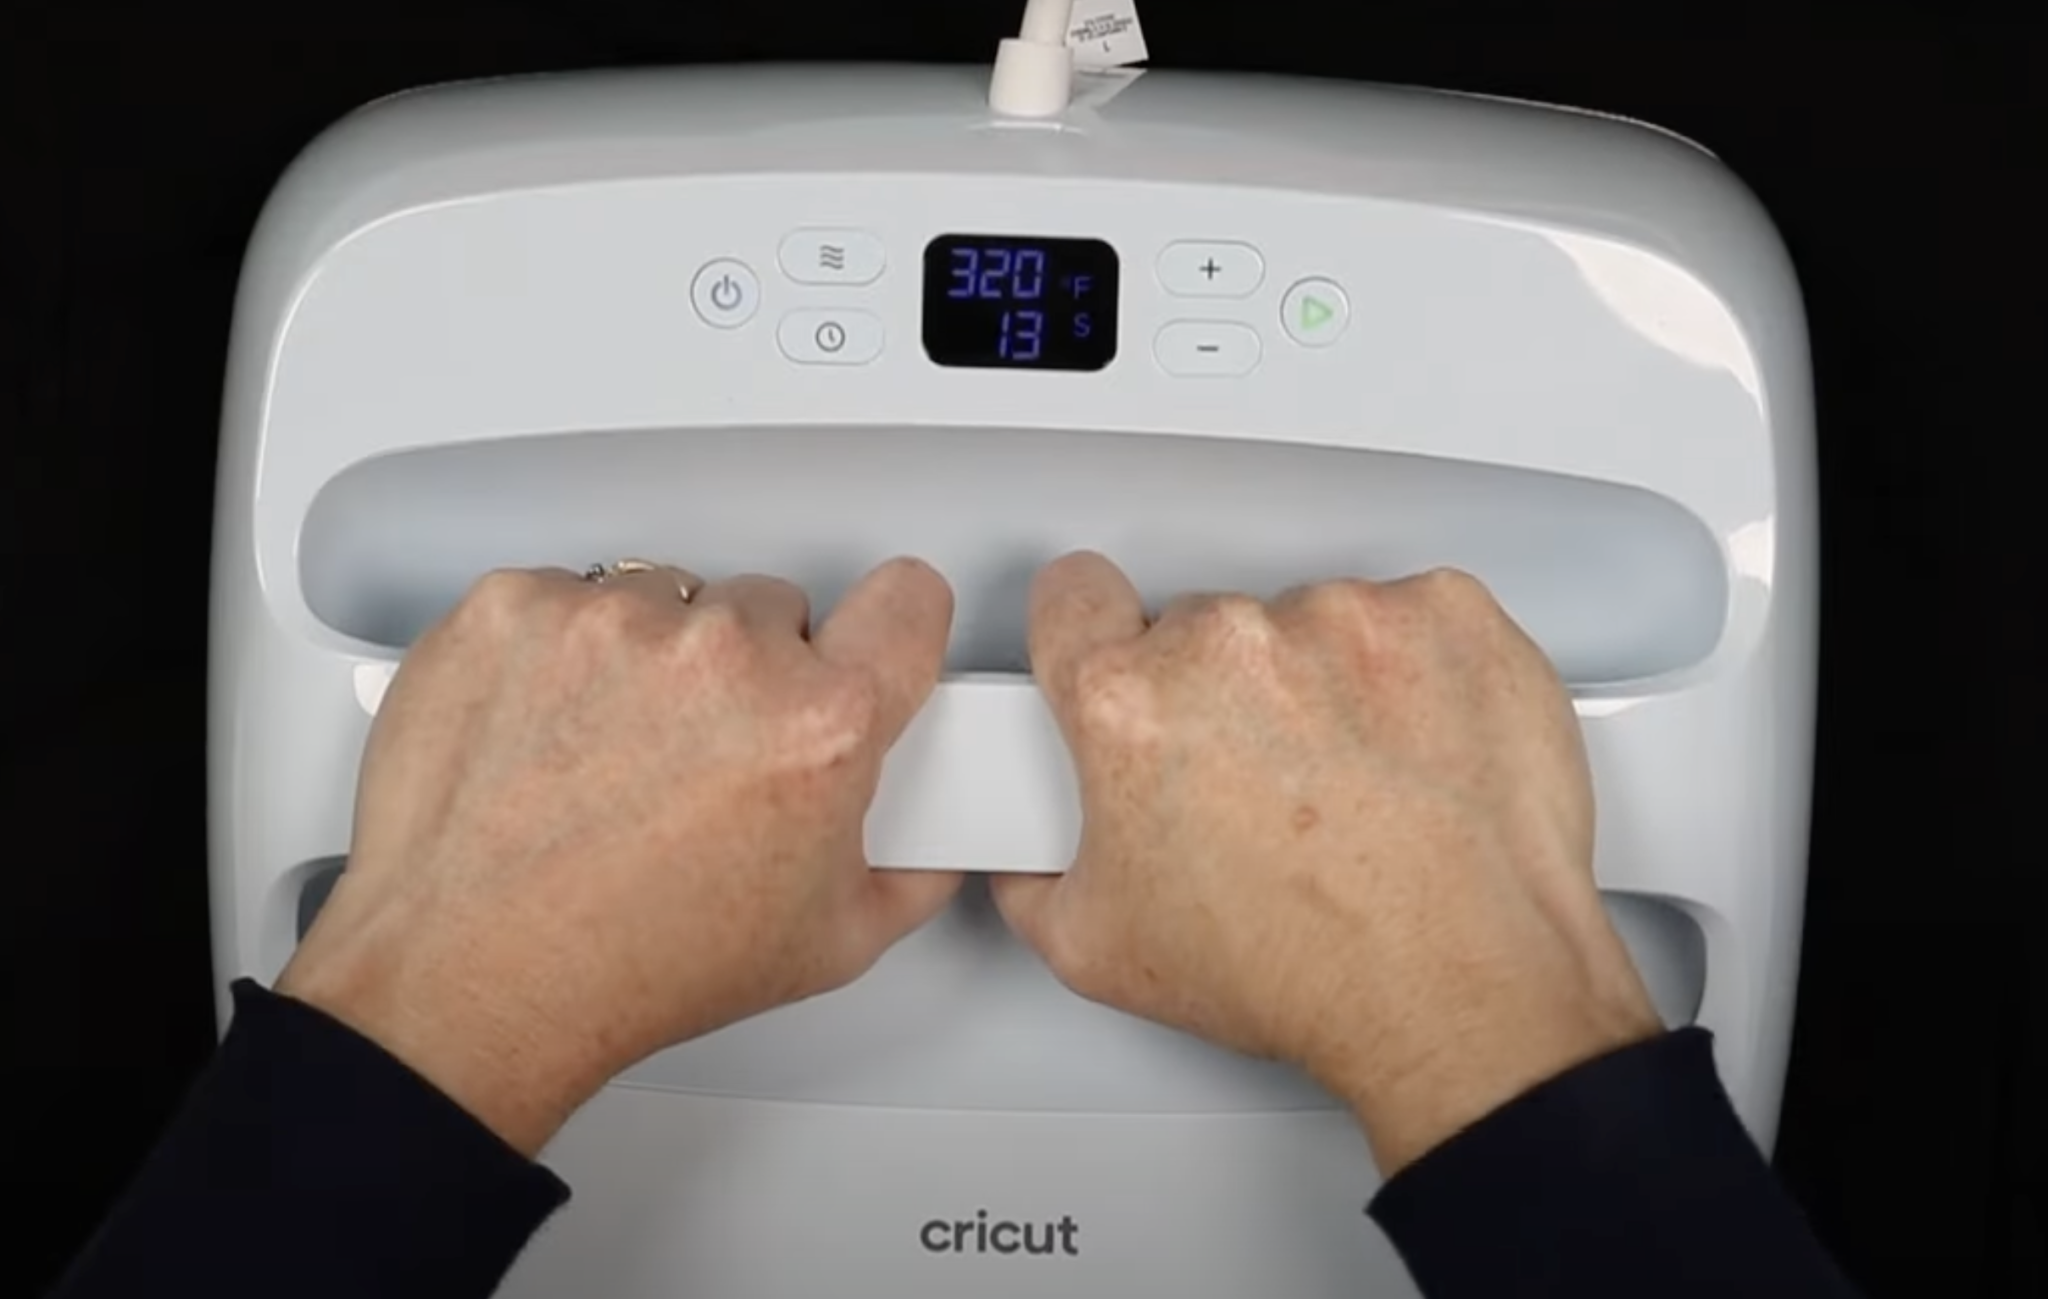
The temperature required is 320 degrees Fahrenheit for 15 seconds at medium pressure. This is the average temperature for DTF, the lowest temperature you’ll want to use is 300 degrees Fahrenheit.
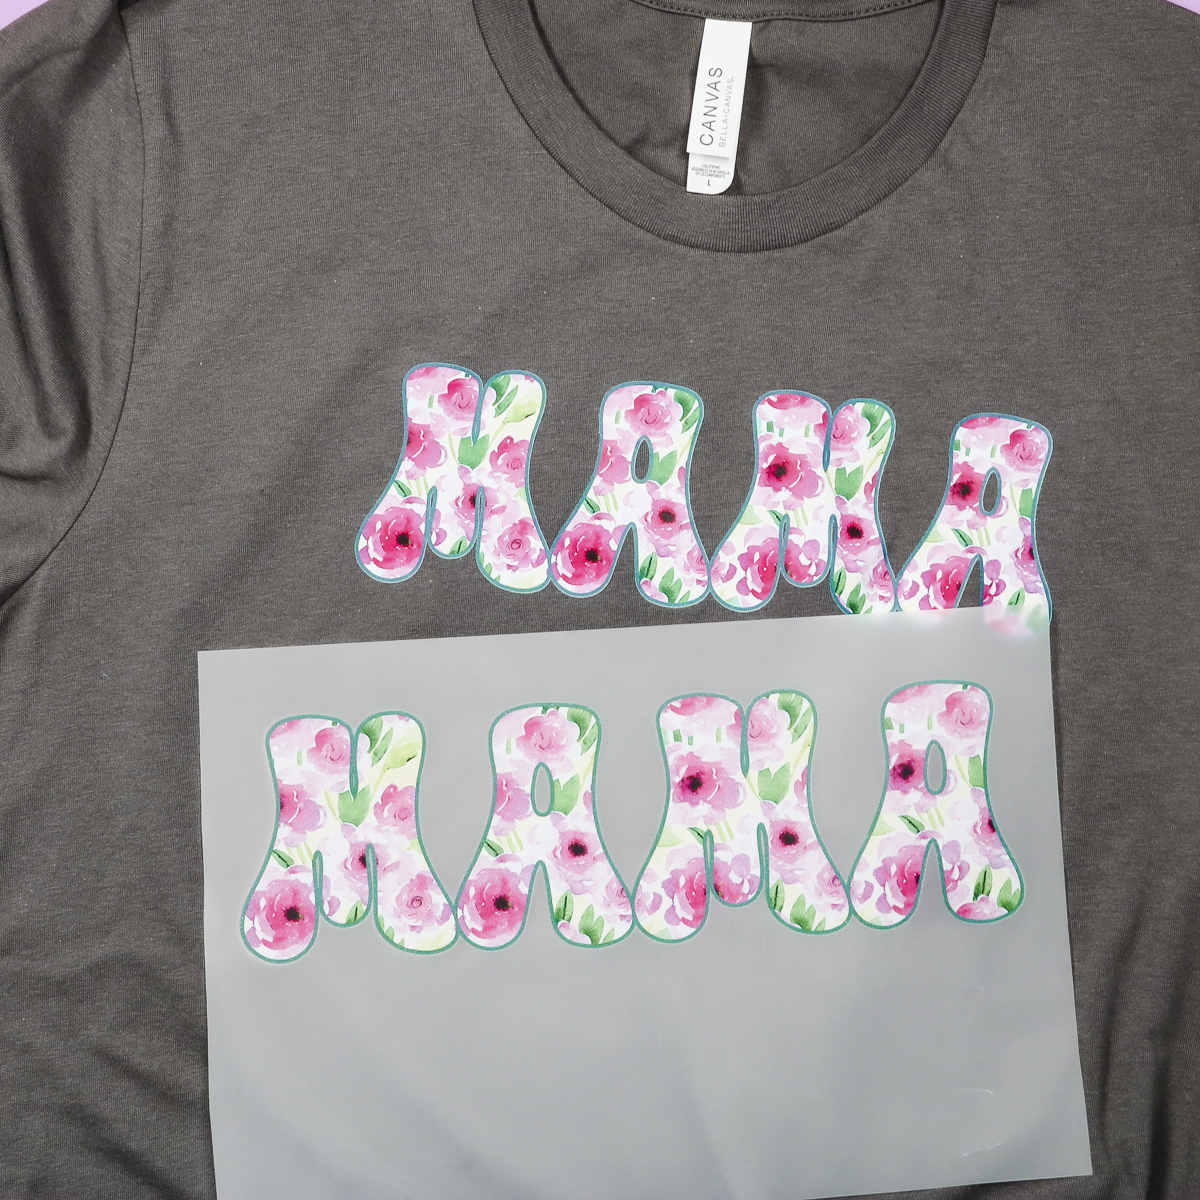
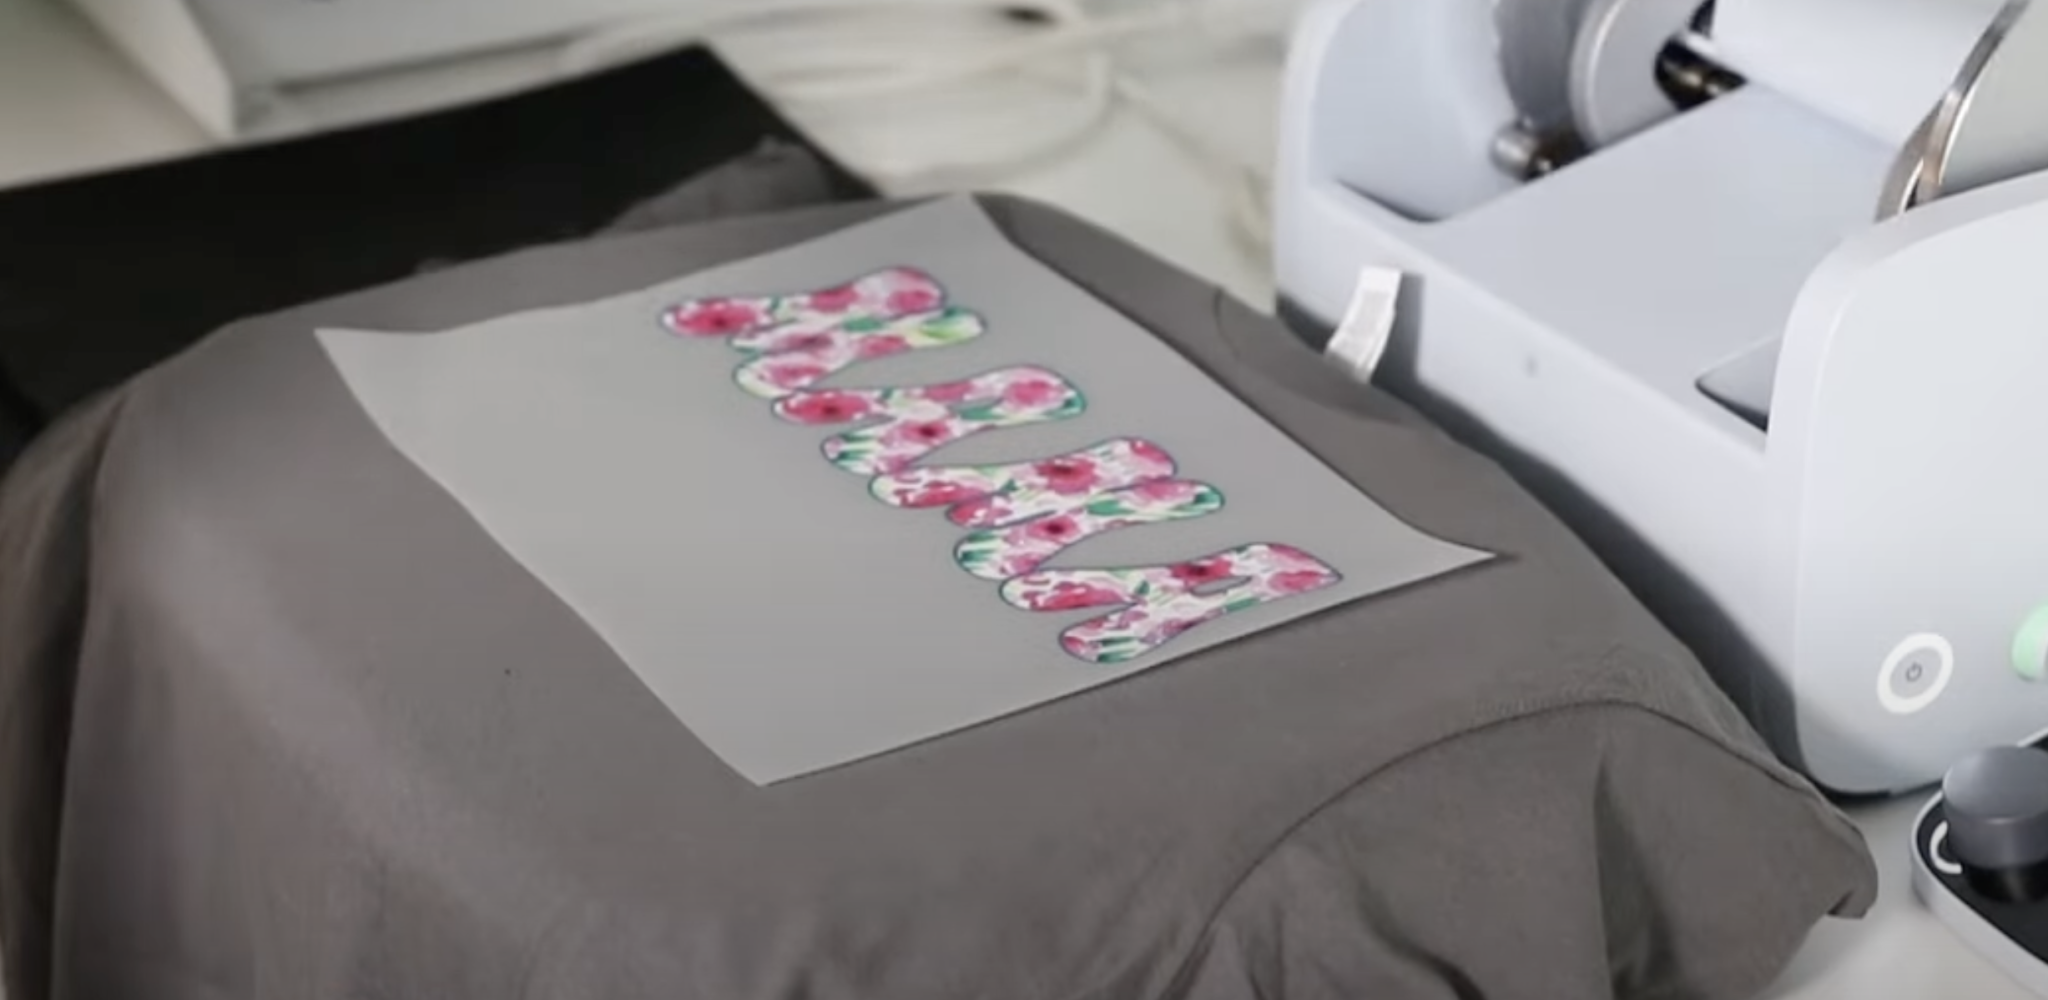
Step 2: Press the DTF Print
Pre-press the garment for five seconds and then locate the DTF print where you want it on the shirt. Close the press and press for 15 seconds with medium pressure.
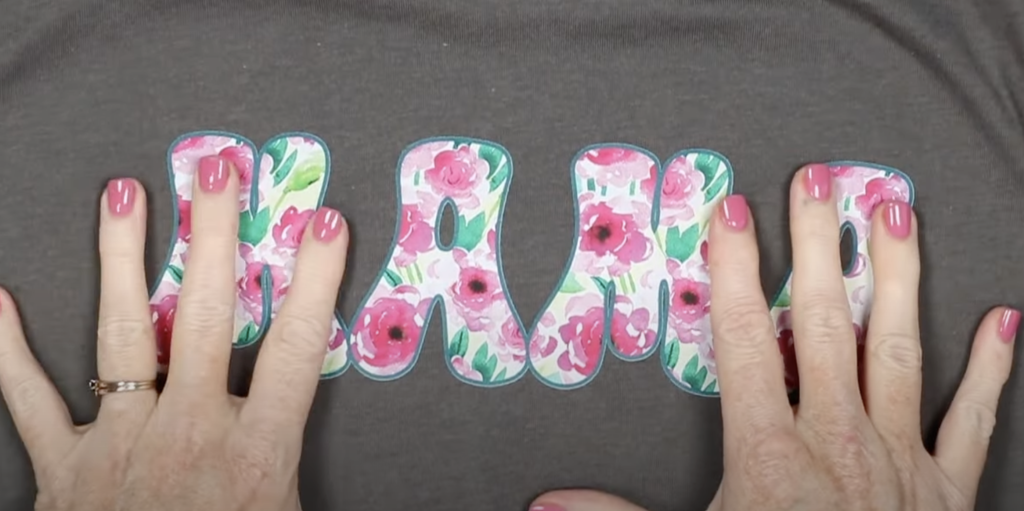
When the time is up, open the press. You can remove the carrier sheet either warm or cool. Don’t try to peel it when it is still hot. I like to use the bottom of the shirt to rub over the whole surface to help cool it down faster.
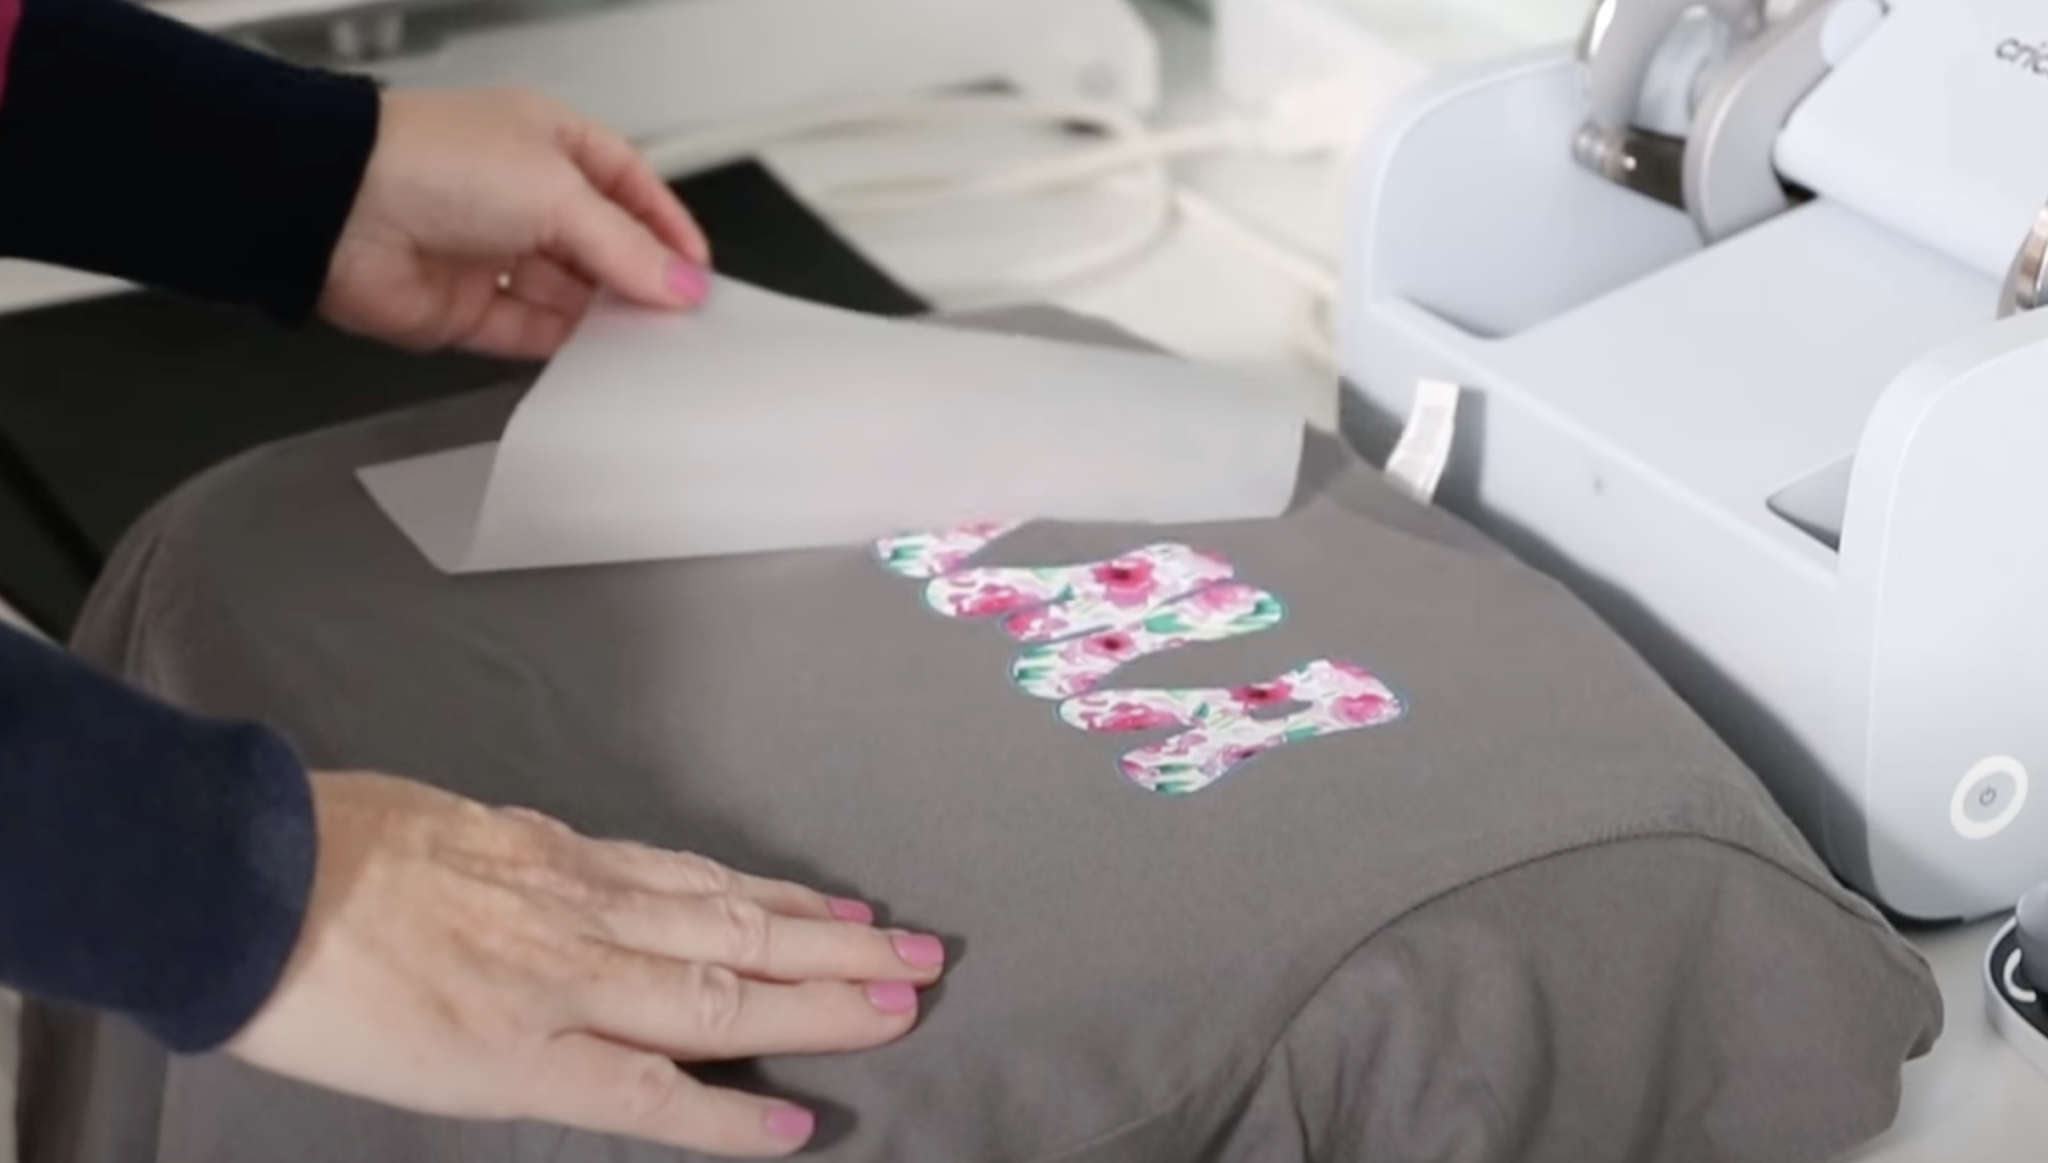
Peel the carrier sheet back slowly. If you notice any peeling or lifting, lay it back down and press again. If you continually have lifting issues you may need to increase your temperature a little.
Step 3: Post Press the DTF Print
After you remove the carrier sheet, you’ll see that the print has a shiny finish. I’ve noticed that when it’s shiny it’s not pressed down into the fabric very much.
Cover the DTF print with a thin piece of cotton or a silicone sheet and press again for 5 seconds at 320 degrees.
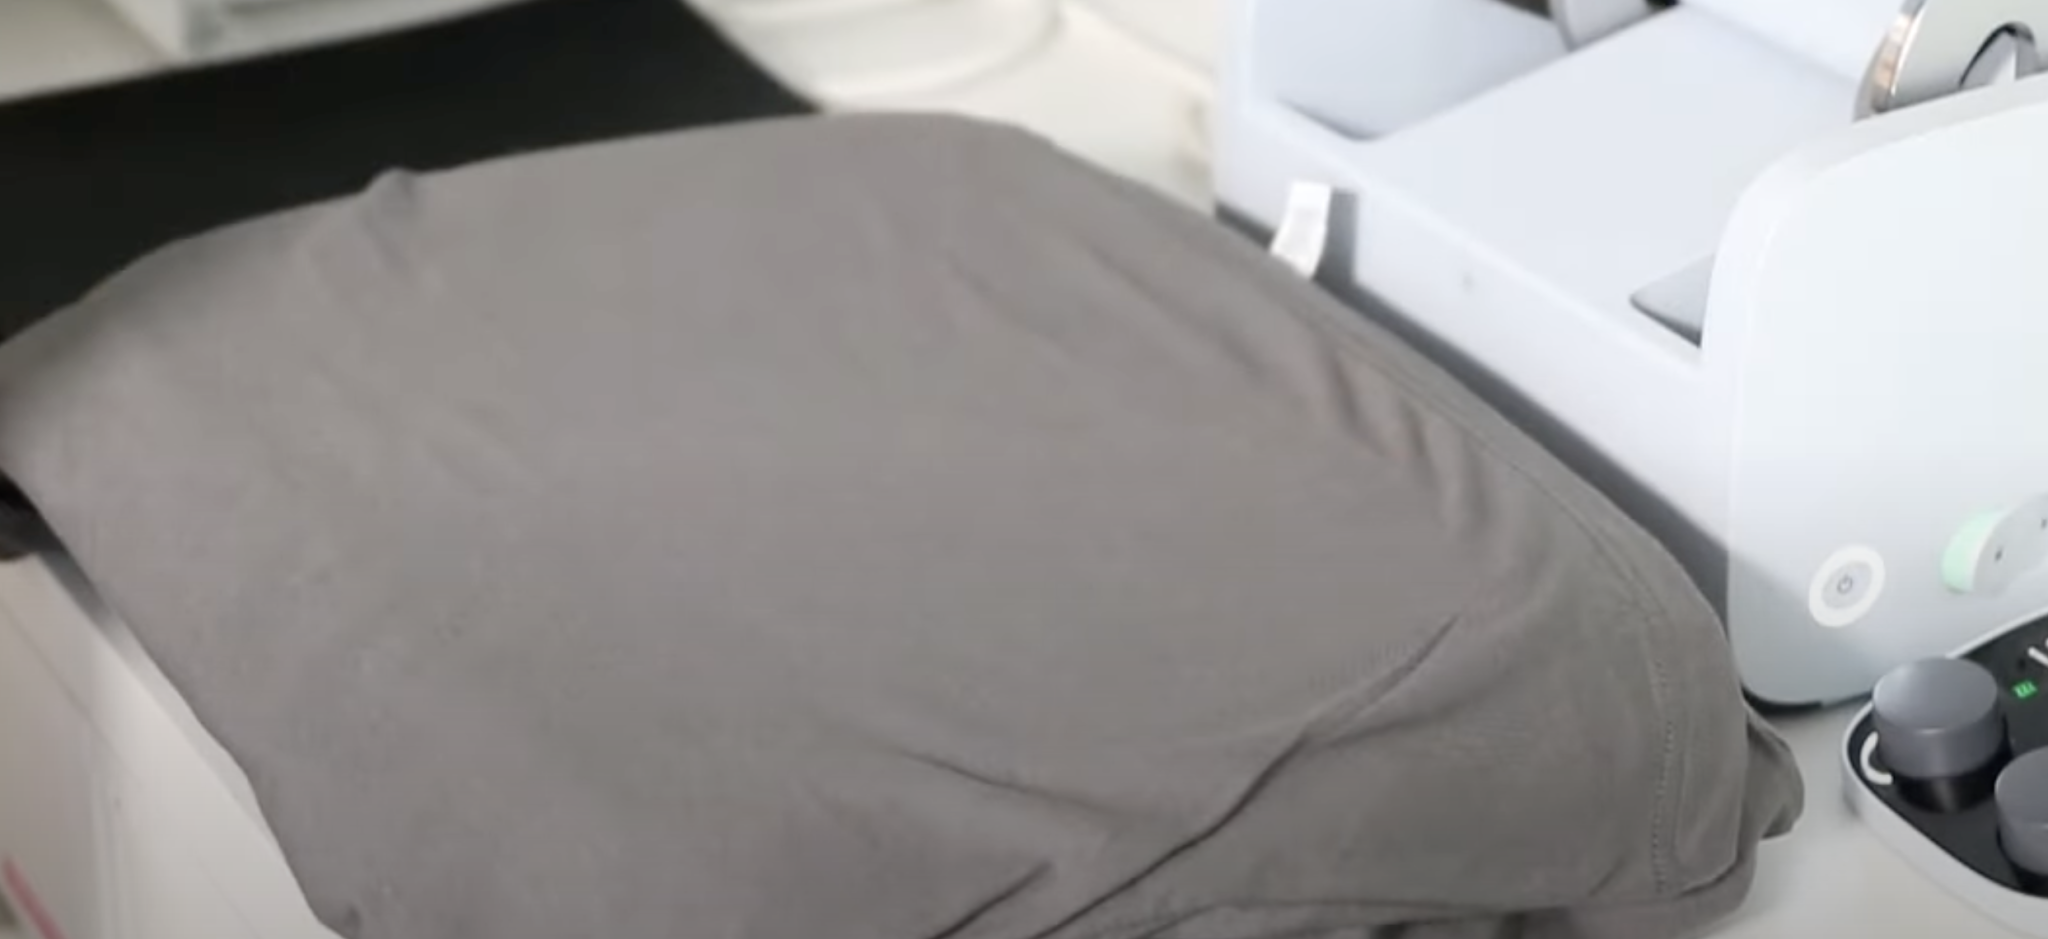
I like to use the bottom half of the shirt for this and I’ve found it works really well.
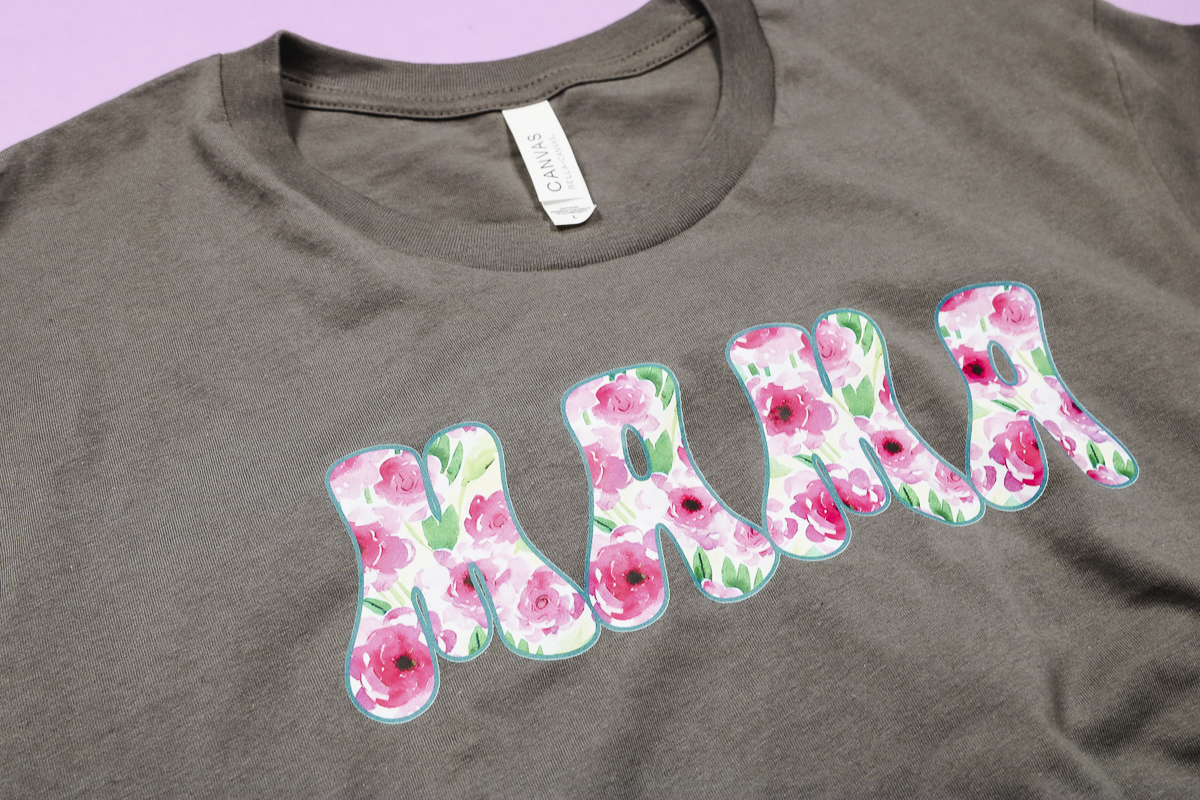
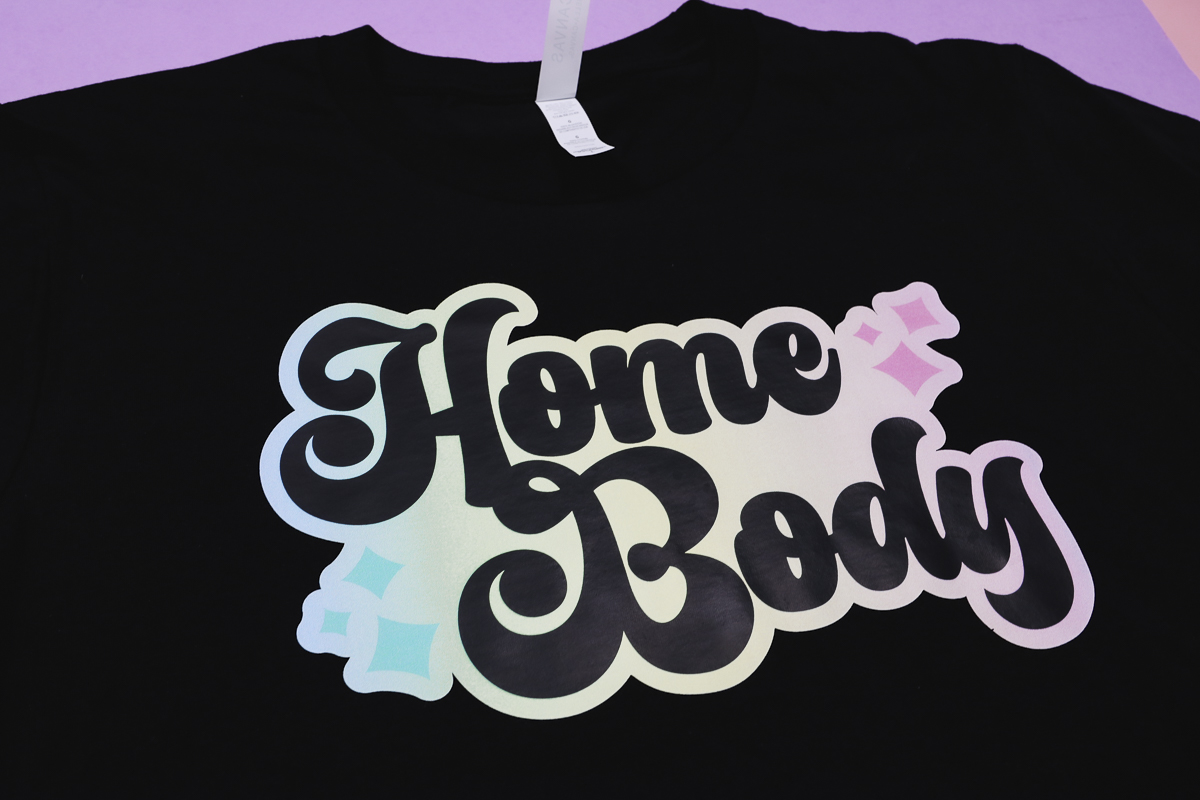
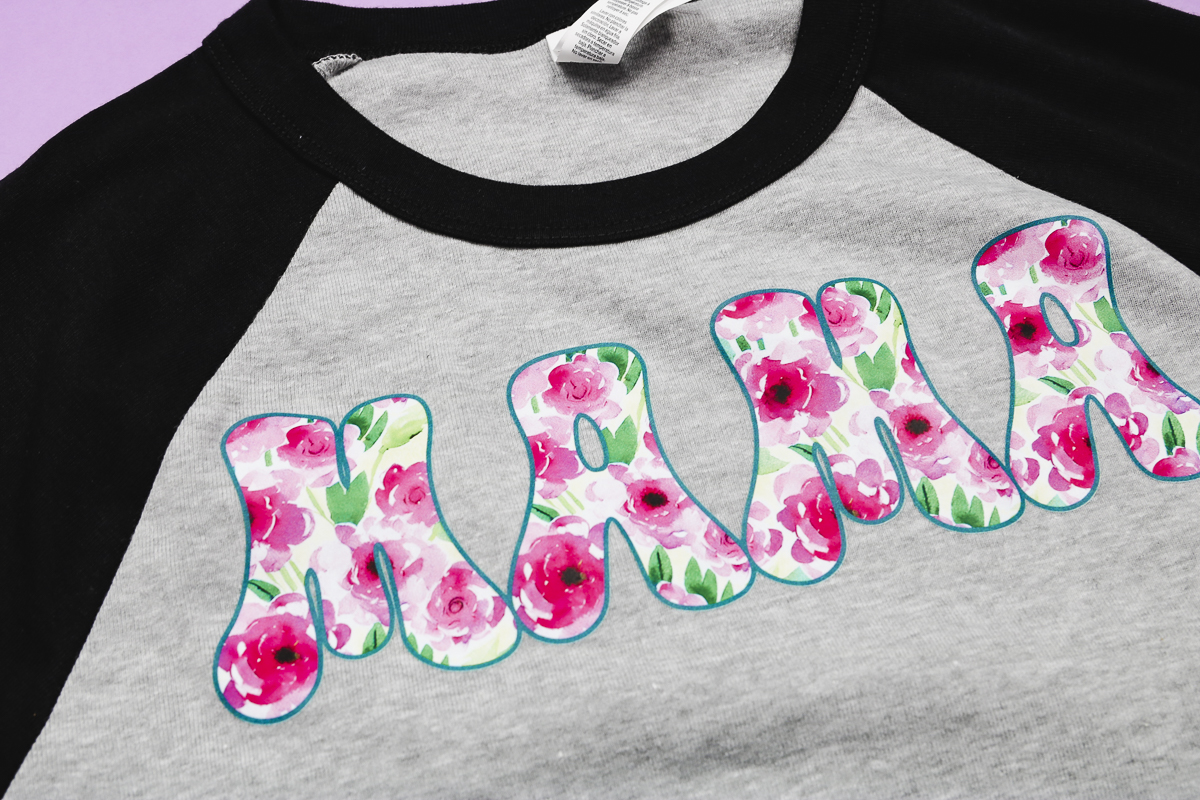
Look at how great this design looks on the shirt. Can you believe how easy the pressing part is? I went ahead and tested DTF prints with a few other presses including a Cricut EasyPress.
DTF Printing FAQ
Here are a few common questions about DTF printing.
How Long Can I Store Cured DTF Prints?
I mentioned above that you need to wait at least 10 seconds before pressing. A fully cured DTF print can be stored for up to six months in a dry location. Put a desiccant pack or paper towel in with the prints to absorb the moisture.
Is All DTF Powder White?
I am using white powder for today’s projects. There is a white powder and a black powder. You can learn more about these different colors of powder and when you’d want to use them in the video below.
Keep Moisture Away From DTF Powder
Once you open your powder make sure you’re keeping it away from moisture. Put it away when you’re not using it and add desiccant packs to help reduce moisture.
Can I Use an EasyPress for DTF Pressing?
For the first shirt I used my Cricut Autopress and it worked really well. I know a lot of people have an EasyPress in their craft room so I wanted to see if it would work.
I used the same time and temperature that I did with the Autopress and pressed down with medium pressure for the whole time.
You can see that the DTF looks perfect on the shirt. I am really happy with how the DTF prints did with each of the different presses I used.
How to Troubleshoot DTF Printing Issues
While the pressing process of DTF is easy, you can run into issues. I’m going to go through some of the common issues and what the cause can be.
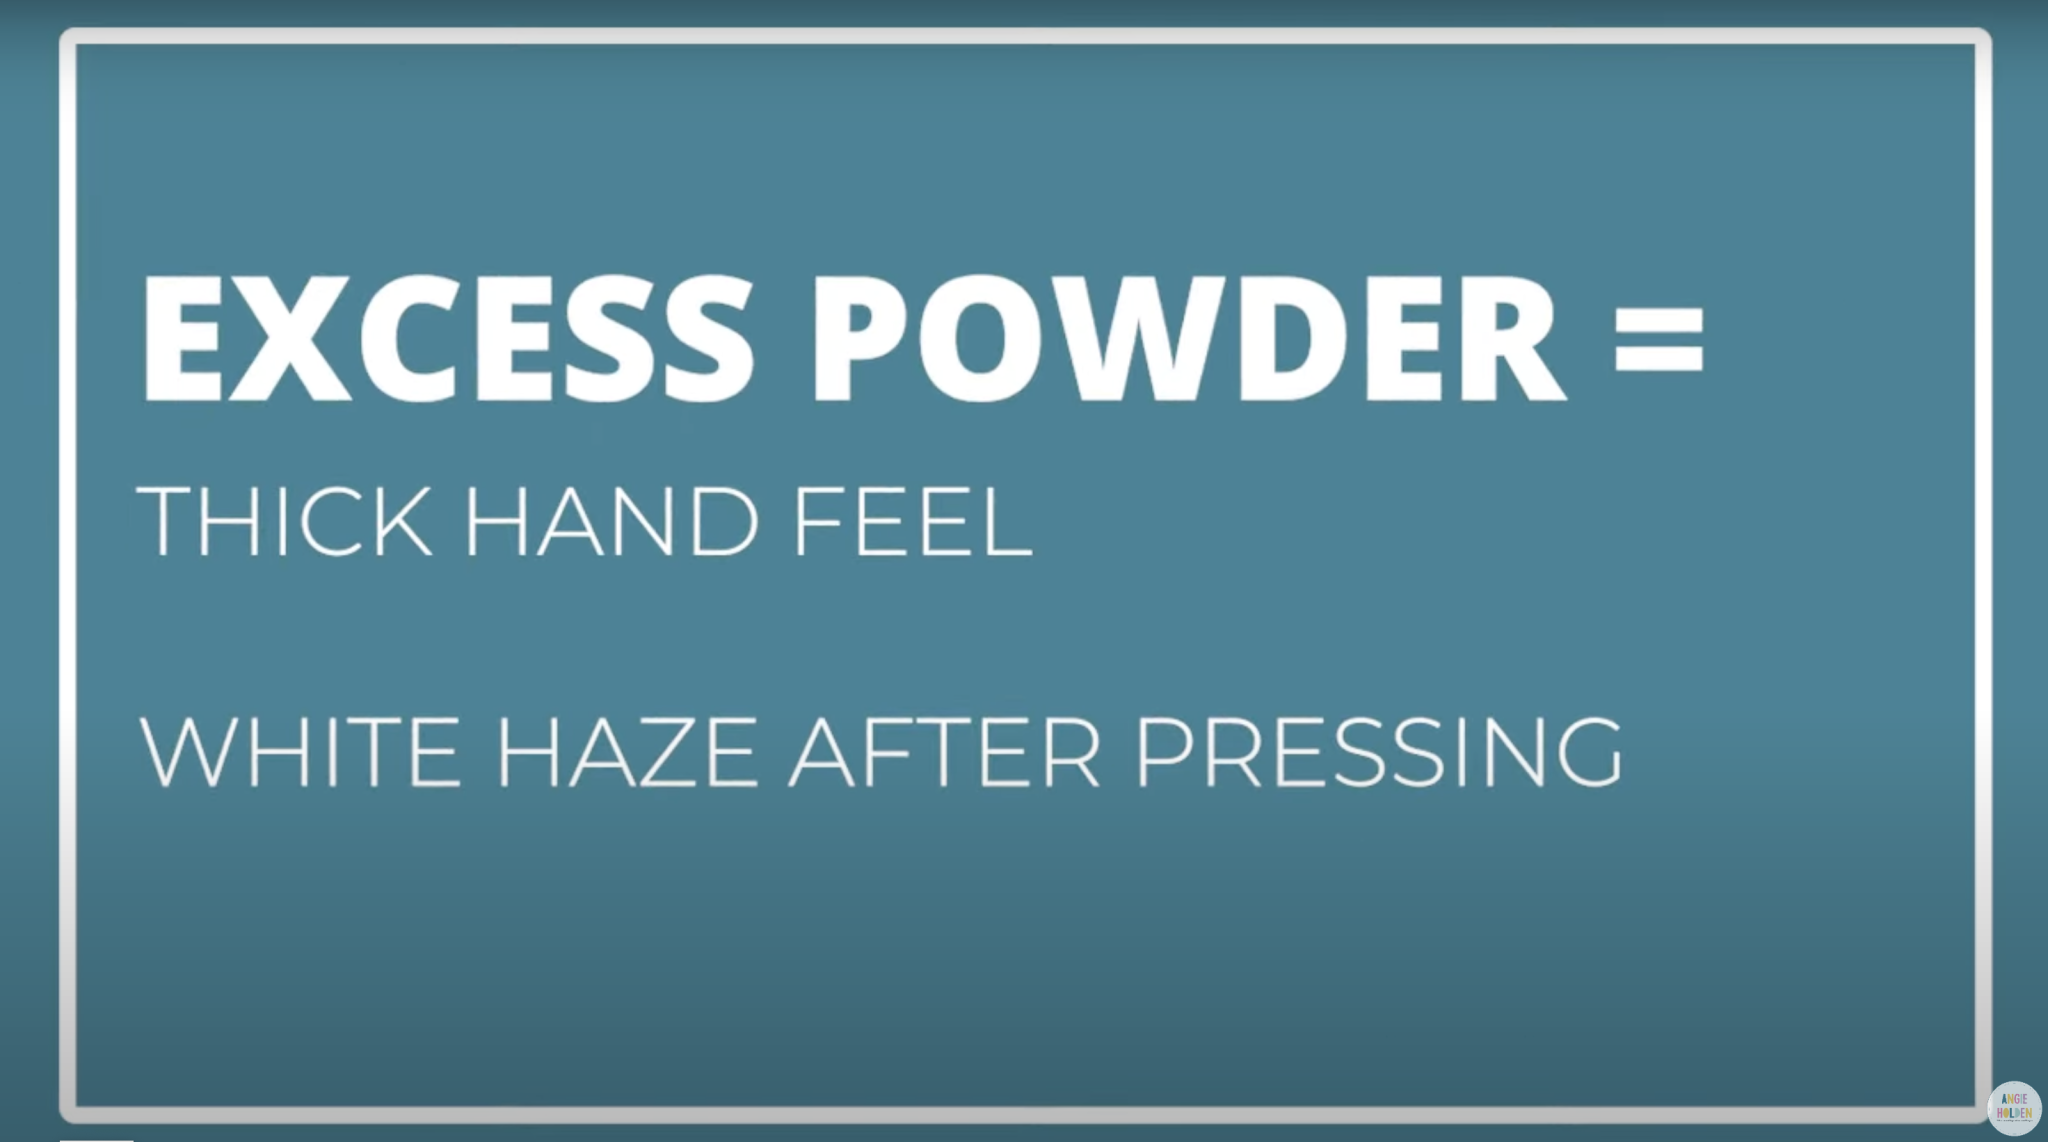
Excess Powder Issues
If you have excess powder on your print, it can cause you to have a thick hand feel. That means the DTF feels heavier on your shirt. Excess powder can also cause a white haze around your image, especially on a darker shirt.
Transfer Issues
If your DTF print does not transfer that has something to do with your powder. It can mean you forgot to powder, have powder inconsistent across the print, or have some areas with powder and some without.
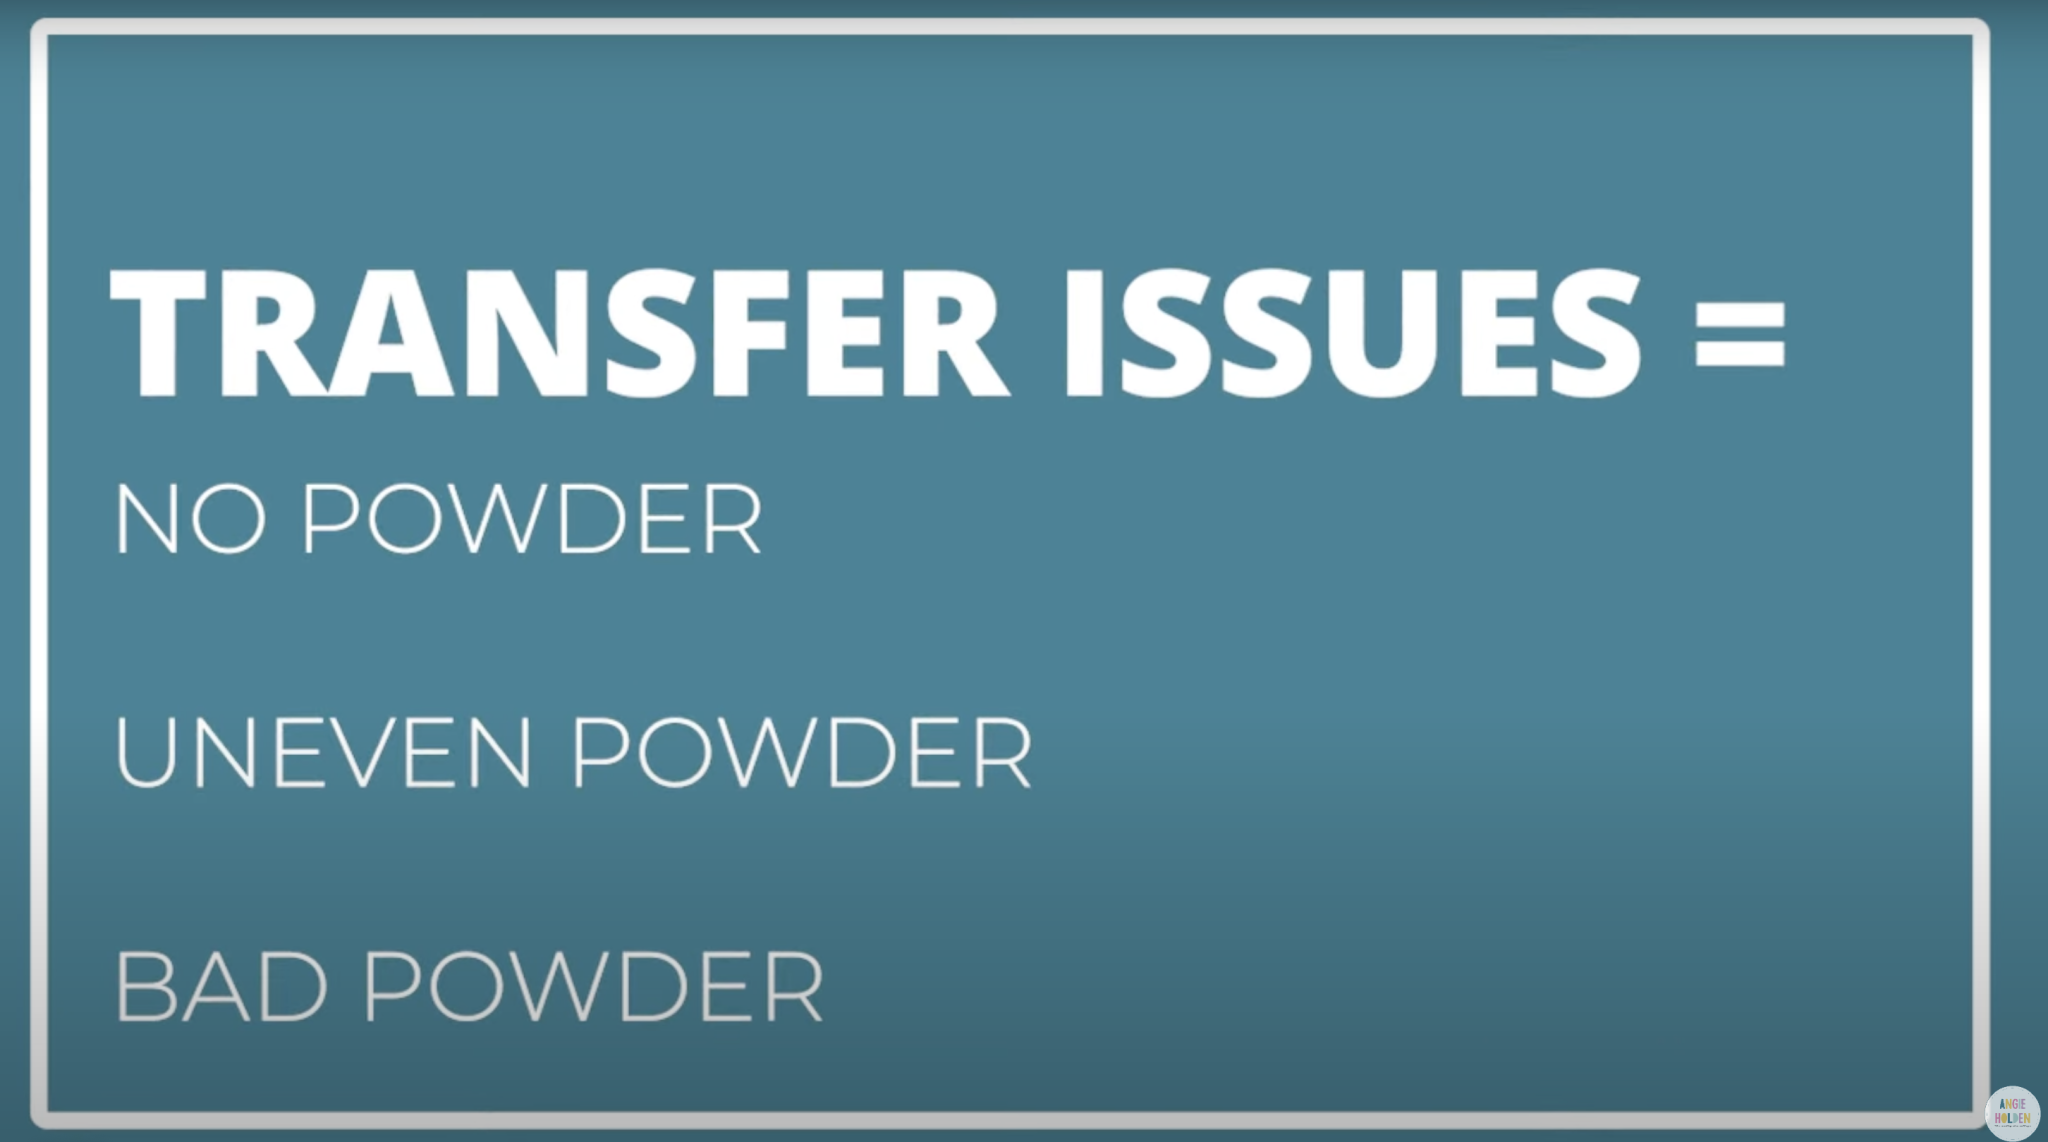
Another reason you may have issues with your print transferring is bad powder. Your powder should be kept in an airtight bag with desiccant packets in it. You should keep the powder away from sunlight and heat and should use the powder within six months.
Not Enough Heat Issues
If you do not get the transfer hot enough, it can cause gaps in the transfer. It can also cause the print to shrink or peel after you wash it.
Too Much Heat
If you get the print too hot, it can cause the ink to stick to the film or the ink to boil out.
DTF Print Not Cured
The curing process is very important. If the powder is not cured, it can cause your print to peel. It can also cause the print to not wash well, the color will just wash off the adhesive.
Powder Cured Too Hot
If your powder is cured at too high of a temperature, it can cause you to not be able to peel the film away once you press. It can also lead to ink boiling.
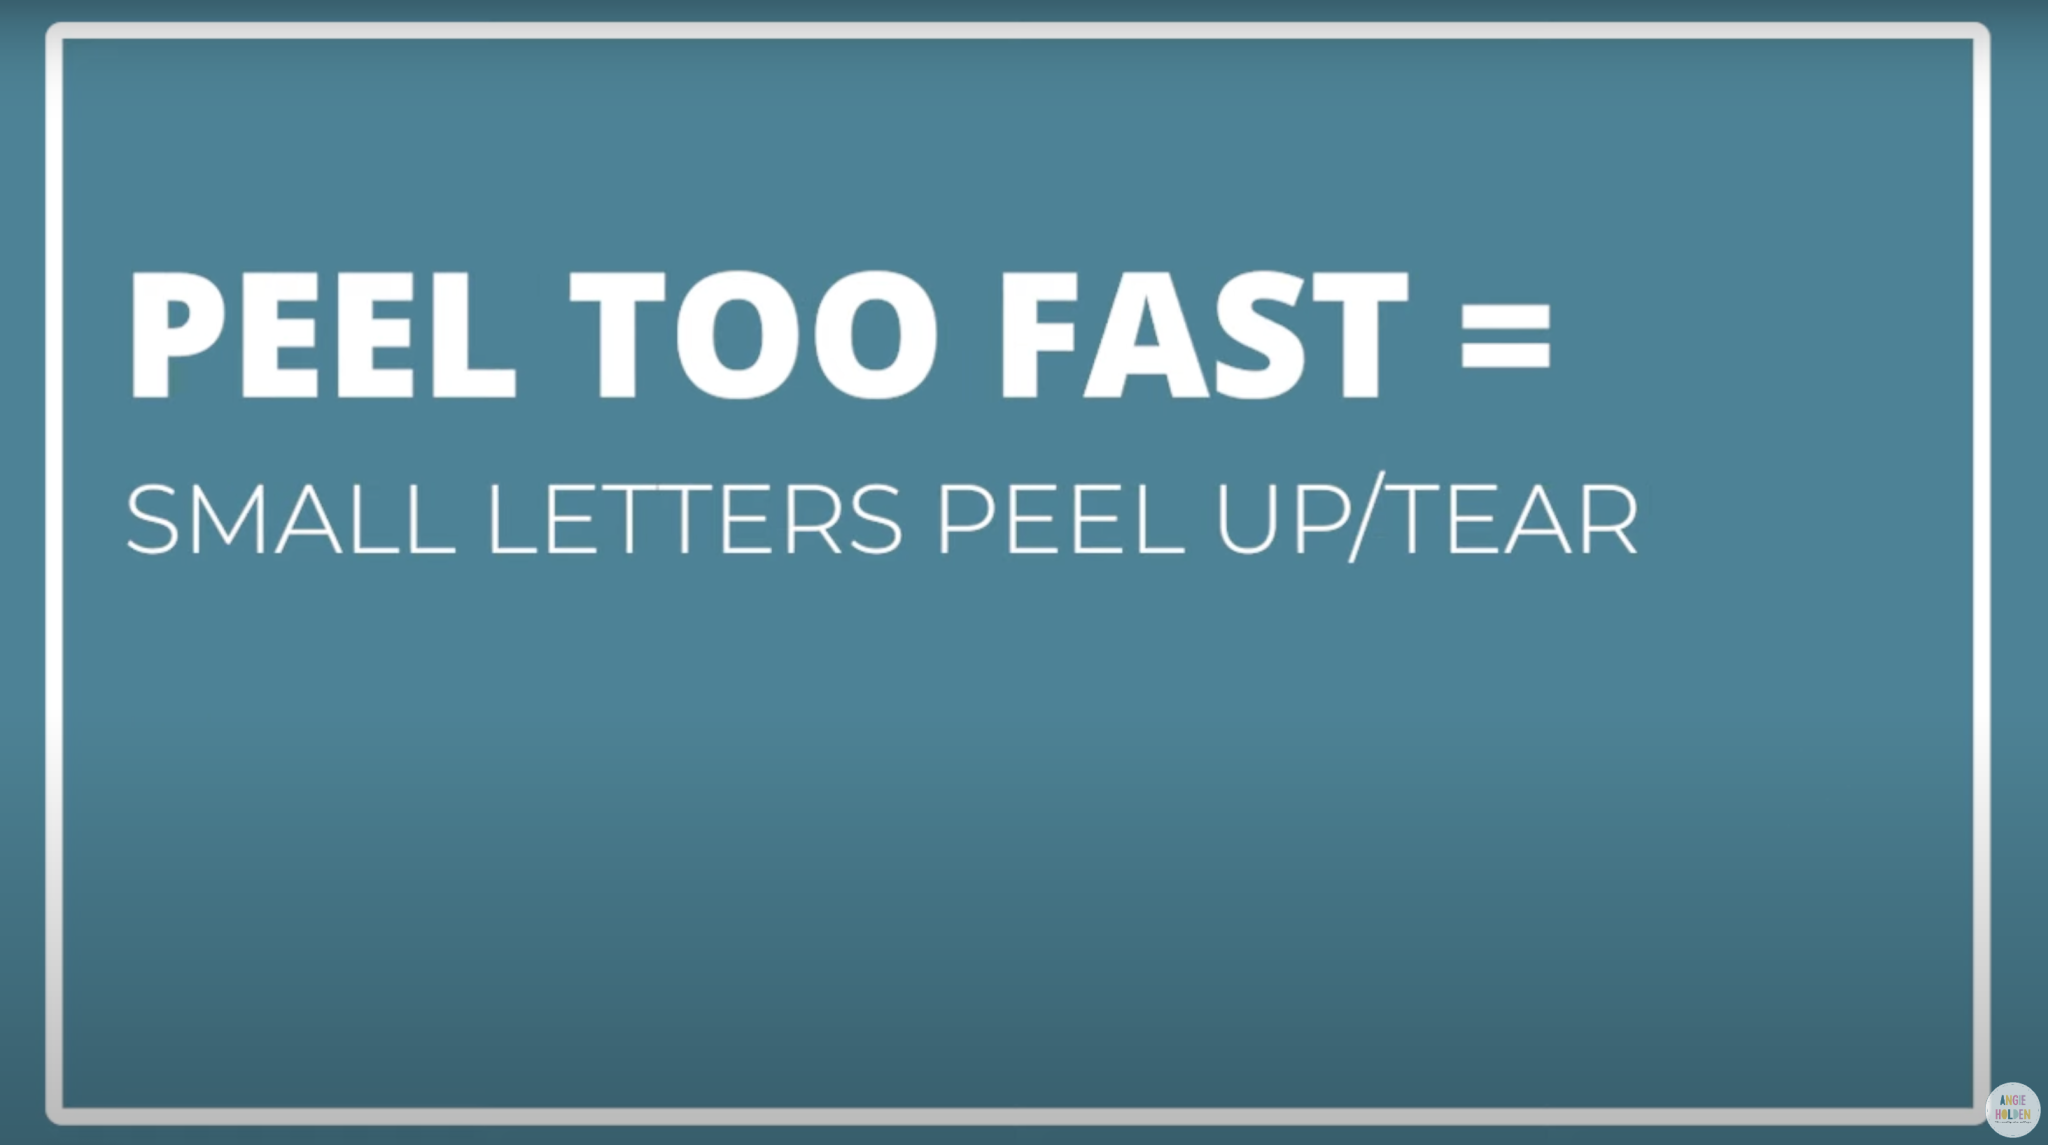
Peel Carrier Sheet Too Fast
As I said earlier, you can peel the carrier sheet off the DTF print as a warm or cool peel. If you peel it off too fast, it can cause some of the small letters or designs to peel up or tear.
DTF Printing Results and Wash Tests
Now that we’ve talked about pressing and some of the troubleshooting you may need, let’s look at the results including a wash test.
Here is the first shirt we made, after pressing. You can see that the DTF on the fabric looks really, really good.
How Does DTF Hold Up in the Wash?
I wanted to test the DTF through washing so I made another shirt the exact same way and washed it 10 times.
I wash all of my clothes with cold water. DTF prints can be put in the dryer. For my test, I dried the shirt in the dryer sometimes and sometimes I hung it to dry. You can see, even with drying it in the dryer some of the time there is not much of a difference at all.
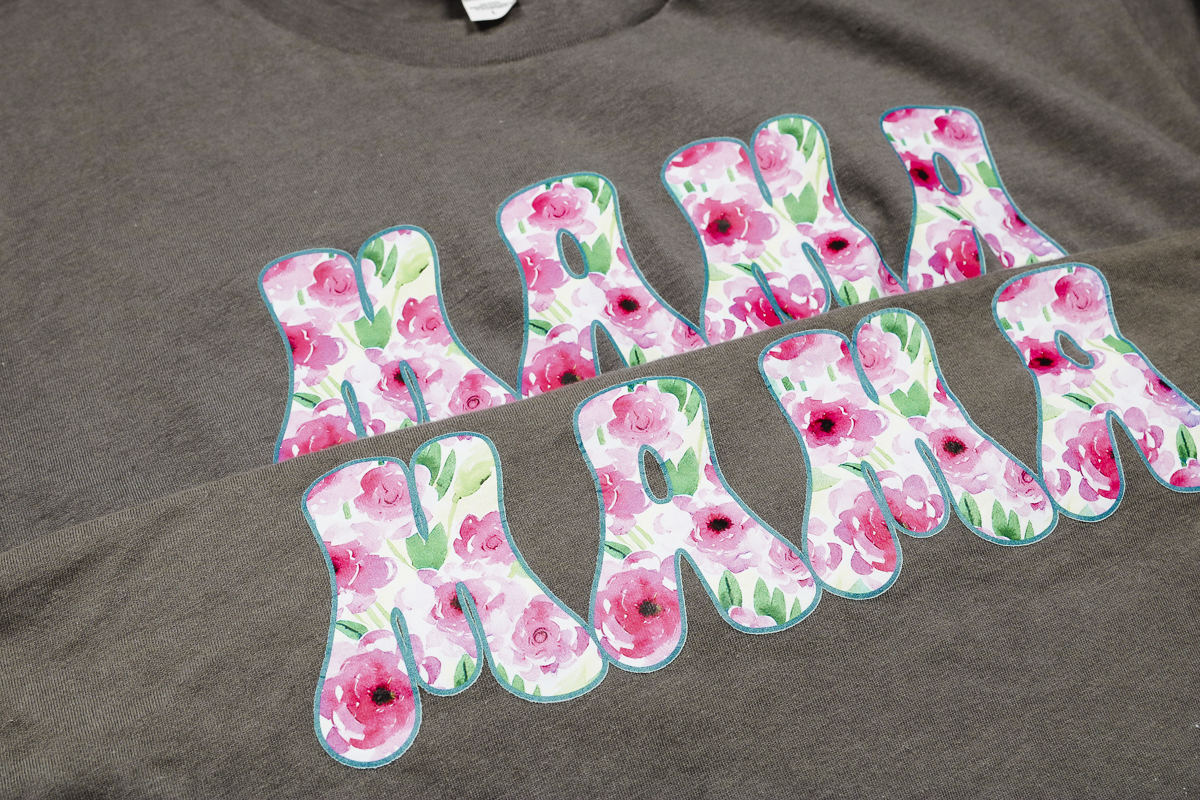
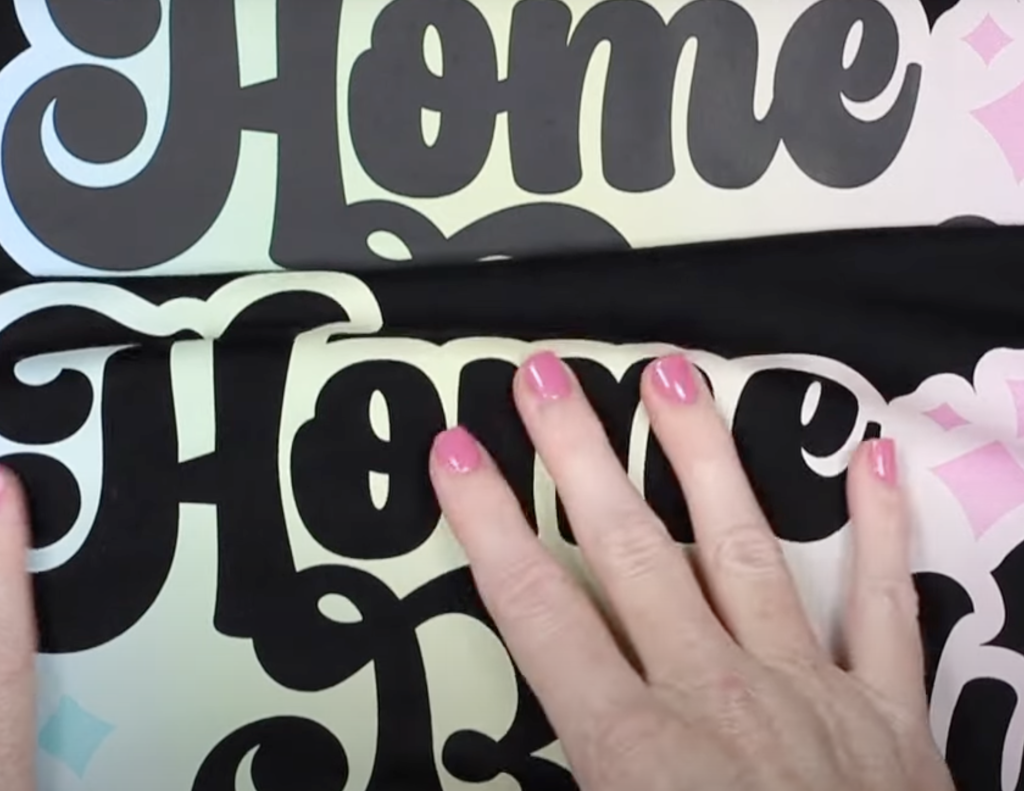
The top shirt is the shirt that has not been washed and the bottom shirt has been. You may see a small amount of fading, I feel like there is a little bit but what is there is very uniform.
There is no lifting of the print and it still feels like it’s on the shirt really well. I am quite impressed with the way the DTF prints wear even after washing.
How Does DTF Work With Fabric that Stretches?
I wanted to test DTF on a shirt that has a lot of stretch on it. You can see that the print does sit on top of the fabric so it doesn’t stretch perfectly but it does stretch with the fabric quite well.
I don’t see much if any puckering when it’s stretched which is really impressive.

In the photo above I even tested stretching just the printed portion of the shirt and you can see that the DTF material itself has stretch to it which is another great benefit of DTF printing.
How to Knockout Colors with DTF Printing
The next DTF printing tip I wanted to give you is kind of a hack. I am using the color black as the example but this can be done with any color.
What I am going to do is use the color of the shirt to replace any portions of the design that are the same color. This is called a knockout technique.
My shirt is black and part of my design is black so what I’m going to do is use the RIP software to remove, or knock out, all of the black from the design.
When the print is printed, there will be open spaces everywhere there is black. There are a few reasons you may want to try the knockout technique. The first reason is that it saves ink. There’s no reason to print out the color to just put it on top of fabric that is the same color.
Secondly, without all of that ink, you get a softer feel to the shirt itself and your results are not as stiff.
The RIP software takes care of the whole process which makes it really easy to use this technique for DTF printing.
Comparing DTF Prints with the Knockout Technique Used
I’m going to press both DTF prints onto black shirts and then we can talk about the pros and cons of the different prints.
While you can tell a difference when they’re right next to each other they look similar.
One of the cons with the full print option is that the print feels stiffer than if you use the knockout technique. This is more noticeable with large prints.
The shirt that has all of the black ink knocked out feels softer across the whole design area. Because there is less print on the shirt it has less stiffness.
I also, personally, like that the black in the design is now the exact same color as the shirt itself since it is the shirt showing through.
If you have an opportunity to use the knockout technique, I would definitely at least try it out and see what you think because I am impressed with it.
Pros and Cons of DTF Printing
Now that we’ve walked through the whole DTF printing and pressing process all that’s left is for you to give it a try. Whether you choose to print your own prints or order prints from Heat Transfer Warehouse, you need to try them.
DTF Printing Pros
One of the biggest pros of DTF printing is that you can use it on any color of fabric and on any type of fabric that can withstand that 320-degree temperature.
I think DTF prints feel amazing on fabric. It’s thin on the fabric and has some stretch to it as well.
In my testing, the wear is great. After ten washes, there was minimal fading and the print was still adhered across the whole design.
Another pro is that you can use your Cricut EasyPress or any other heat press with your DTF Prints.
DTF Printing Cons
The biggest con I have with the DTF process is how needy the printer is. The setup and maintenance are both a lot. Whether you do one print or many prints, every time you use the printer you have to go through the maintenance before and after printing.
The printing process is slow and then the whole powder process is messy and can be hazardous to your health if you don’t follow the recommended procedures.
If you plan to do DTF printing in your home, I would use caution. The powder gets everywhere and it is a small, plastic, adhesive-type material that can get into your lungs, in the air, and all over your home.
Once the powder is applied to the print and cured, those health hazards go away. If you’re considering ordering DTF prints, I would do it, the pressing process is so easy there is no reason not to.
DTF Printers are quite expensive, I think they’re out of the budget for most home crafters and possibly even some businesses. If you’re making a lot of shirts for your business, DTF printing may be a business you want to get into.
DTF printing can only be used on fabrics. I am going to test DTF prints on some other surfaces in the future to see if it’ll work but I don’t hold out a lot of hope for it being a permanent solution for other surfaces.
How I Will Use DTF
I do want to mention that DTF printing is in its infancy right now. It’s a new industry and I anticipate that there will be several innovations in the next few years.
Right now I have decided that having a DTF printer in my home is not for me. I don’t see a situation that would have me using it enough.
I had the opportunity to go to Heat Transfer Warehouse to really test out the DTF printing process from setting up the printer and doing all of the different maintenance steps. During that time I was able to film videos and take photos for the different projects I made so I could share the results with you.
If you choose to purchase a DTF printer, you need to be aware that you’ll need to use it very regularly. It isn’t a machine that is made to sit for long periods of time.
I hope that this has answered any questions you have about printing and pressing DTF prints. If you have any additional questions, feel free to leave them in the comments and I’ll get those answered for you.
If you want to learn more about DTF printing sign up for my DTF printing email list. You’ll be notified each time a new DTF printing video or blog post goes up.
I really do love how DTF prints look and recommend you give them a try. You can order a single print from Heat Transfer Warehouse without any type of setup fee.